Baserow and Power Automate: Custom Connector Setup
Turning Baserow data into automatic emails, SharePoint list updates, or generated Word documents means building a custom connector in Microsoft Power Automate that calls Baserow’s free REST API with a database token - this guide walks through assembling that connector, wiring up row actions, fixing the common failure modes, and two practical scenarios, including a webhook trigger that skips the scheduled poll entirely.
Integration Architecture
The setup has three moving parts:
- Baserow - holds the table data.
- The custom connector - translates Power Automate actions (“create row,” “list rows”) into Baserow REST API calls.
- The flow - contains the automation logic itself, such as “when Status changes to Done, send an email.”
Plain HTTP requests can reach the same API, but every flow would need its JSON body assembled by hand each time. A custom connector turns those calls into a fill-in-the-blanks menu that the whole team can reuse - that reusability is the entire point of building one.
Prerequisites
- A Baserow account with a database token . Baserow separates row-data actions, which only need a database token, from user or file actions, which require a JWT token instead.
- A Power Automate account with permission to create flows.
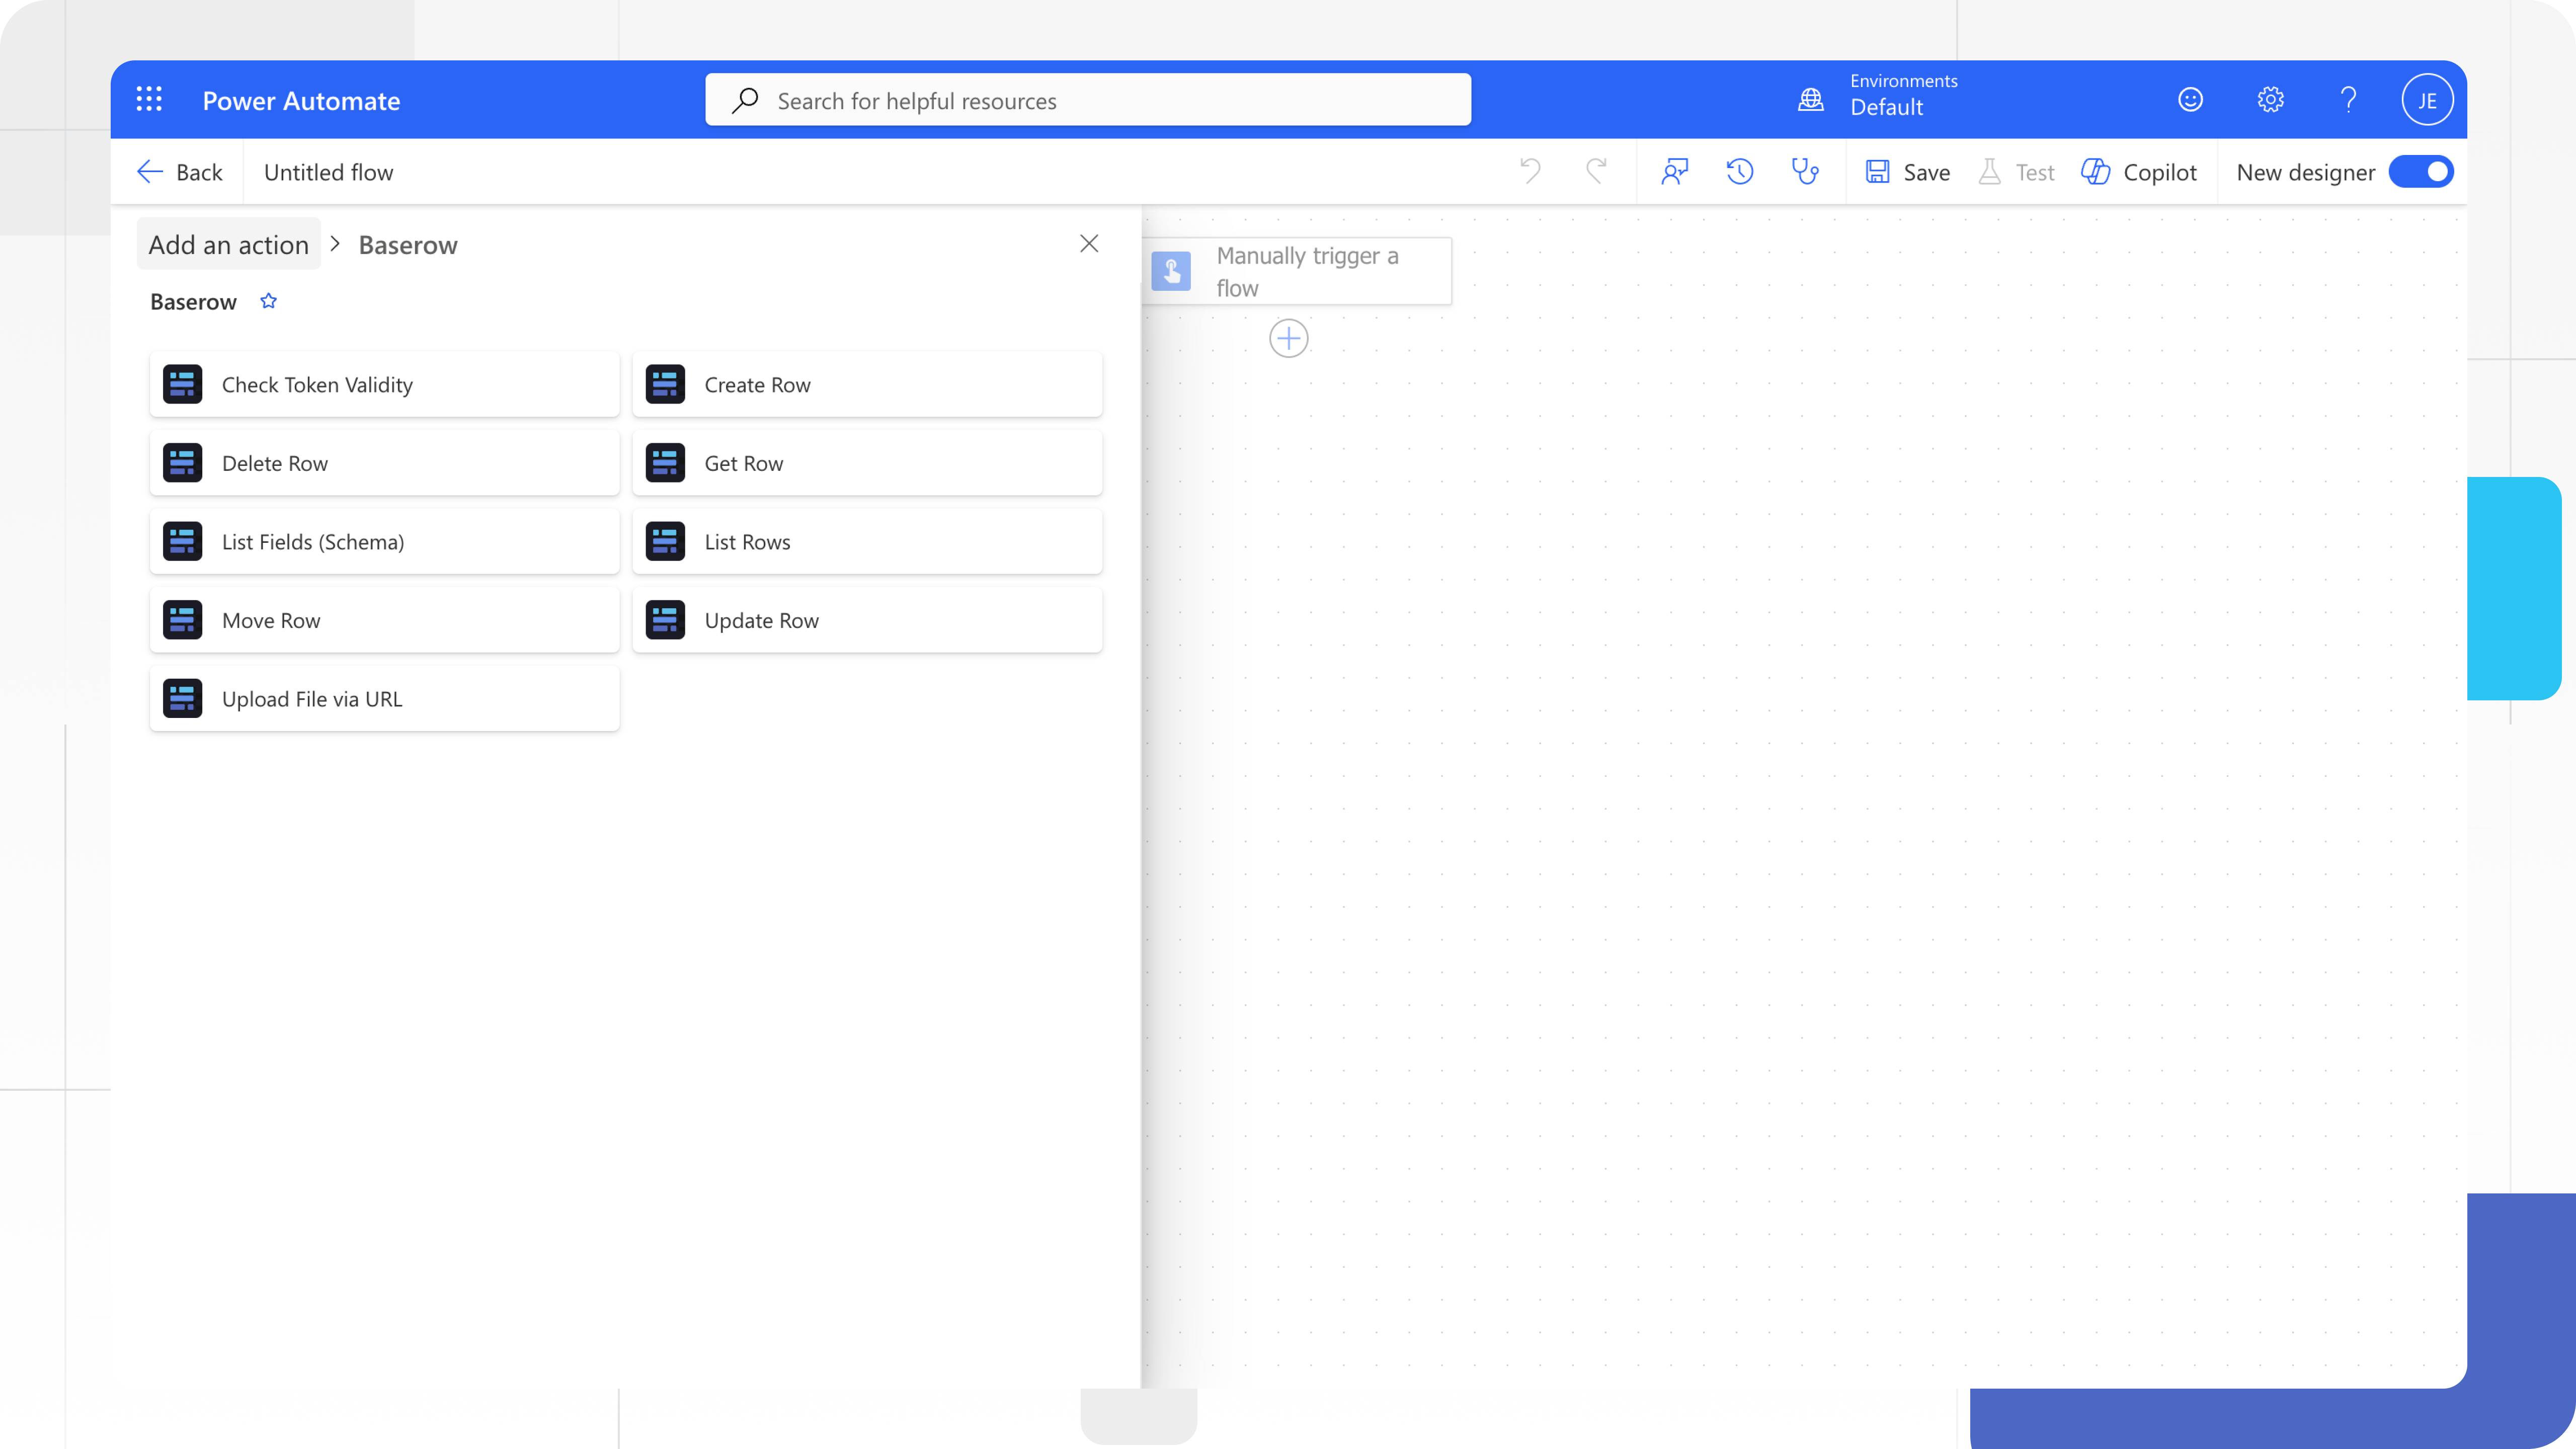
Building the Connector via OpenAPI
A connector describes the API’s operations and data structures so Power Automate knows how to call them. Build one from scratch as shown below, or import Baserow’s OpenAPI definition directly - the file must stay under 1 MB and use OpenAPI 2.0 (Swagger) format.
Step 1: Create the Connector
- Sign in at
make.powerautomate.com. - In the left sidebar, select Data → Custom Connectors (or …More if the item is hidden).
- Click + New → Custom connector → Create from blank.
- Enter the connector name
Baserowand select Continue.
The wizard has five sections to complete: General, Security, Definition, Code (optional), and Test.
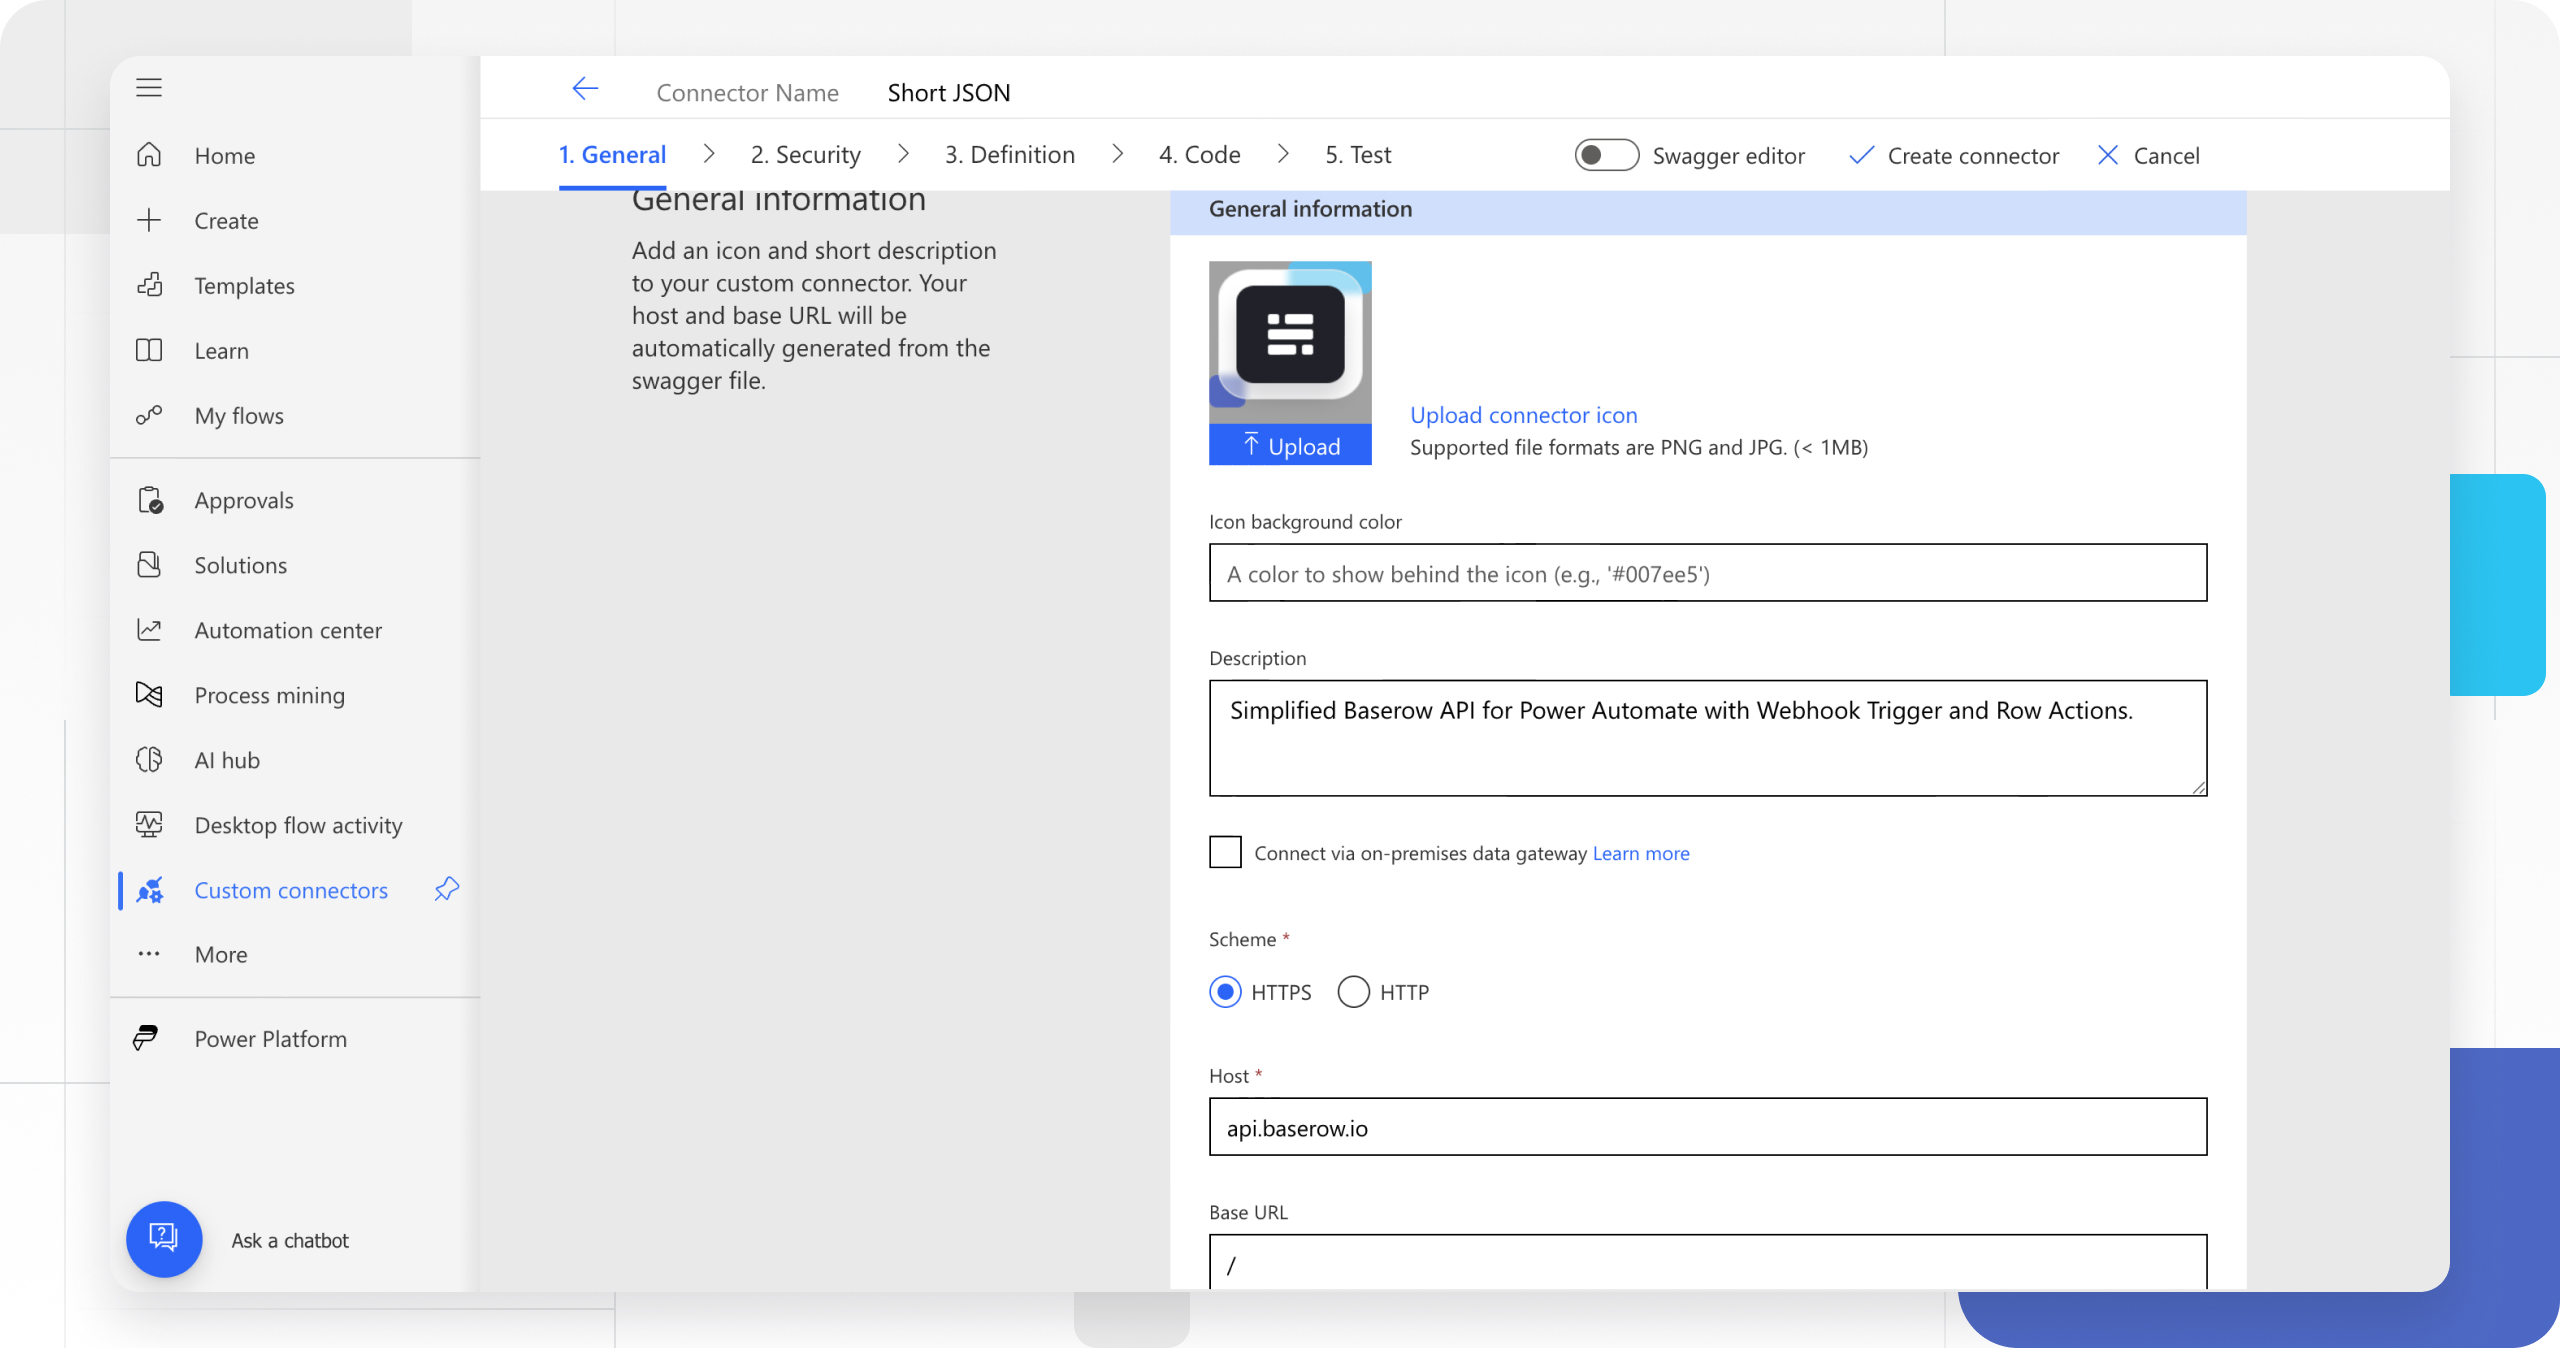
Step 2: General Details
The General section sets the icon, description, scheme, host, and base URL:
| Parameter | Value |
|---|---|
| Description | “Simplified Baserow API for Power Automate with Webhook Trigger and Row Actions” |
| Connector’s URL scheme | HTTPS |
| Host | api.baserow.io (or a self-hosted instance’s domain) |
| Base URL | / |
The base URL is the starting point every API call is built from. Upload the Baserow logo (PNG or JPG, under 1 MB) and move on to Security.
Step 3: Authentication
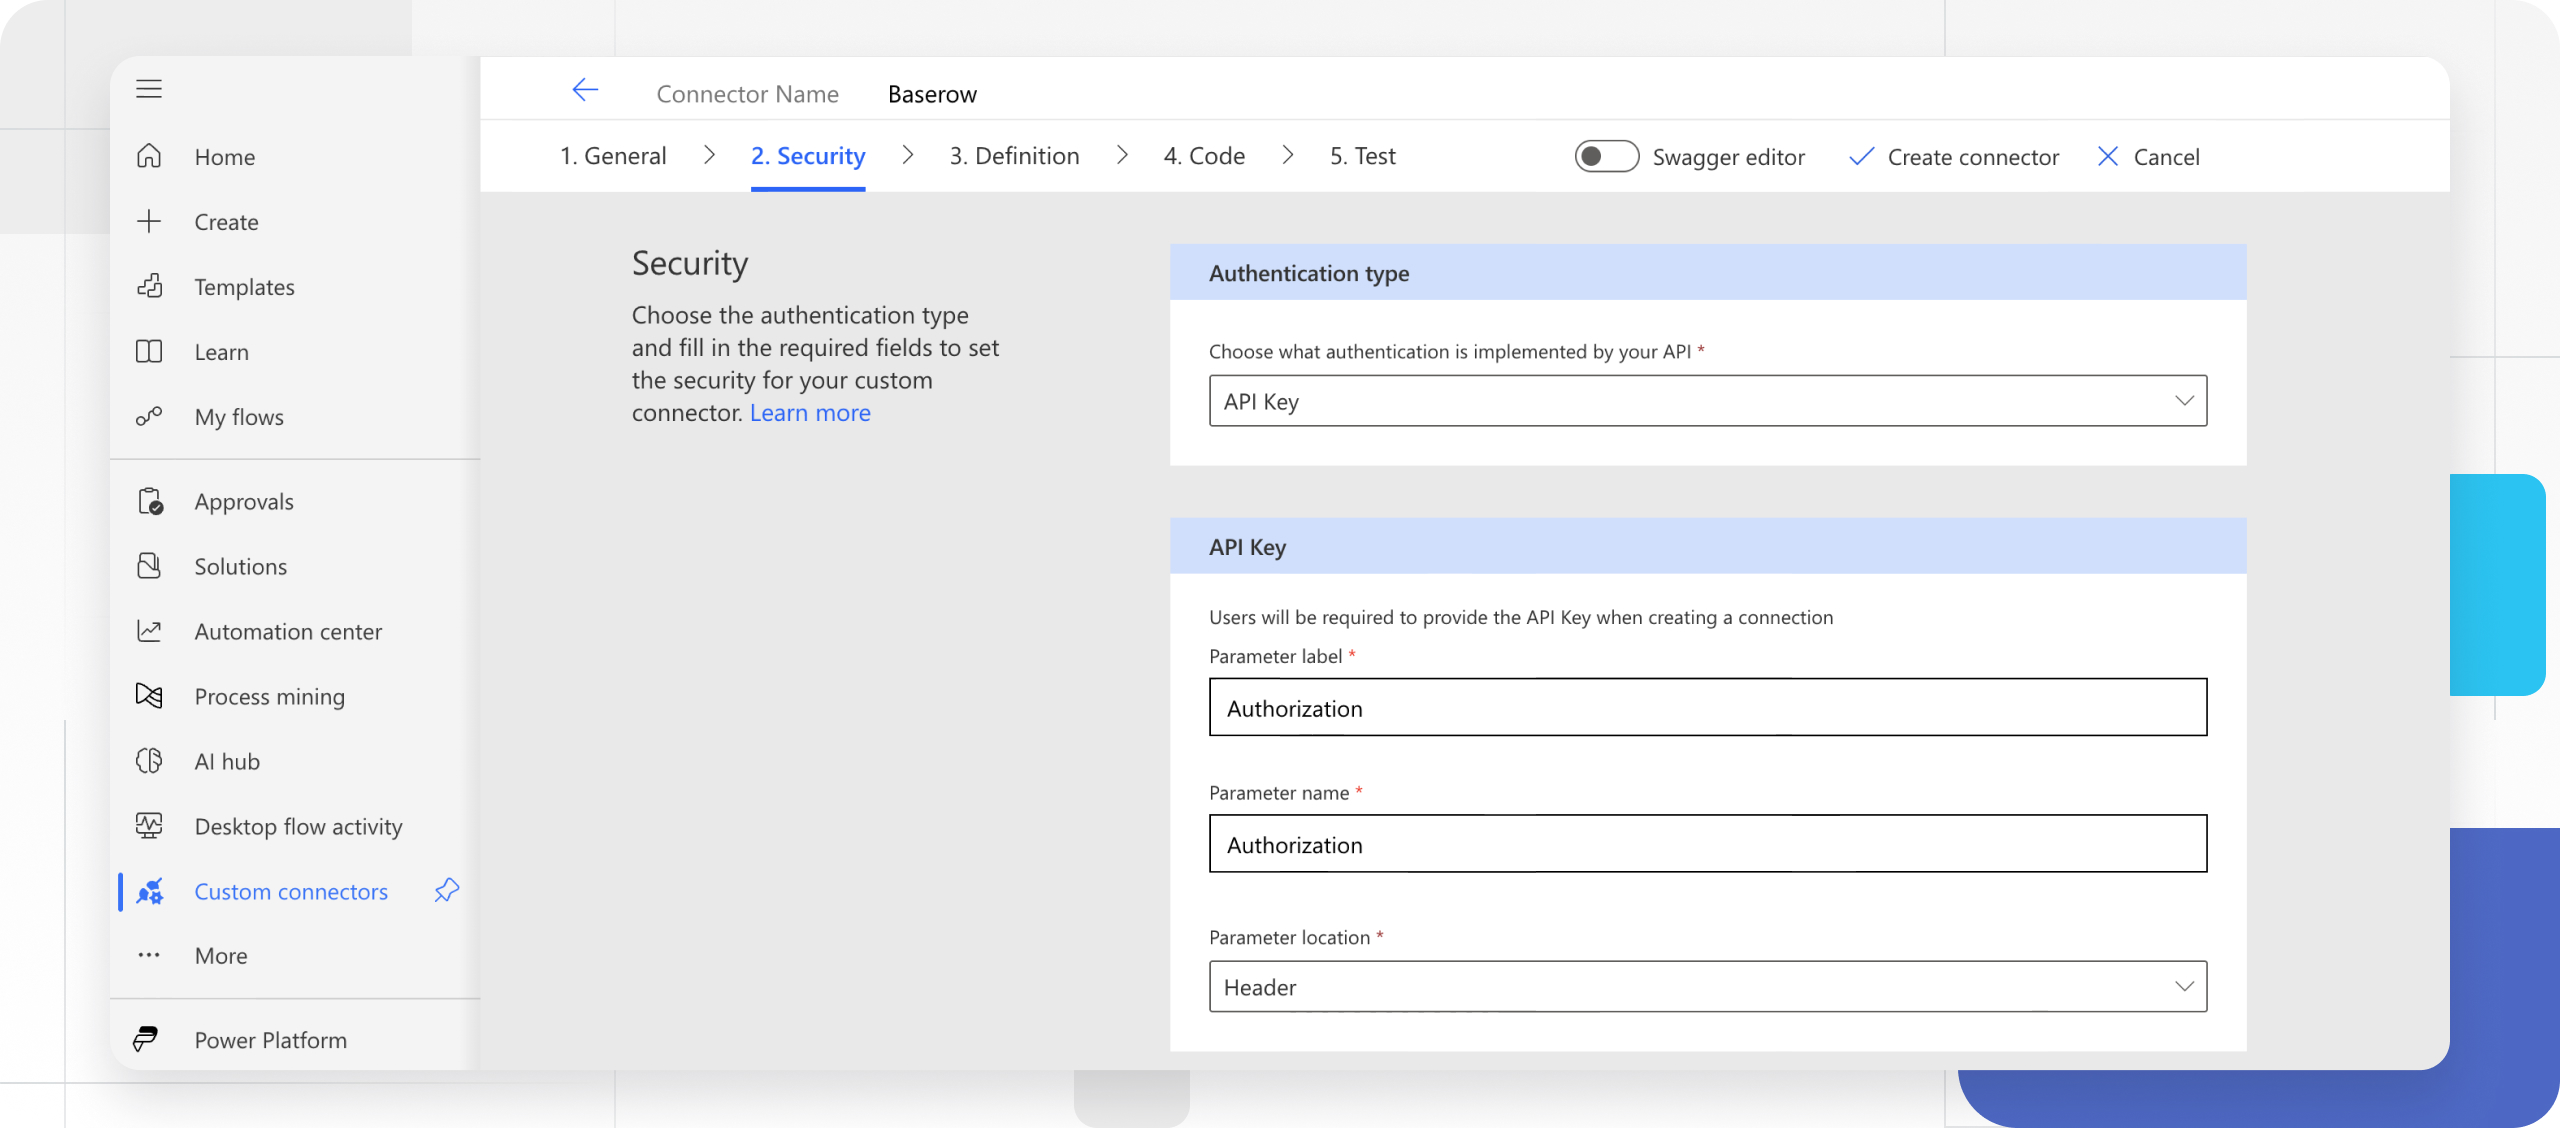
Baserow authenticates with an API key. In the Security section, choose API Key and set:
| Parameter | Value | Purpose |
|---|---|---|
| Parameter label | Authorization | Shown to whoever connects for the first time |
| Parameter name | Authorization | The exact header name Baserow expects |
| Parameter location | Header | The key travels in the request header |
Move on to the Definition section once these are filled in.
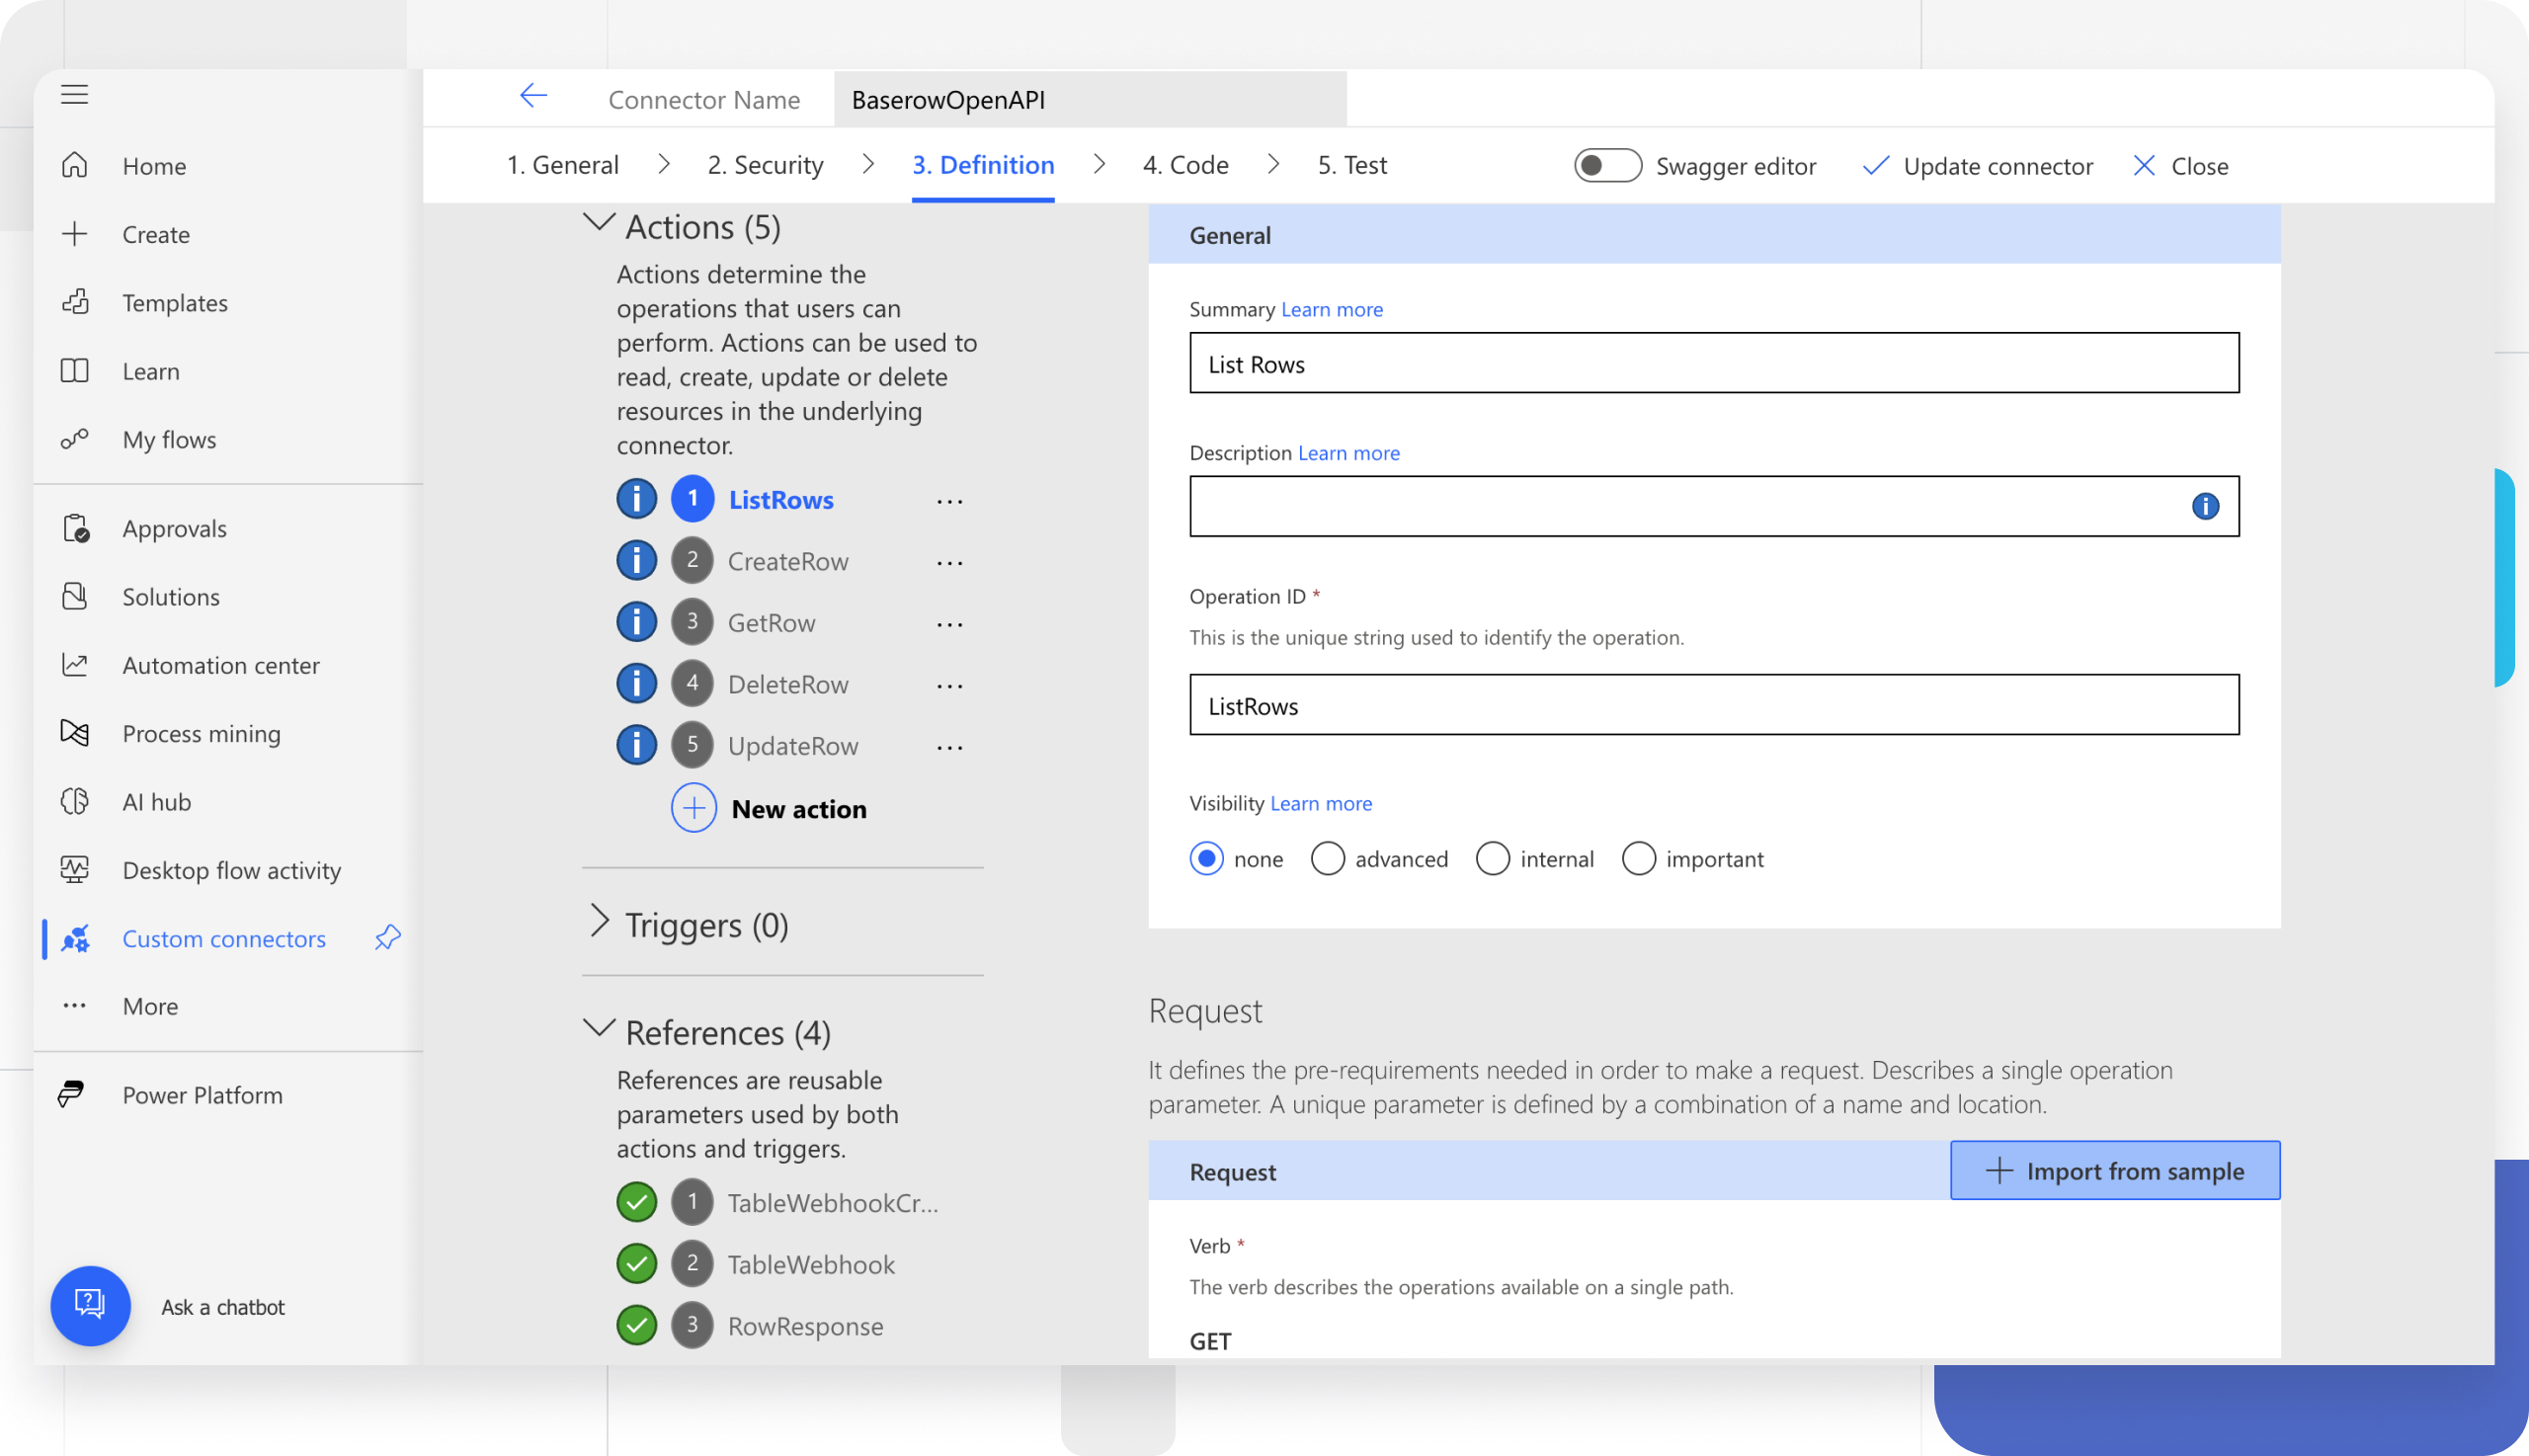
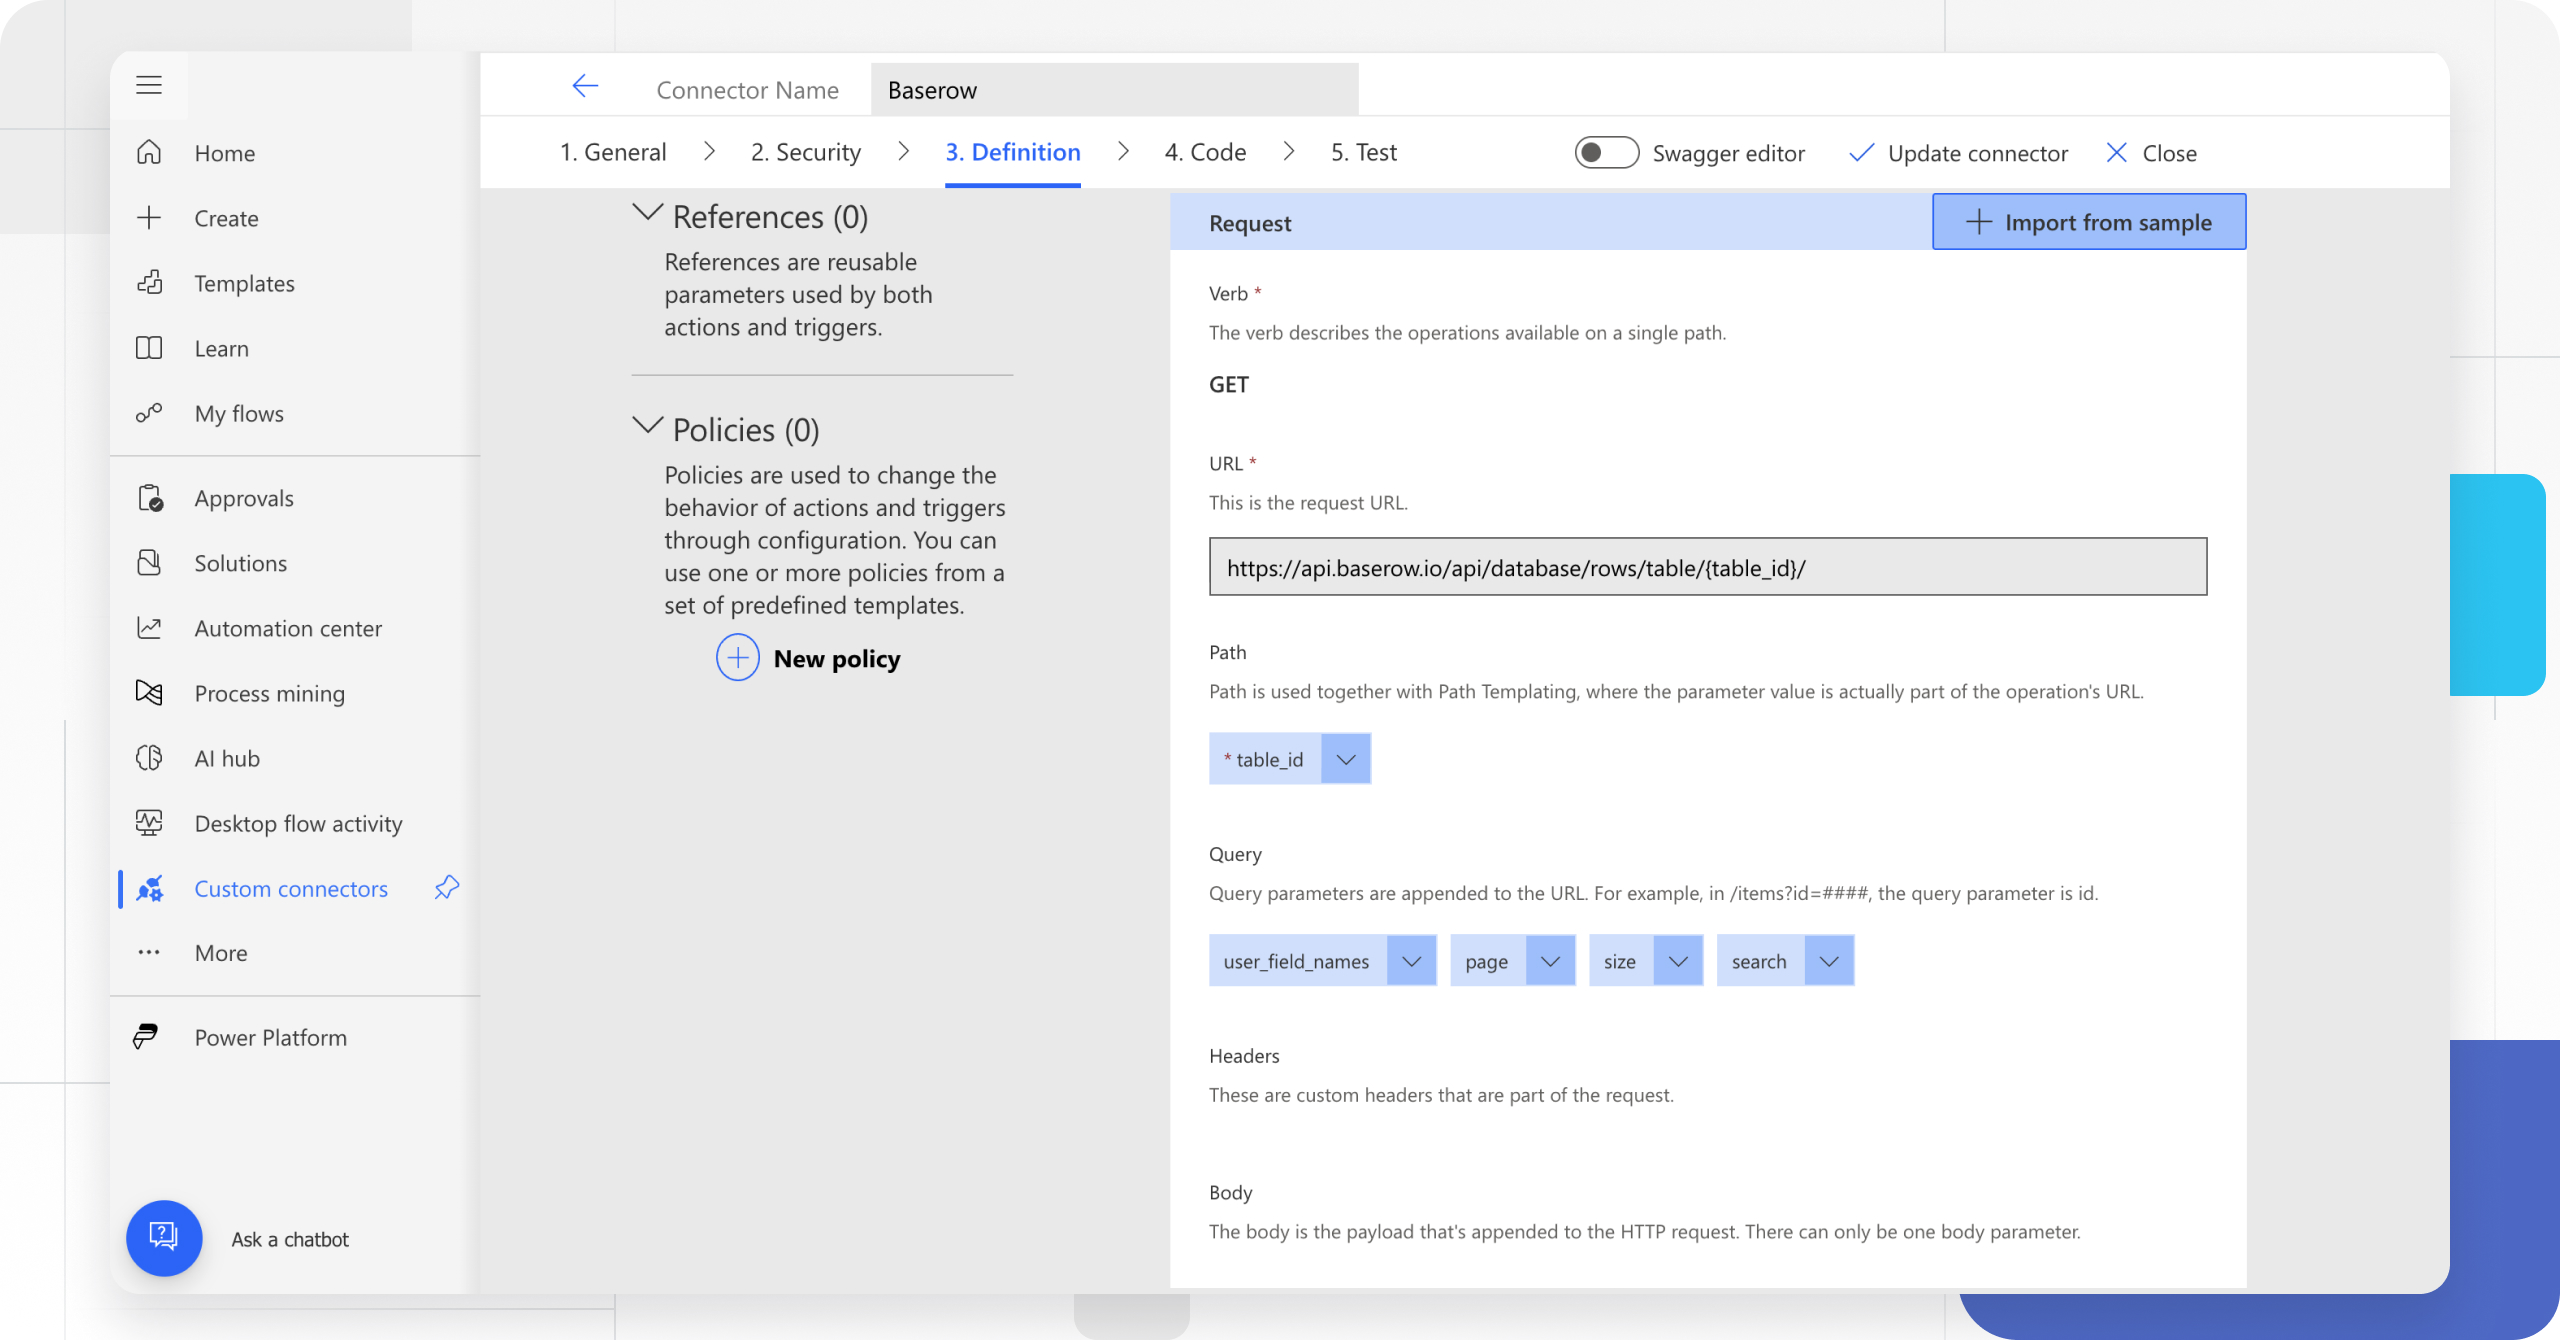
The Definition section lists every action, trigger, and shared reference already defined for the connector, so parameters can be reused across multiple actions instead of redefined each time.
Step 4: Define the Actions
Actions are the operations exposed to whoever builds a flow. Each one needs a summary, description, and operation ID in the General area, plus a Visibility setting: none (shown normally), advanced (tucked under a submenu), internal (hidden from the user), or important (always shown first).
A working set of row-level actions:
- List tables (
list_database_tables) - List fields (
list_database_table_fields) - List rows (
list_database_table_rows) - Get row (
get_database_table_row) - Create row (
create_database_table_row) - Update row (
update_database_table_row) - Delete row (
delete_database_table_row)
For each action, select Import from sample and paste a request and response example from the Baserow REST API documentation - for listing rows, for instance:
https://api.baserow.io/api/database/rows/table/{table_id}/?user_field_names=true&page=1&size=100&search="string"The user_field_names=true parameter deserves its own mention: without it, Baserow returns technical names like field_45 instead of readable column names. Every action authenticates with an Authorization: Token your_token_here header using the database token. Once the request and response samples are filled in, the wizard’s Validation area should show a clean green check with no errors.
Step 5: Test the Connection
- Open the Test tab.
- Click New Connection.
- Enter the key formatted as
Token your_token_here- the word “Token,” a space, then the key itself. - Click Create Connection, then refresh the Test tab.
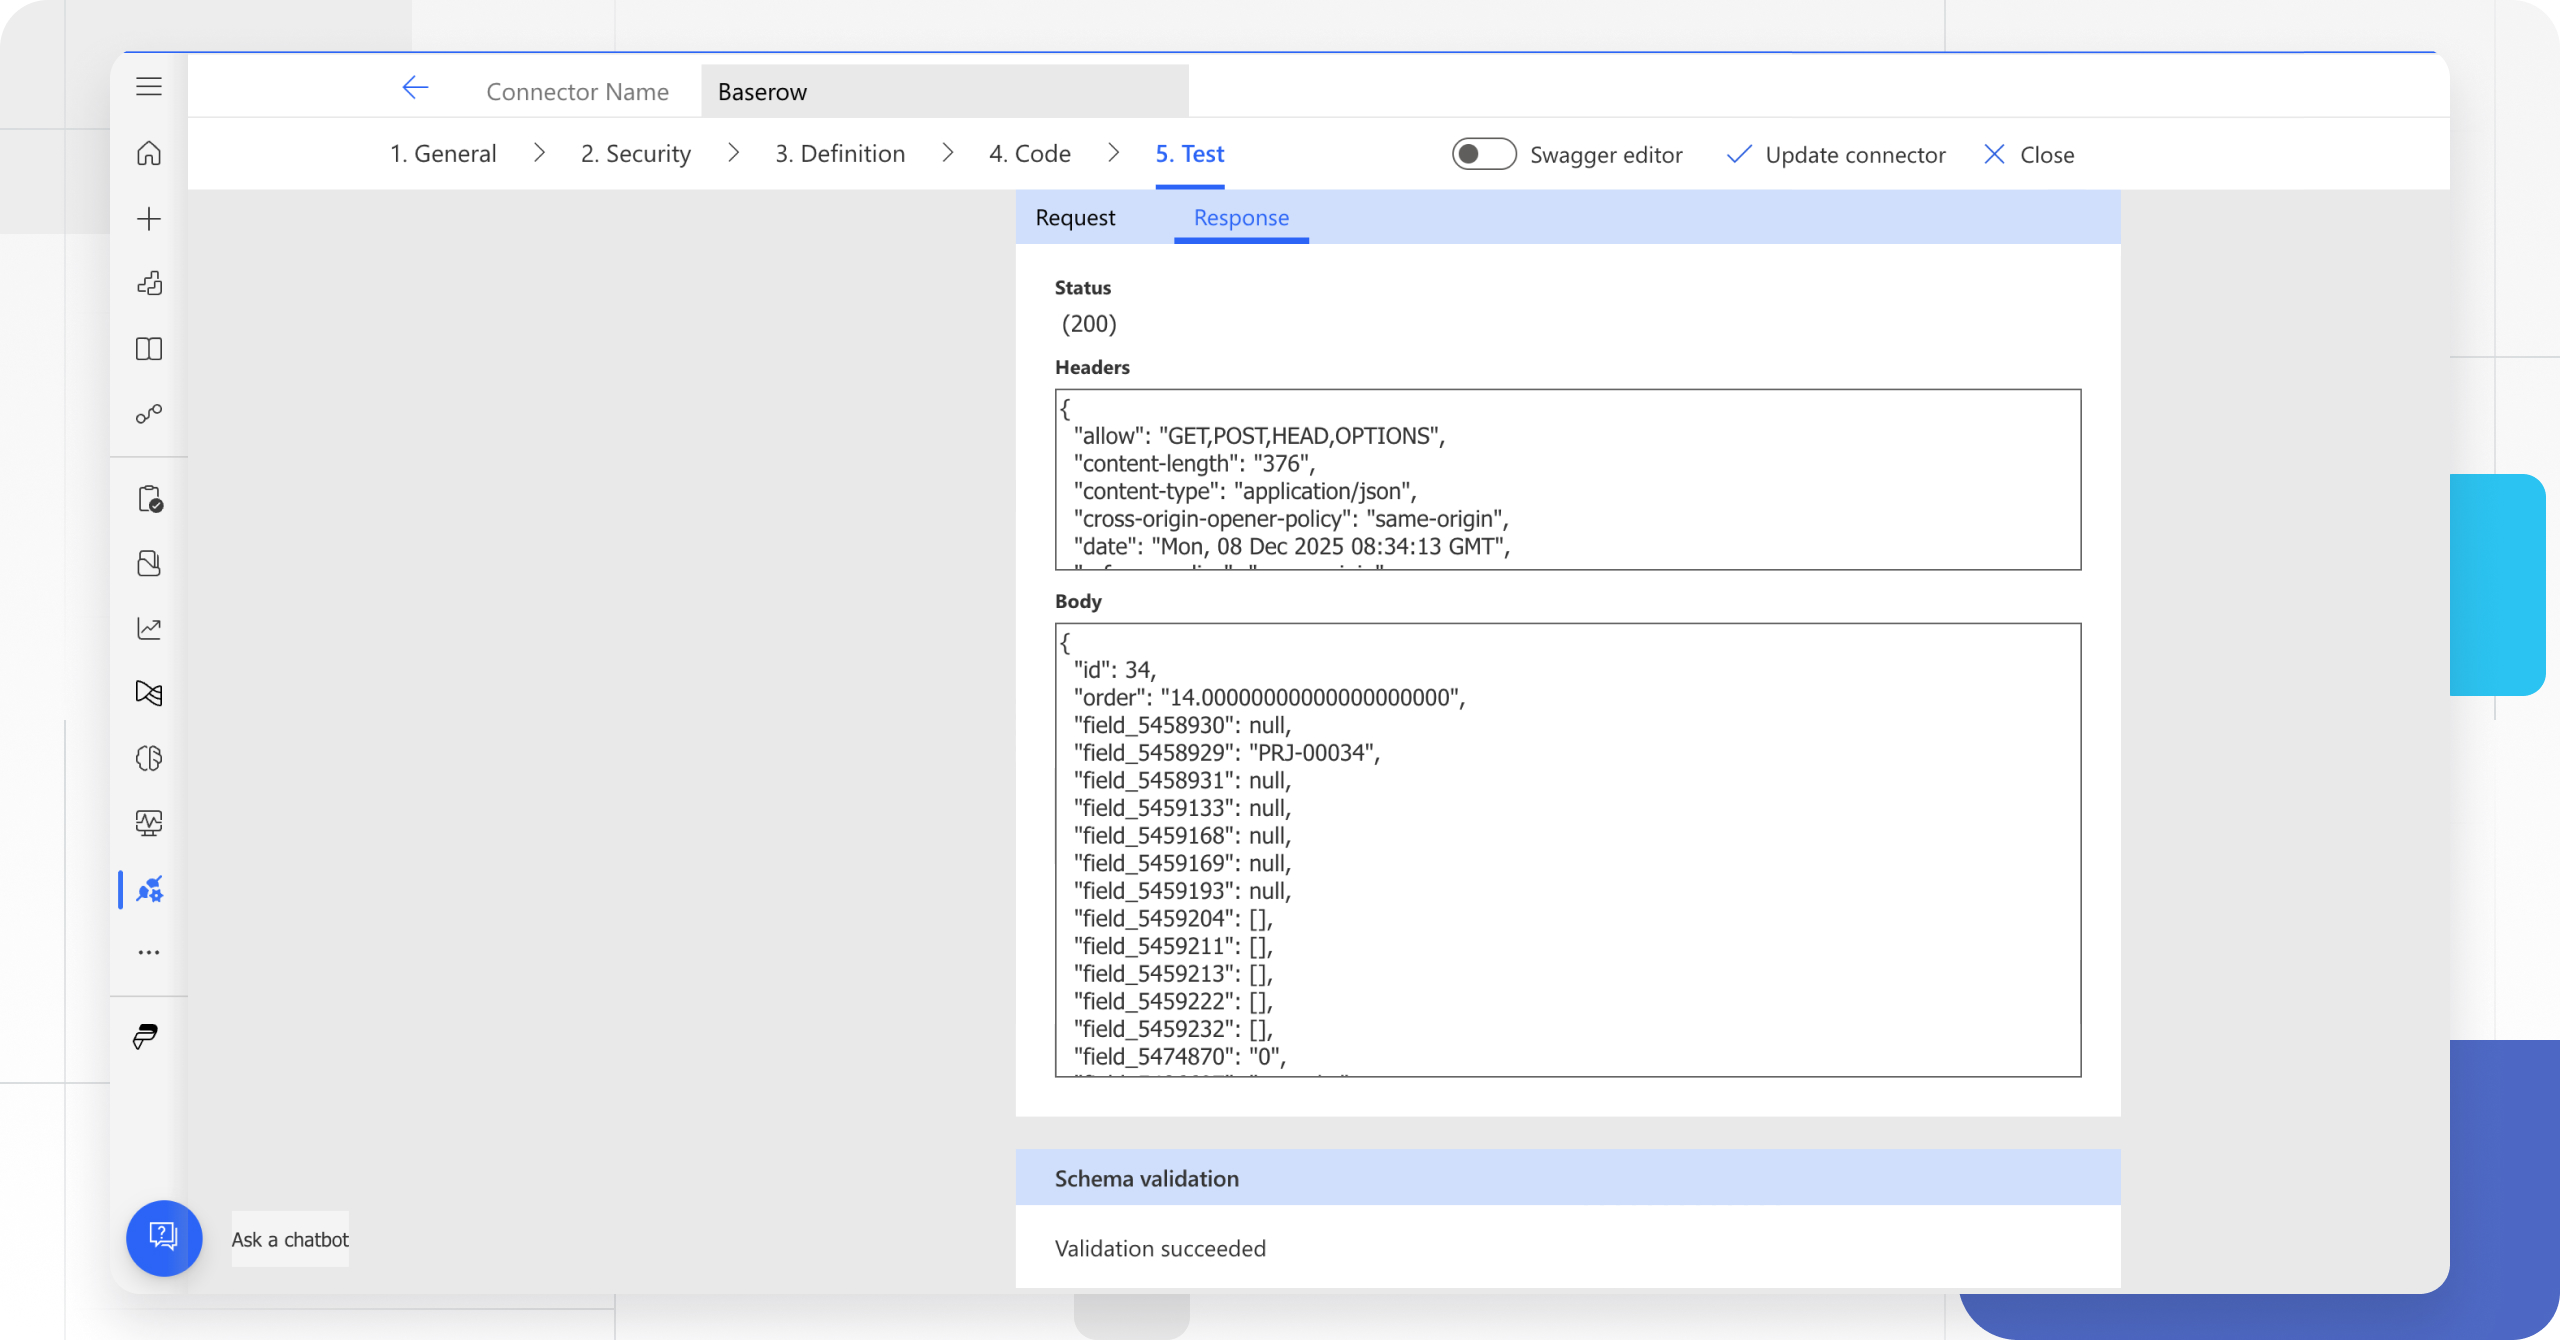
- Pick an action, fill in the table ID , and click Test operation.
A successful call returns status 200. The connector is now ready to use in flows, and it can also be shared with the rest of the team.
Troubleshooting
| Issue | Cause | Fix |
|---|---|---|
| 401 Unauthorized | Only the bare key was entered, without the word “Token” | Edit the connection and format the value as Token [key] |
| “Apply to Each” fails | The wrong list was selected for the loop | Pick results from the dynamic content, not the entire response body |
| Column names are unreadable | user_field_names was never set | Add user_field_names=true to the List rows action’s request |
| Timeout or “Bad Gateway” | The response carries too much data | Add pagination or a filter to the List rows action |
Best Practices
- Filter at the source. Don’t pull thousands of rows into the flow just to filter them with a Condition action - use REST API filters directly on List rows (for example,
filter__Status__equal=Done) to save on Action Credits. - Protect the token. Never share a flow screenshot that exposes the API key.
- Reference field IDs for critical flows.
user_field_names=trueis convenient, but renaming a column in Baserow breaks any flow still looking for the old name. For flows that can’t afford to break, reference the field’s numeric ID (such asfield_123) instead, since it never changes.
Practical Scenarios
Scenario 1: The Scheduled Morning Report
- Create a Scheduled Cloud Flow that repeats every day.
- Add the Baserow connector’s List rows action and enter the table ID.
- Optionally add a filter, such as
filter__field_123__equal=Active. - Add an Apply to each step, using
resultsfrom the previous step as its input. - Inside the loop, add Send an email (V2) and build the subject and body from row fields like
[Name]and[Status].
Scenario 2: The Instant Trigger
A schedule doesn’t help when the reaction needs to happen the moment a row is created - that’s when a Baserow webhook replaces polling entirely:
Part A: Prepare Power Automate. Create an Automated Cloud Flow with the When an HTTP request is received trigger, save the flow, and copy the generated POST URL.
Part B: Configure Baserow. Open Webhooks in the table’s sidebar, create a webhook, paste the Power Automate URL, set the method to POST, and check the rows.created event (or updated/deleted).
Part C: Add the logic. Add a Parse JSON step to make sense of the payload Baserow sends, then whatever actions follow - posting a Teams message, for instance.
Frequently Asked Questions
Is a custom connector required, or would a plain HTTP action work? A plain HTTP action can reach the same Baserow REST API , but every call needs its JSON body assembled by hand. A connector turns that into a reusable, fill-in-the-blanks menu the whole team can share.
How does the database token differ from the JWT token in this setup? The database token covers row-level actions and is what every example above uses; the JWT token is only needed for user or file operations and comes from a normal account sign-in.
Does this work against a self-hosted Baserow instance? Yes - swap api.baserow.io for the self-hosted domain in the connector’s General section, and the rest of the setup stays the same.
What happens if a column gets renamed after the flow is built? A flow relying on user_field_names=true stops finding the field under its old name and breaks - which is exactly why critical flows should reference the field’s numeric ID instead.
Next, read Baserow and Tally Integration for a similar webhook pattern driven by form submissions rather than a schedule.