Baserow Workspaces Overview - Structure and Team Roles
A workspace is Baserow’s top-level container: it holds a team’s databases and its member list, and each workspace is fully isolated with its own access rules and content.
What a Workspace Is
A workspace is Baserow’s foundational organizational unit - a dedicated space where a team keeps related work together. Everything created in Baserow lives inside some workspace, and each one maintains its own member list with roles and permissions. For how databases, tables, fields, and rows relate to each other, see Baserow’s Core Building Blocks .
What Lives Inside a Workspace
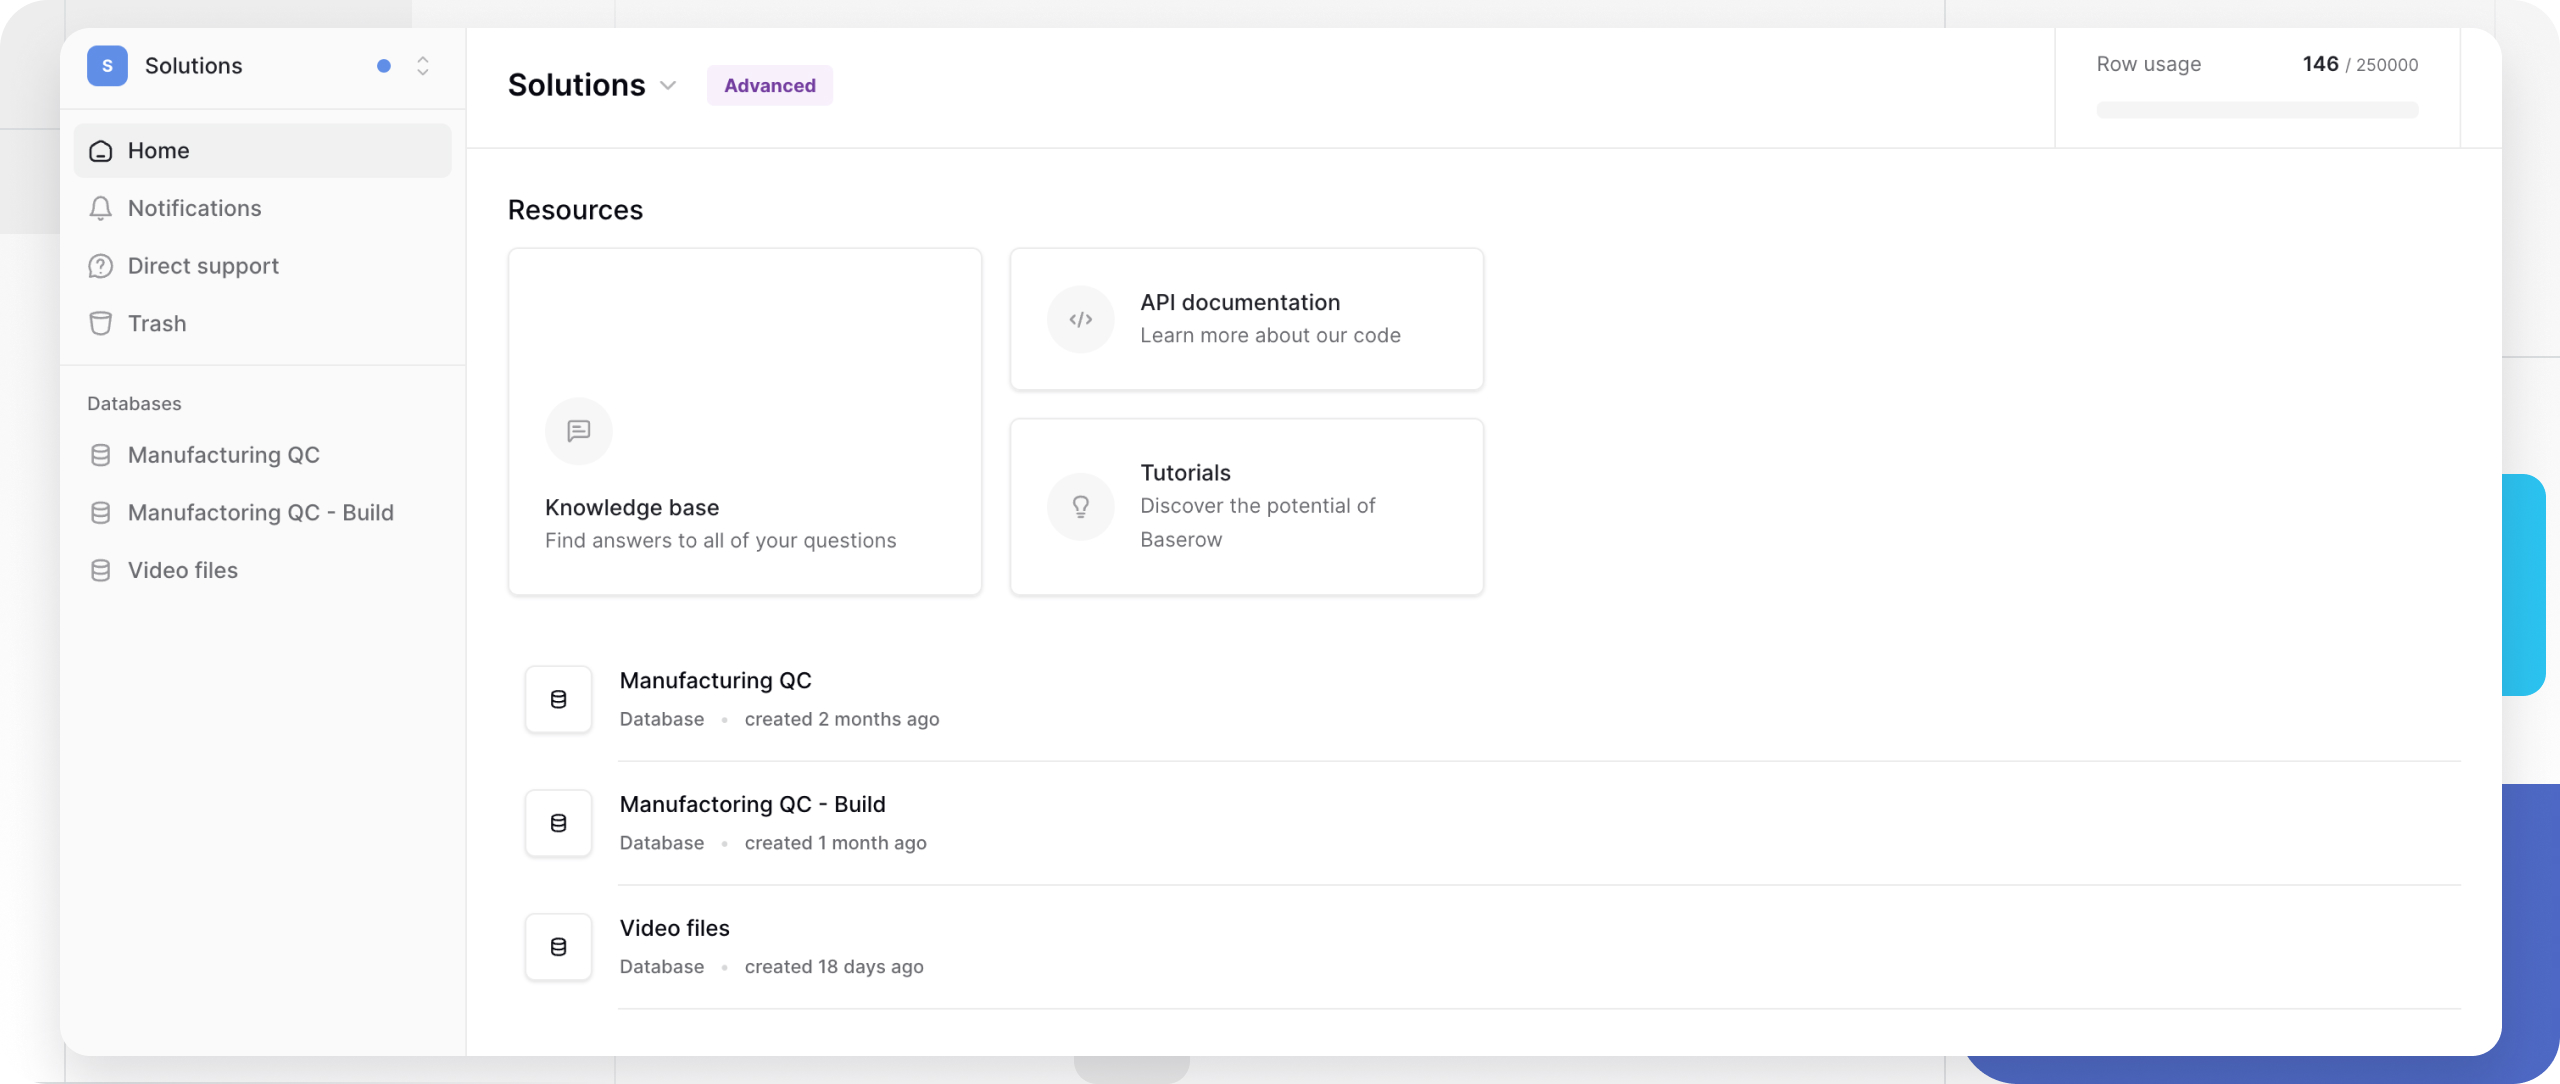
In the open-source edition of Baserow, a workspace holds databases - sets of related tables covering one subject area, such as a customer list or a task tracker. For how a database is structured internally and how to create one, see Databases .
Search and Collaboration
Every workspace ships with search across all its databases, tables, and rows, reachable with Cmd+K (Mac) or Ctrl+K (Windows/Linux), or through the search icon in the sidebar. Each member of a workspace holds either the admin role or the regular member role, which determines what they can do: full control over the workspace, or work limited to the databases already shared with them.
Working Across Multiple Workspaces
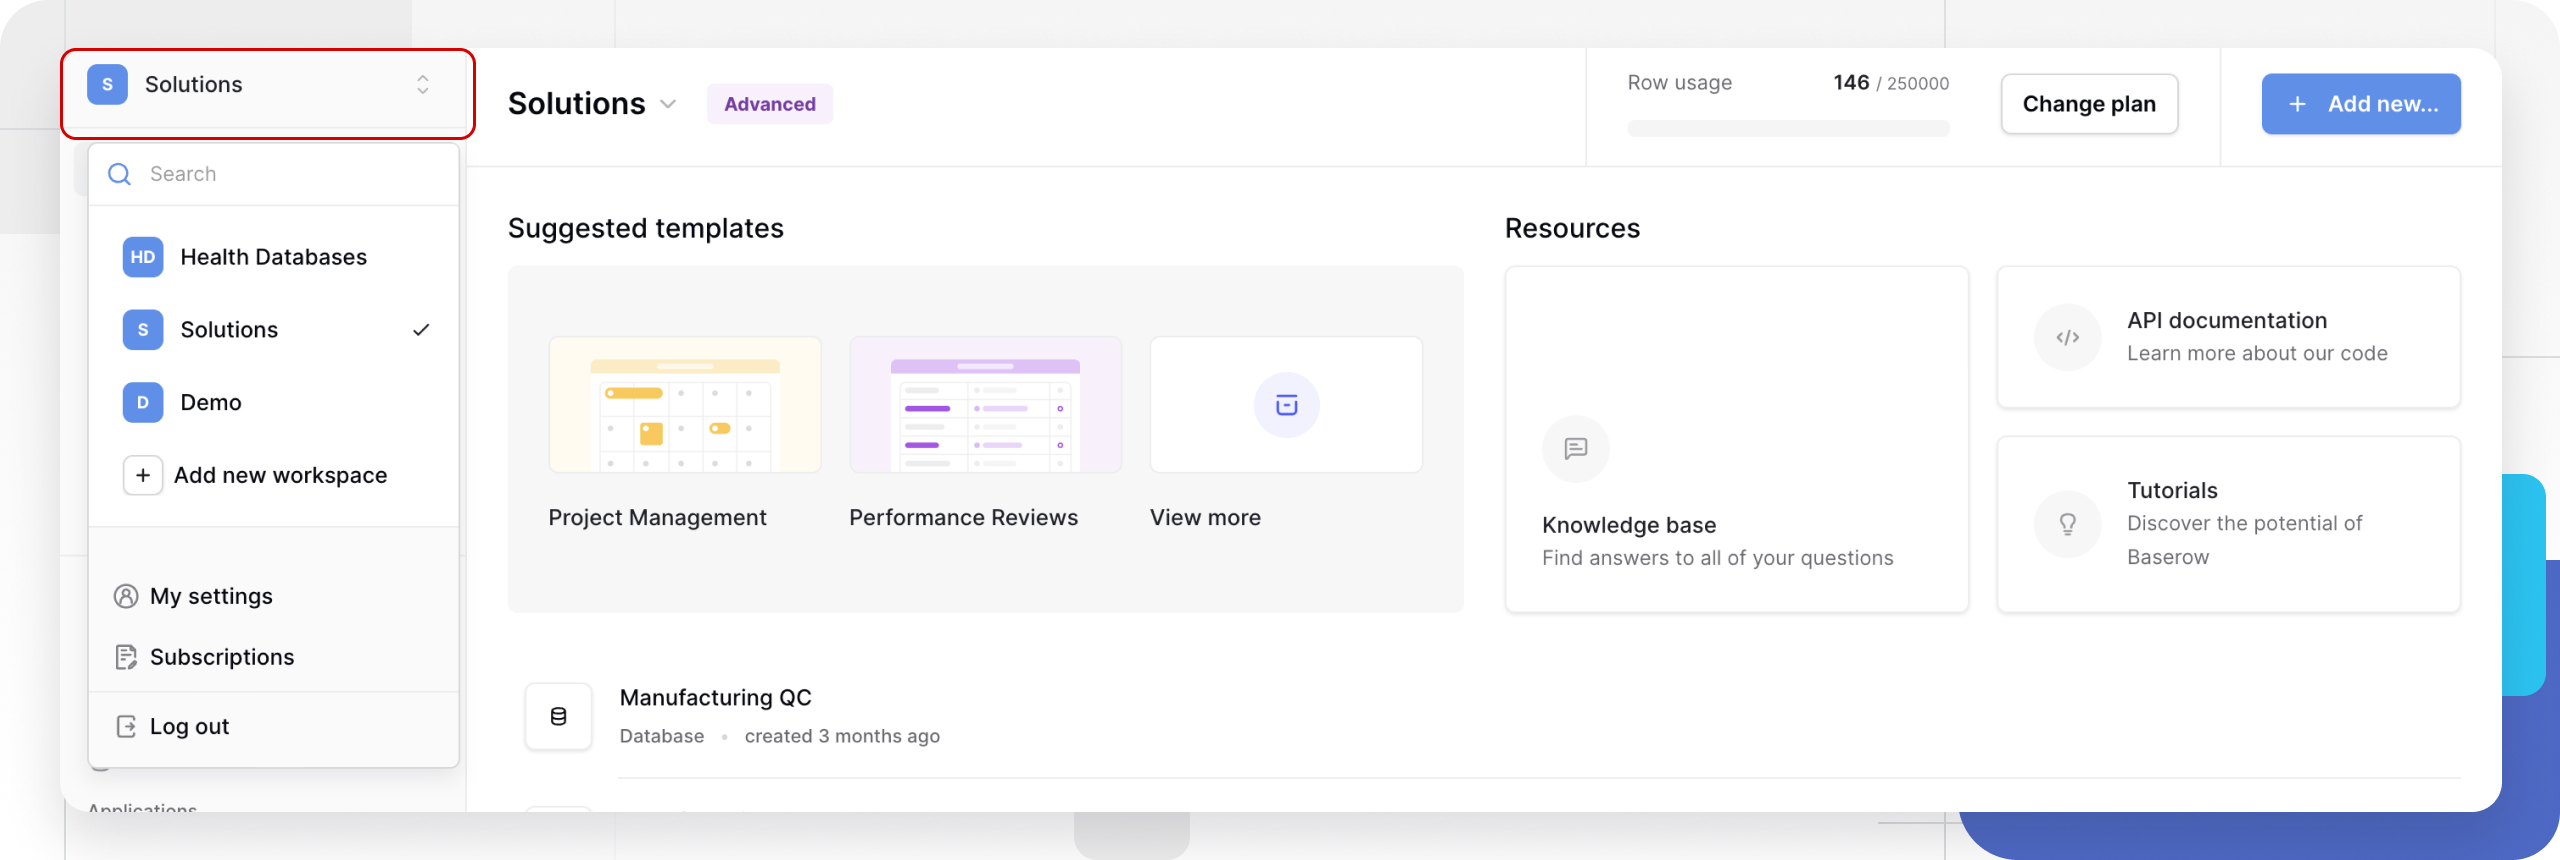
A user can belong to any number of workspaces and switch between them freely. Workspaces stay isolated from one another, though - you cannot link tables across two different workspaces or reuse a single database in both. Moving content from one workspace to another means exporting it out of the source and importing it into the destination, covered step by step in Export Workspaces and Import Workspaces .
Frequently Asked Questions
How many workspaces can I create? There’s no limit - create a separate workspace for each department, project, or team.
Does every workspace need an admin? Yes, each workspace must keep at least one admin; the system blocks the last remaining admin from leaving until the role is handed off first - see Leave a Workspace for the details.
Next, read Setting Up a Workspace to create your own workspace, name it, and start adding content.