Setting Up a Baserow Workspace - Step-by-Step Guide
Creating a workspace takes a few clicks from the Baserow home page, and its name, member list, and content can all be changed later - this article walks through creating, renaming, and adding the first content to a workspace.
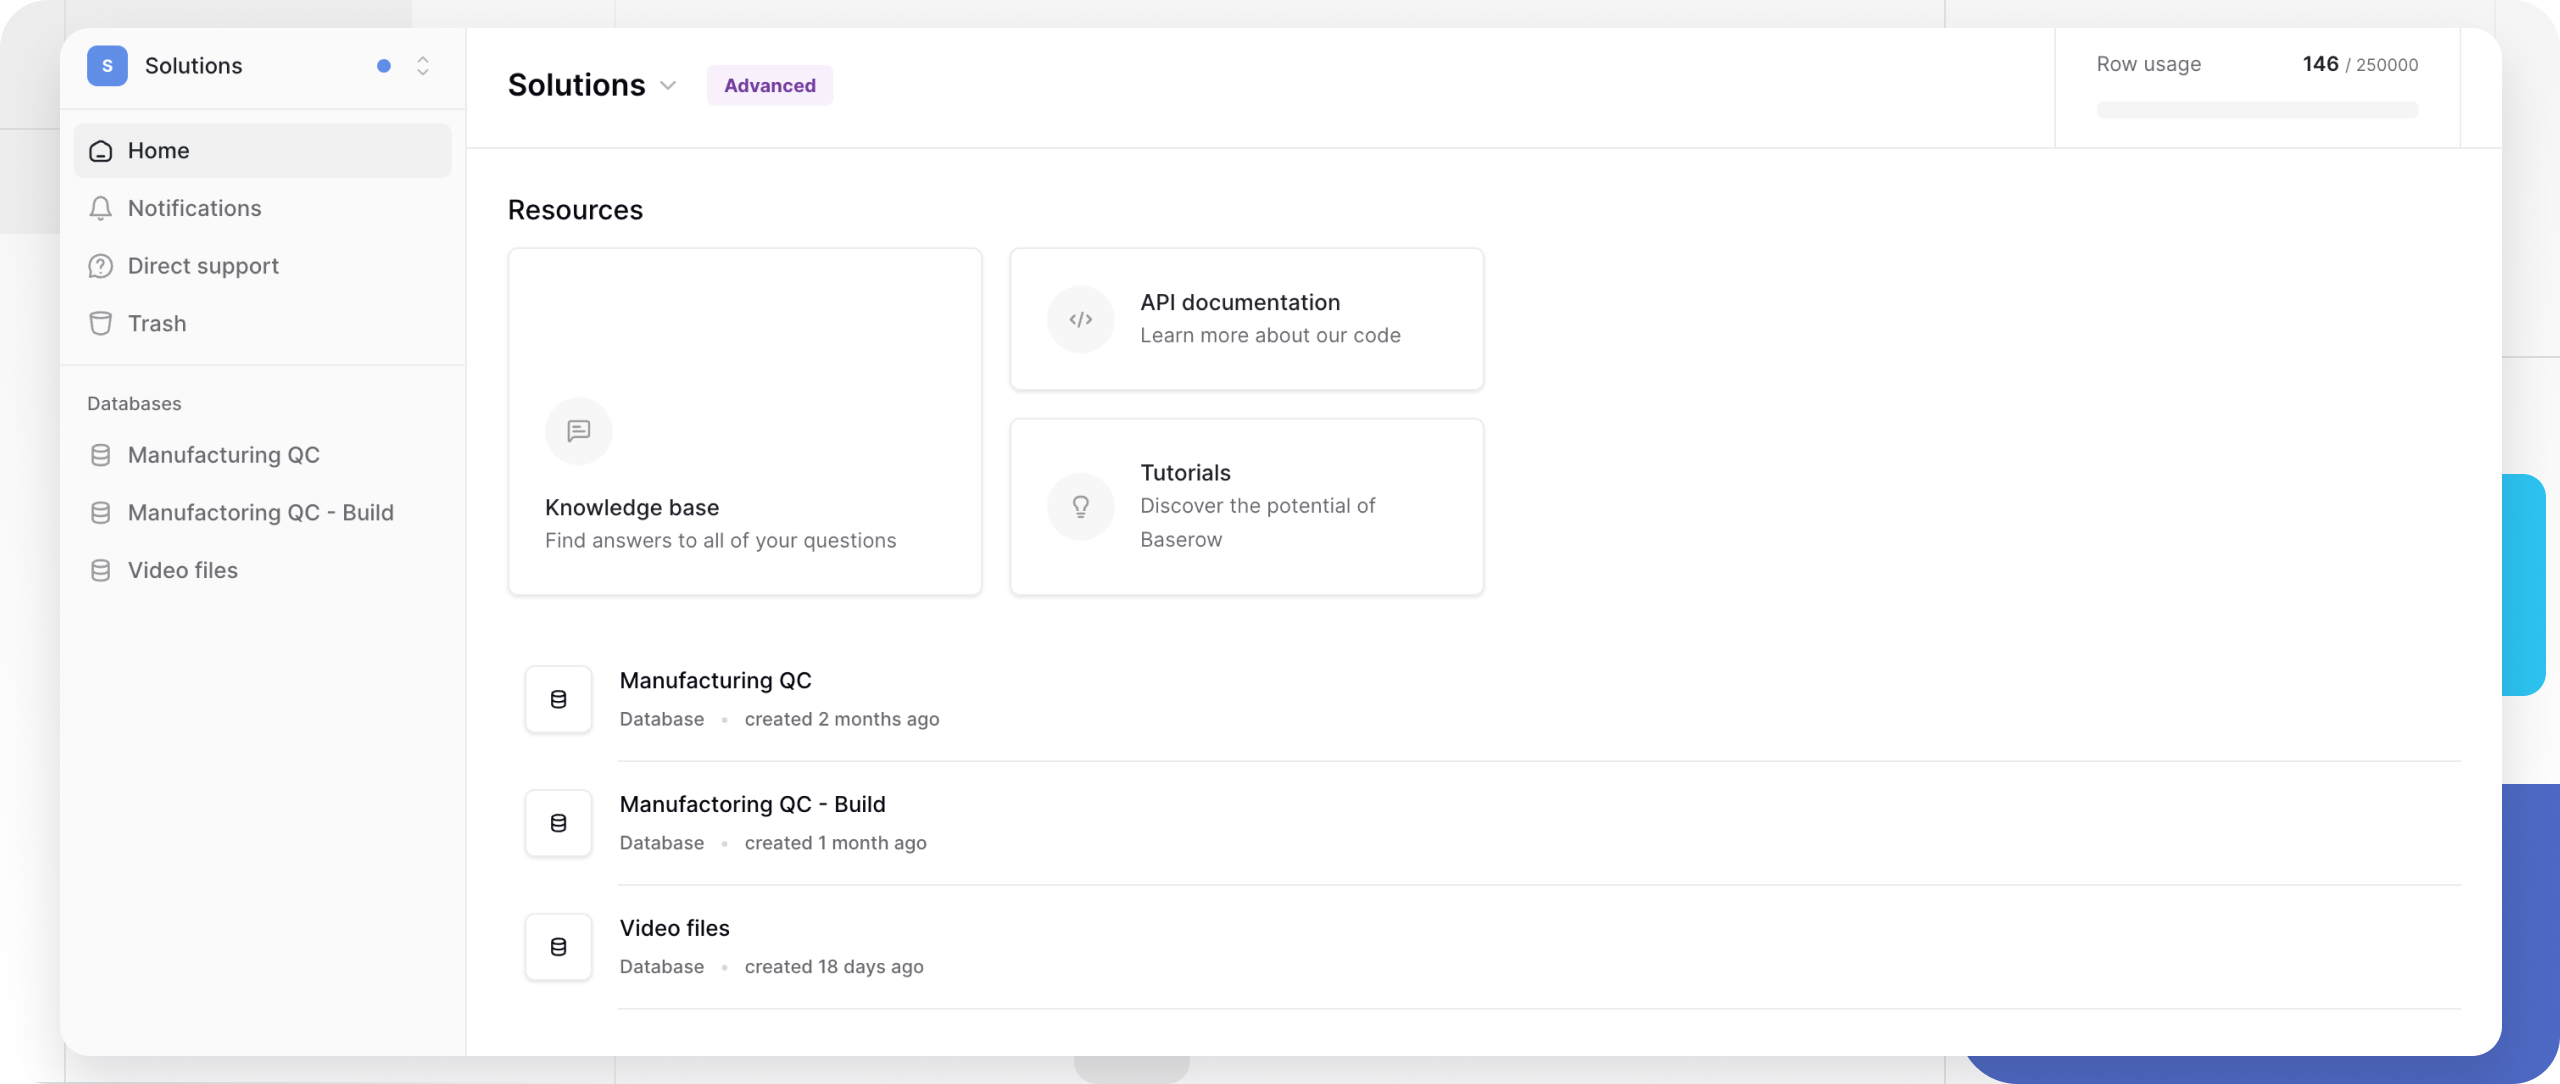
Plan the Workspace Structure
Before creating a workspace, it helps to settle three things:
- What will live inside it - which databases belong in this workspace and whether they relate to each other.
- Who needs access - which teammates will work in the workspace and with which role, admin or regular member.
- How it fits with other workspaces - split by department, project, or client, or keep closely related work in one place.
Pick a name that is specific and easy to recognize, such as “Sales - 2026” or “Client: Acme Corp”, rather than “Workspace 1” or “Test” - a clear name is easier to spot in the workspace list and switcher later.
Create a Workspace
Creating a workspace automatically makes you its admin with full control:
- Open the Baserow home page.
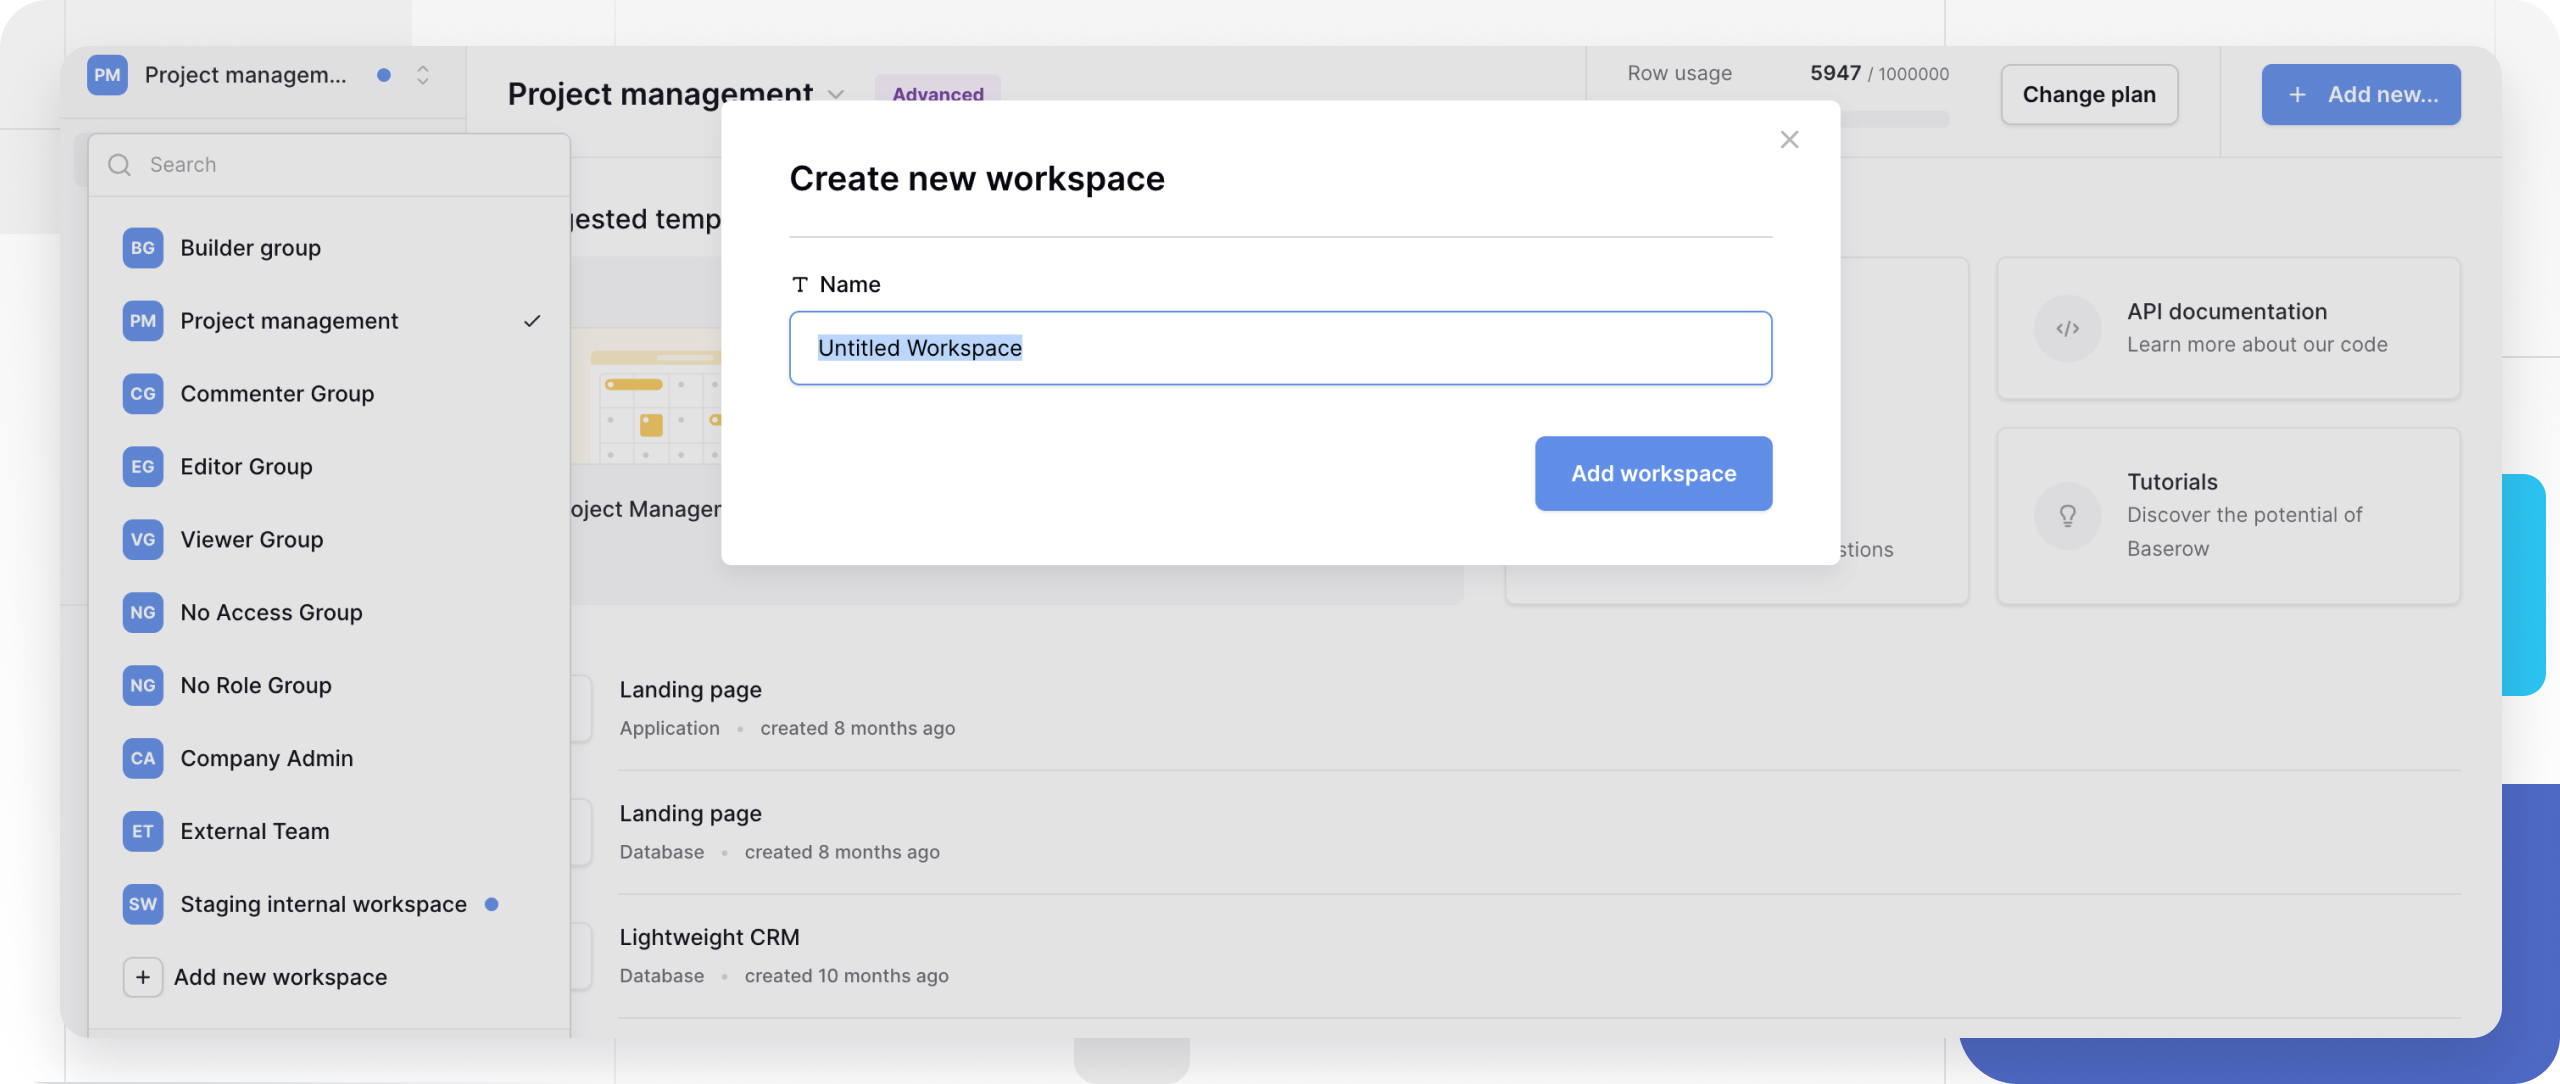
- Click your current workspace in the top-left corner and choose Add new workspace.
- Type a name for the new workspace.
- Press Enter or click outside the field to save the name.
The new workspace starts empty and ready to go - the next step is adding a database to it, covered in Databases .
Configure the Workspace
The workspace settings menu opens from the home page by clicking the workspace name. From that menu you can:
- rename the workspace;
- export its data, or bring data in through import ;
- invite and manage the workspace’s members;
- leave the workspace, or delete it.
The full set of actions in this menu is available only to workspace admins; members with the regular role can export data or leave the workspace on their own.
Rename the Workspace
An admin can change the workspace name at any time:
- On the home page, click the workspace name.
- Choose Rename workspace.
- Type the new name.
- Press Enter to save it.
Renaming does not affect the workspace’s databases, member access, API connections, or configured views - only the displayed name changes.
Set Up the Member List
Once a workspace exists, the next step is usually inviting the team - invited members get a notification with a link to join. It’s worth revisiting the member list periodically: after a project wraps up, a teammate’s role changes, or an external contractor’s engagement ends, it’s a good time to remove access that’s no longer needed.
Frequently Asked Questions
Can workspaces be created without an invitation? On a self-hosted Baserow instance, this is controlled by the Instance Admin, who decides whether regular users can create workspaces on their own.
How many workspaces can I create? There is no limit.
What’s the difference between a workspace admin and an Instance Admin? A workspace admin manages one specific workspace - its members, databases, and settings. An Instance Admin manages the whole self-hosted Baserow instance. The same person can hold both roles at once.
What happens if I delete a workspace? All of its databases and content are removed; export anything important beforehand - see Deleting a Workspace for the full picture.
Do I need a workspace before adding databases? Yes - every database belongs to exactly one workspace.
Troubleshooting
I can’t create a workspace. The Instance Admin has likely restricted workspace creation for regular users - ask them to enable it or to create the workspace on your behalf.
The workspace name is cut off in the sidebar. A long name gets truncated in the interface - rename it to something shorter, around 30 characters or less.
I don’t see the workspace settings option. The full settings menu is admin-only - ask a workspace admin to grant you that role or make the change for you.
Next, learn how to back up a workspace’s content with export in Export Workspaces .