Figure 1. The Web Interface
Default login: **admin@niflheim.local** The administrator password is generated at the first startup. The user needs to follow the steps below to get it: - Connect via SSH to the virtual machine. - Get the generated data from `/opt/niflheim/admin_access_ui.txt` file. ## Viewing Users To view existing users, select “User management” → “Overview” in the left menu (see Figure 2). 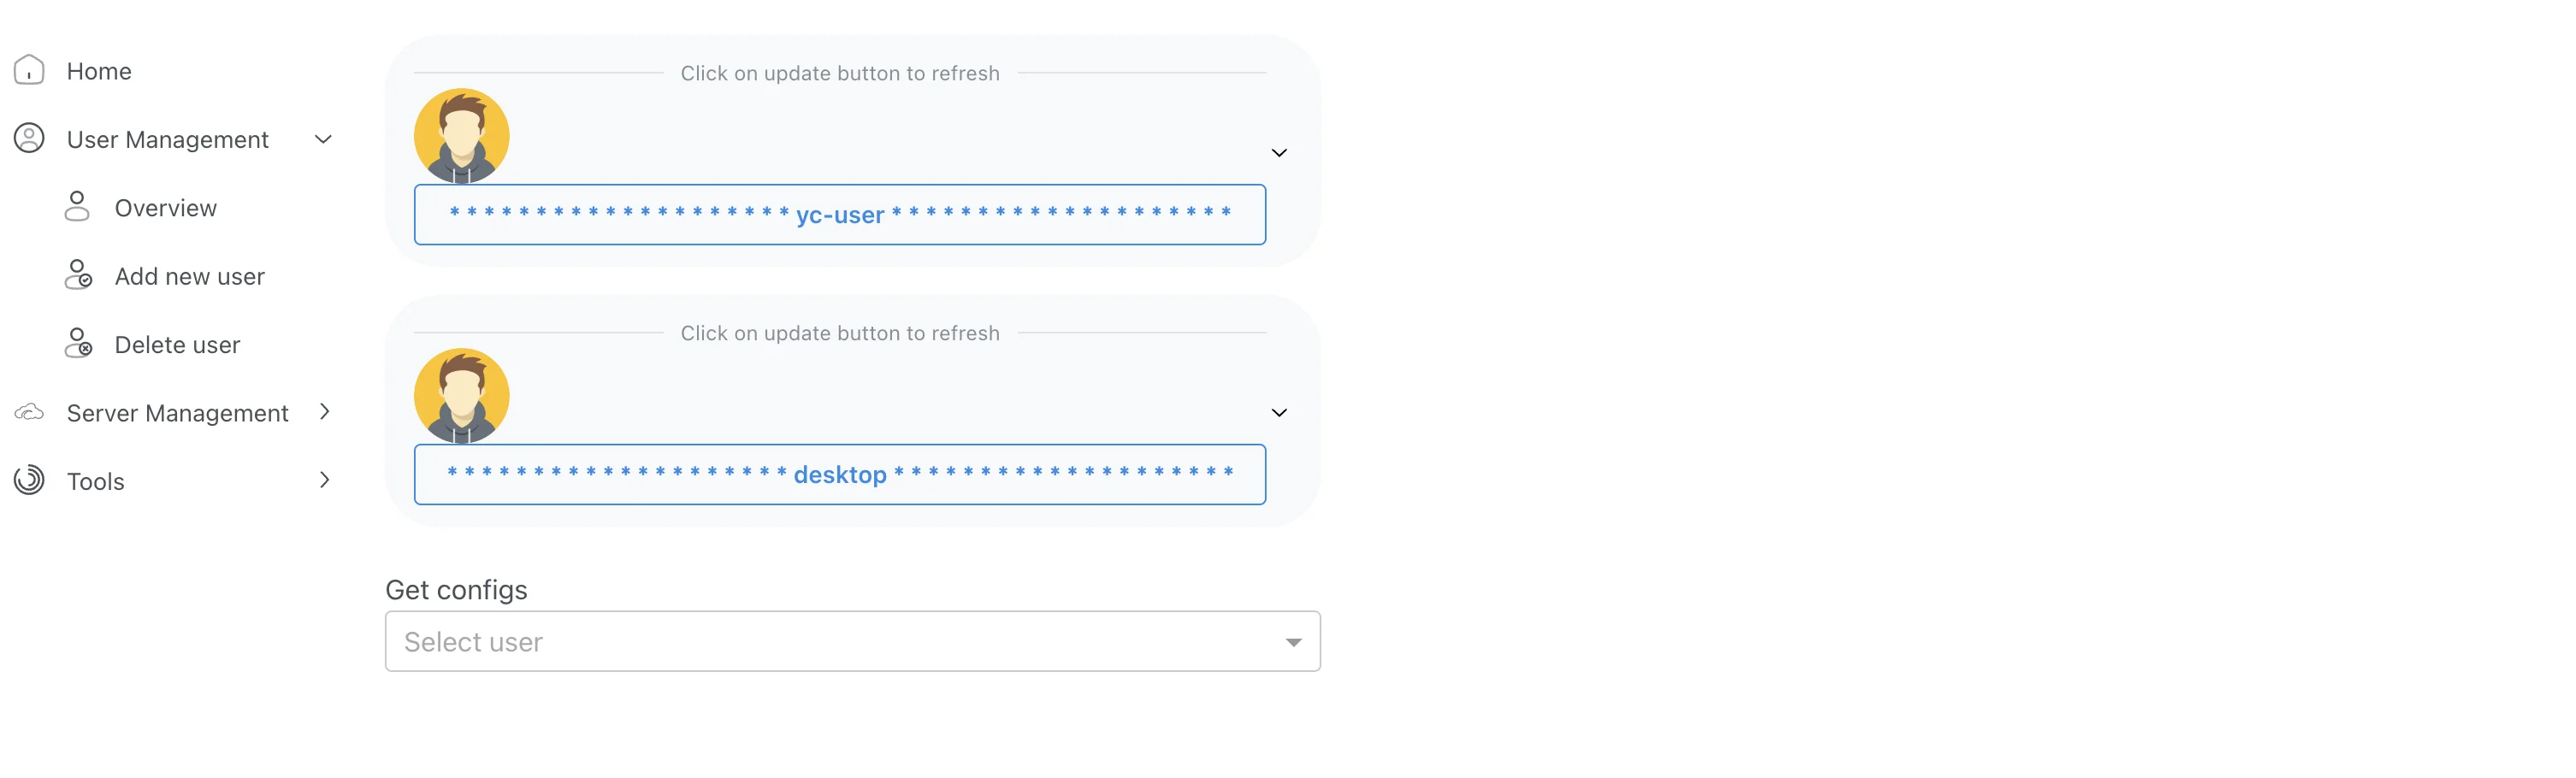Figure 2. Viewing Users
For each user, it is possible to generate a QR code for quick customization and download an archive of user settings. ## Adding a User Select “Add new user” and fill in all required fields (see Figure 3). 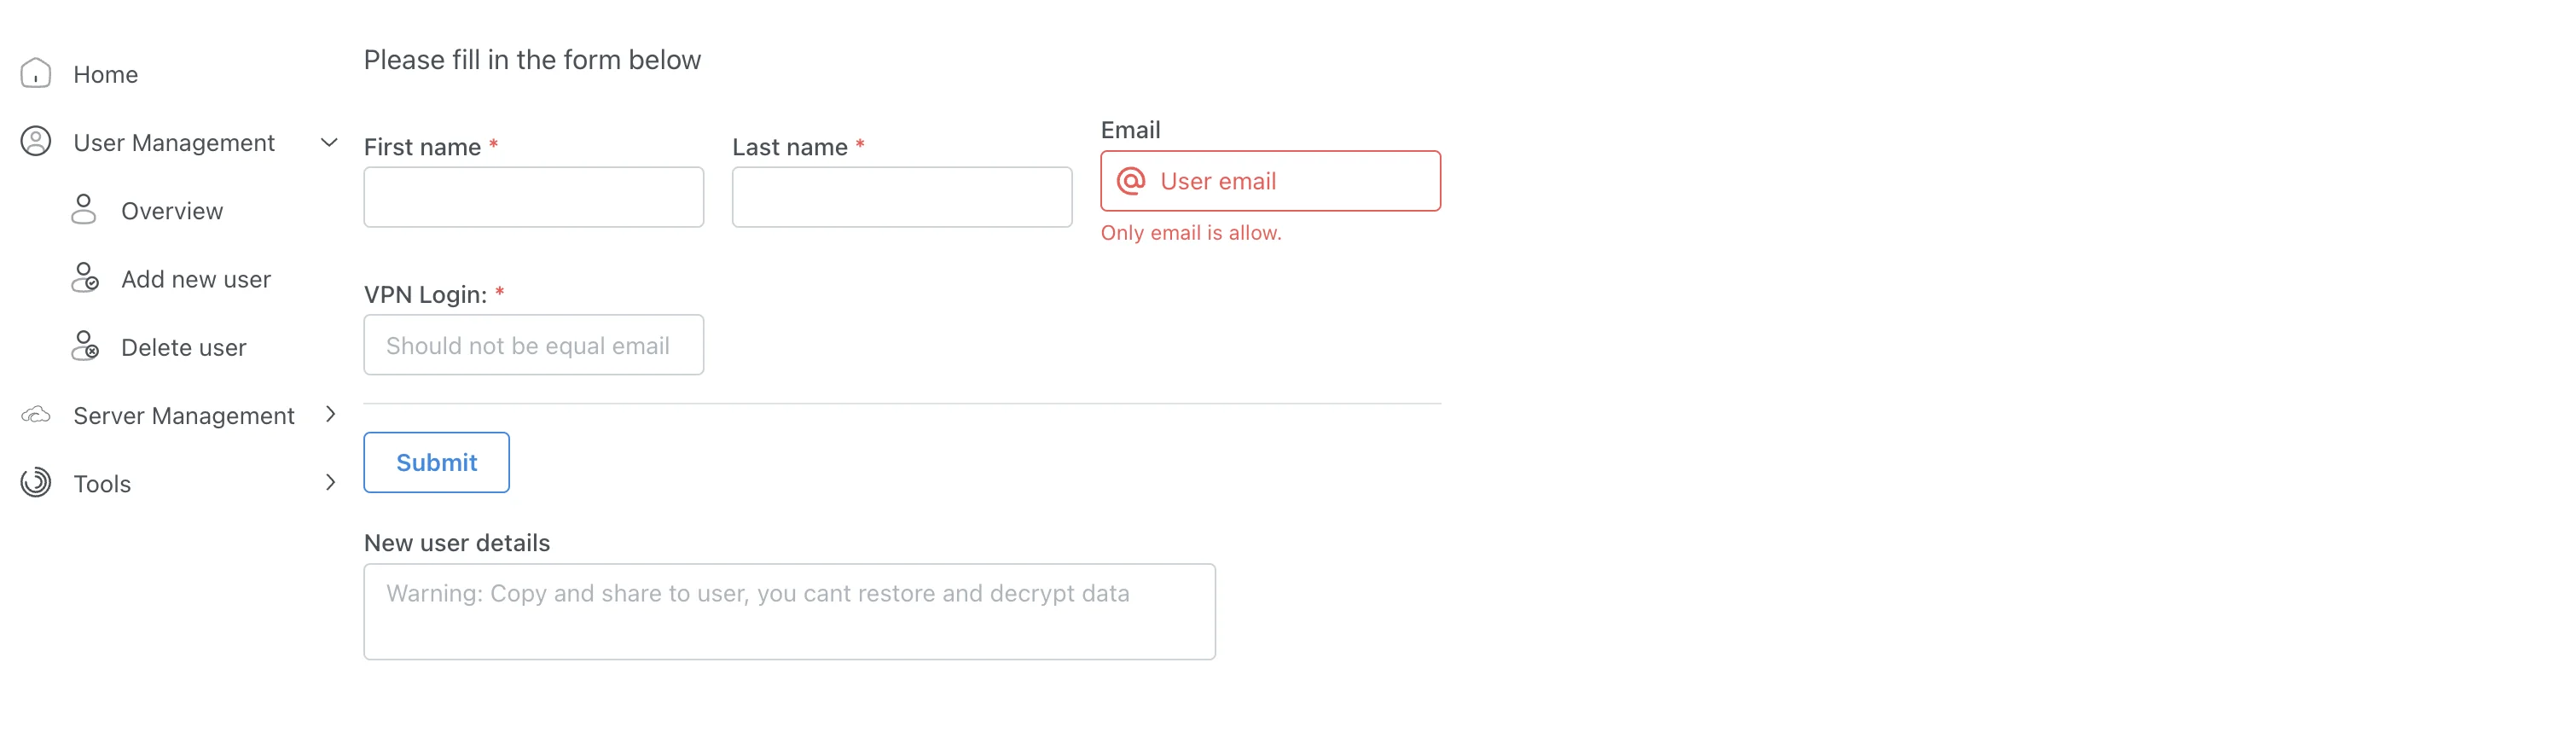Figure 3. Add a new user
After filling in all mandatory fields, the user should click the “Submit” button and wait for the user creation to complete (see Figure 4). 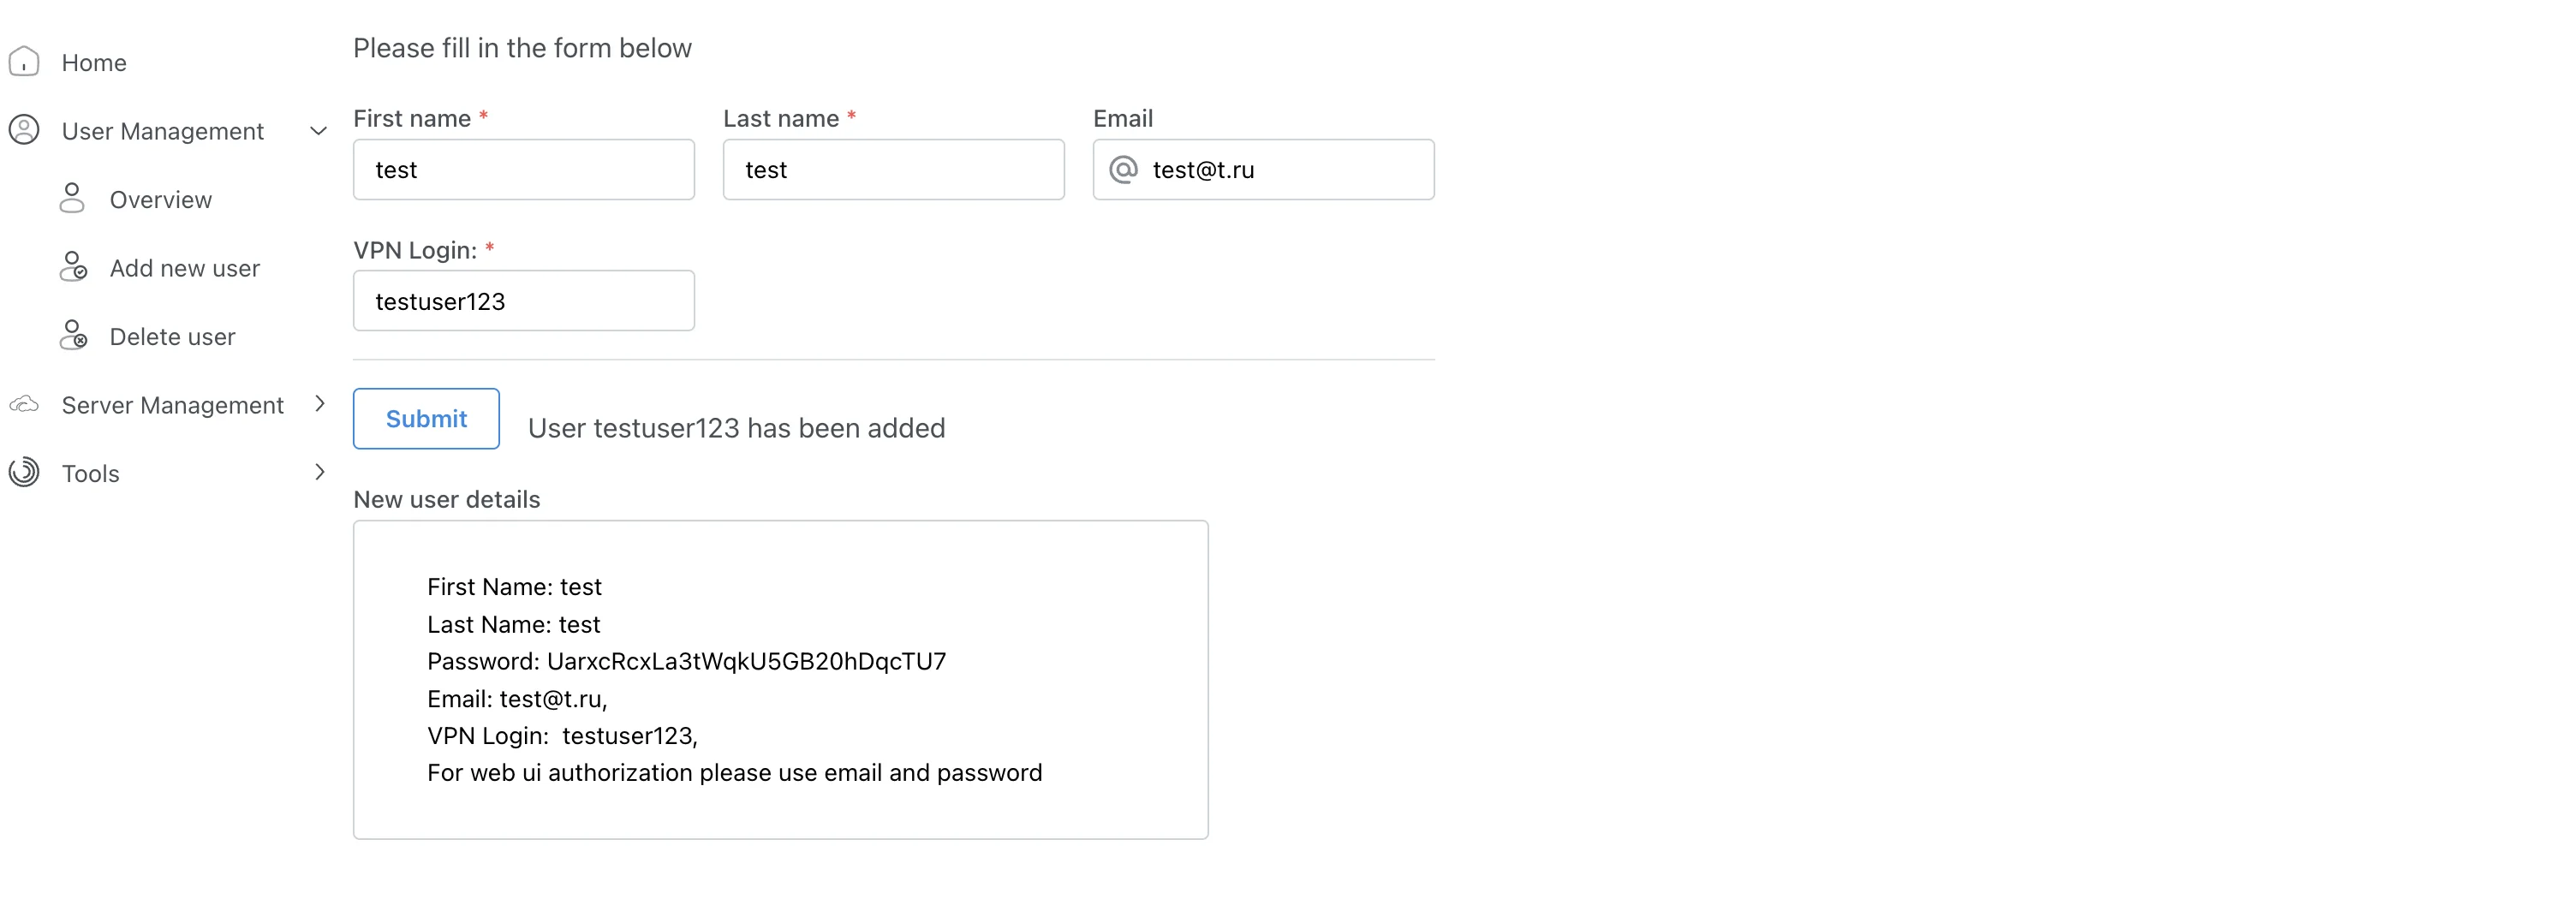Figure 4. Finish User Creation
## Delete a user To delete a user, go to the “Delete user” menu, select the desired user from the drop-down list, press the “Submit” button, and wait for the user deletion process to complete.