# Monitoring pfSense with Wazuh: A Comprehensive Guide
> Configure Wazuh Agent in pfSense for security monitoring - agent installation, log forwarding, and integration with Yandex Cloud or VK Cloud
Source: https://opennix.org/en/docs/pfsense/pfsense-wazuh-integration/
There are several ways to integrate pfSense with Wazuh. The easiest method is syslog, but you can also use the Wazuh agent.
The pfSense images published in the Yandex Cloud Marketplace and the VK Cloud Marketplace ship with the Wazuh agent already installed as a native pfSense package. On those images you can skip the installation step and go straight to configuration.
## Configuration
Installing packages for pfSense from FreeBSD repositories is not recommended as this can greatly increase the risk of problems and malfunctions.
1. First, you need to enable agent autorun. Edit the `/etc/rc.conf.local` file and replace string `wazuh_agent_enable="NO"` with string `wazuh_agent_enable="YES"`. Alternatively, run the following command:
```shell
sysrc -f /etc/rc.conf.local wazuh_agent_enable="YES"
```
2. Next, configure the agent's connection to the Wazuh Cluster. Edit the `/var/ossec/etc/ossec.conf` file and replace the IP line with the IP address or FQDN of the Wazuh cluster.
```xml
IP
aes
```
3. The next step is to launch the agent by executing the command:
```shell
service wazuh-agent start
```
It is recommended to configure a cron task to automatically clear agent logs to optimize disk space usage (for example, older than 30 days). For this run the command:
```shell
crontab -e
```
An example of the cleanup command:
```text
0 4 * * * find /var/ossec/logs/ossec/ -d 1 -mtime +30 -type d -exec rm -rf {} \; > /dev/null
```
The agent should register with Wazuh after starting it. Check it by connecting to the Wazuh master via SSH and executing the following command:
```shell
cd /var/ossec/bin/
./agent_control -l
```
If configured correctly, there is the state of pfSense as ‘Active’:
```shell
Wazuh agent_control. List of available agents:
ID: 000, Name: wazuh (server), IP: 127.0.0.1, Active/Local
ID: 001, Name: pfsense.ru-central1.internal, IP: any, Active
```
Also, the new agent will be in the Wazuh web interface (see Figure 1).
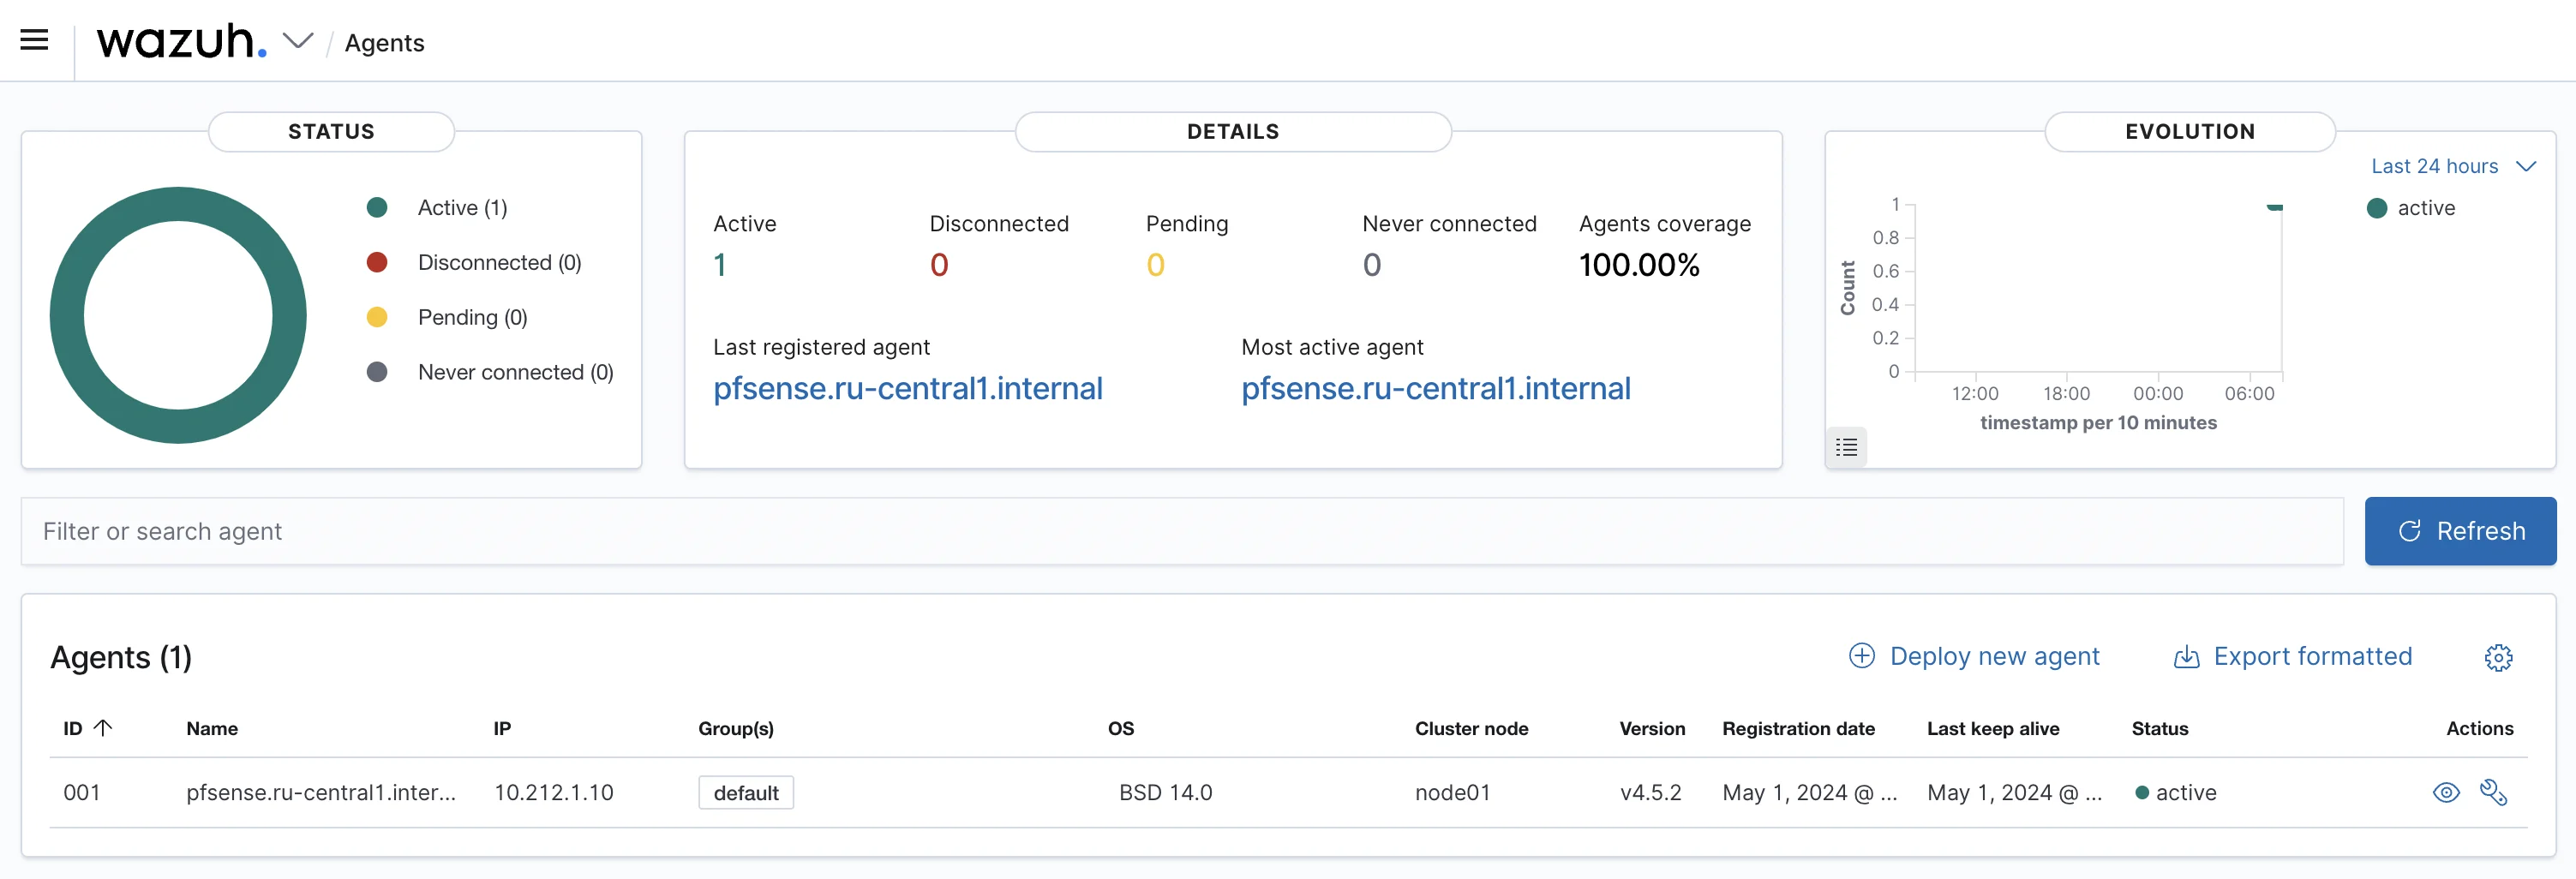
Figure 1. The Wazuh web Interface With the new Agent
The initial setup is complete, now you need to change Wazuh.
## Configuring Suricata in pfSense with sending logs to Wazuh
First, you need to install [Suricata](https://suricata.io/)
If you are already using [Suricata](/en/docs/yc/pfsense/suricata-integration/) , you can skip this step.
The next two parameters should be set as you can see at Figure 2.

Figure 2. EVE Output Settings
- EVE Json Log - checked.
- EVE Output Type - “File.
The rest of the eve.json parameters can be set at the user's preference during configuration.
2. For Wazuh to start analyzing events from Suricata, the following lines must be added to the `/var/ossec/etc/ossec.conf` configuration file:
```xml
json/var/log/suricata/*/eve.json
```
Then restart the agent:
```shell
service wazuh-agent restart
```
The initial setup is complete, now you need to change Wazuh.
## Configuring for firewall logs
Add the following lines to the `/var/ossec/etc/ossec.conf` configuration file:
```xml
syslog/var/log/filter.log
```
Then restart the agent.
The default pfSense firewall discard event rule is not logged, as specified by the line `no_log` in the [rule](https://github.com/wazuh/wazuh/blob/master/ruleset/rules/0540-pfsense_rules.xml?ref=benheater.com#L22) declaration.
Enabling logging for this rule can significantly increase the log size!
If multiple requests are made from a single source by the pfSense firewall, the blocking event will be logged by default. If you want the blocking event from the pfSense firewall to be logged in Wazuh, you can change this. The following shows how to do this.
### Create a custom rules file
1. Open the Wazuh menu and and navigate `Management > Rules` (see Figure 3).
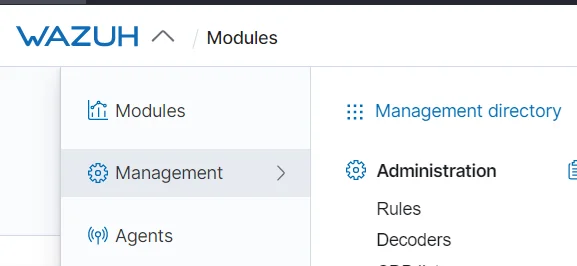
Figure 3. Wazuh Control Panel
2. Find rules for pfSense (see Figure 4).
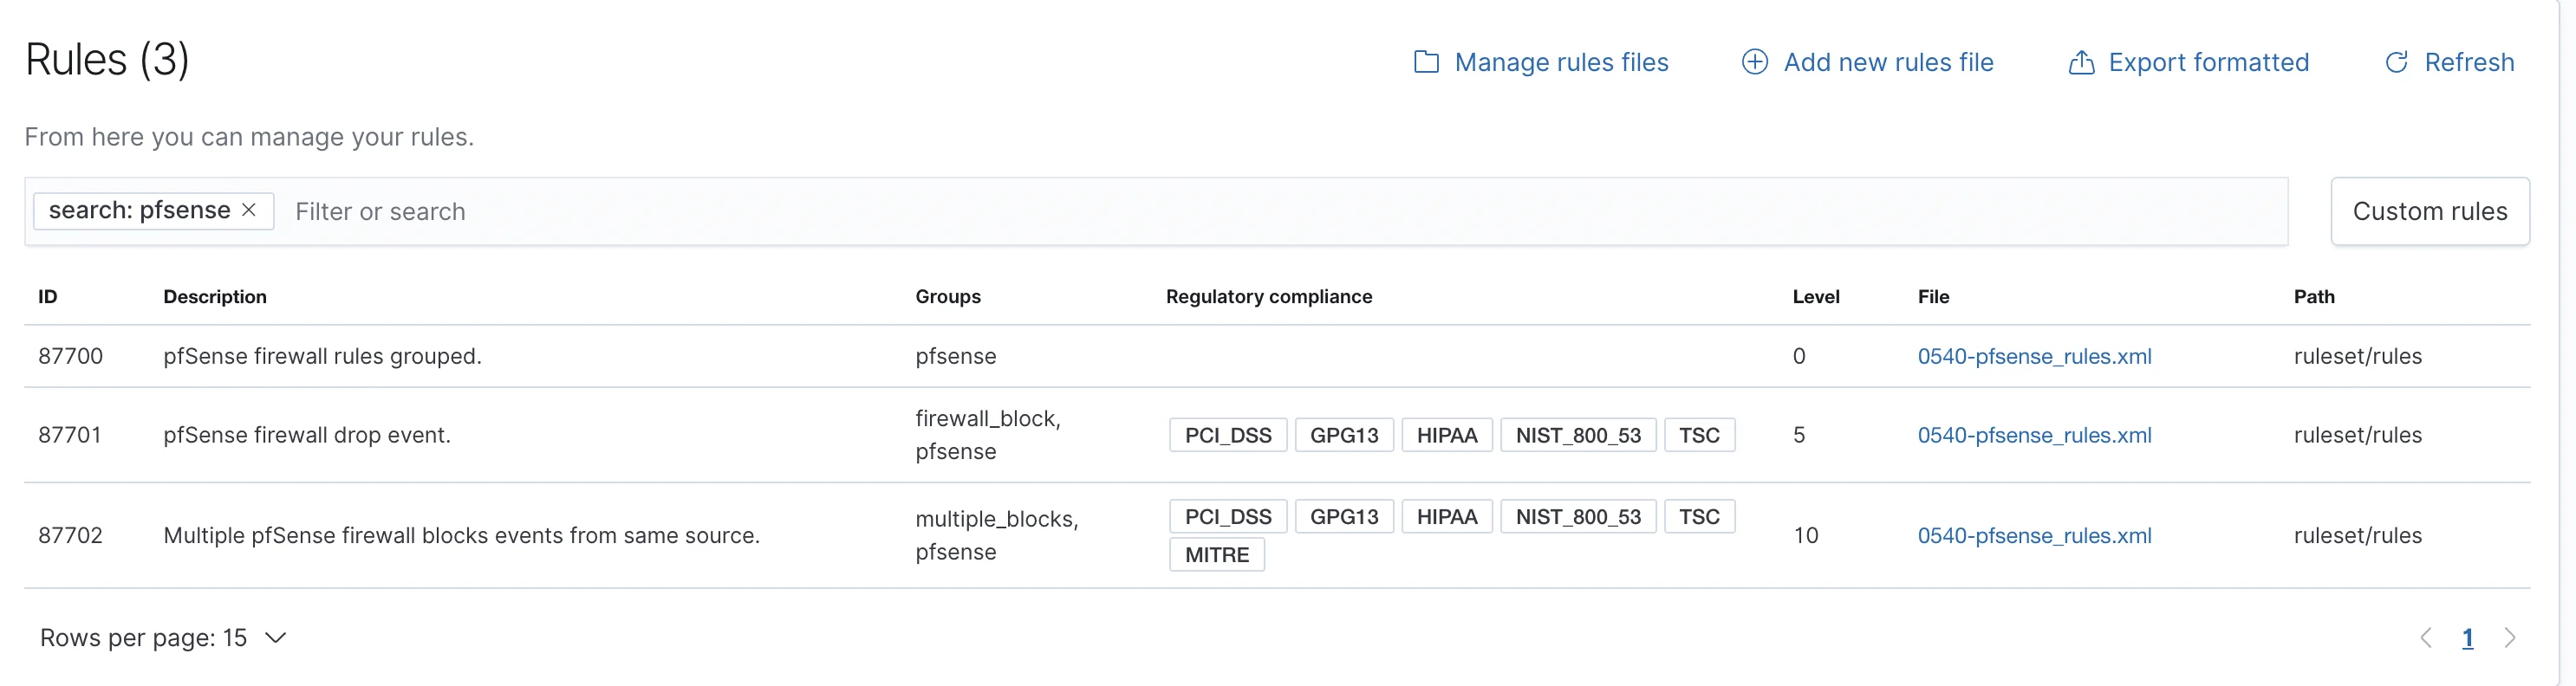
List Rules
3. Click to open the rules in the `0540-pfsense_rules.xml` file and copy the contents
```xml
pffilterlogpfSense firewall rules grouped.87700blockno_logpfSense firewall drop event.firewall_block,pci_dss_1.4,gpg13_4.12,hipaa_164.312.a.1,nist_800_53_SC.7,tsc_CC6.7,tsc_CC6.8,87701Multiple pfSense firewall blocks events from same source.T1110multiple_blocks,pci_dss_1.4,pci_dss_10.6.1,gpg13_4.12,hipaa_164.312.a.1,hipaa_164.312.b,nist_800_53_SC.7,nist_800_53_AU.6,tsc_CC6.7,tsc_CC6.8,tsc_CC7.2,tsc_CC7.3,
```
4. Navigate to the previous screen and select "Add new rules file". The file name can be anything you like, for example, "custom-pfSense-overrides.xml". The following is a sample of its contents:
```xml
pffilterlogpfSense firewall rules grouped.87700blockpfSense firewall drop event.firewall_block,pci_dss_1.4,gpg13_4.12,hipaa_164.312.a.1,nist_800_53_SC.7,tsc_CC6.7,tsc_CC6.8,87701Multiple pfSense firewall blocks events from same source.T1110multiple_blocks,pci_dss_1.4,pci_dss_10.6.1,gpg13_4.12,hipaa_164.312.a.1,hipaa_164.312.b,nist_800_53_SC.7,nist_800_53_AU.6,tsc_CC6.7,tsc_CC6.8,tsc_CC7.2,tsc_CC7.3,
```
In the example above, we removed `` and added `overwrite` for the rule.
5. Then press Save and Restart (see Figure 5).
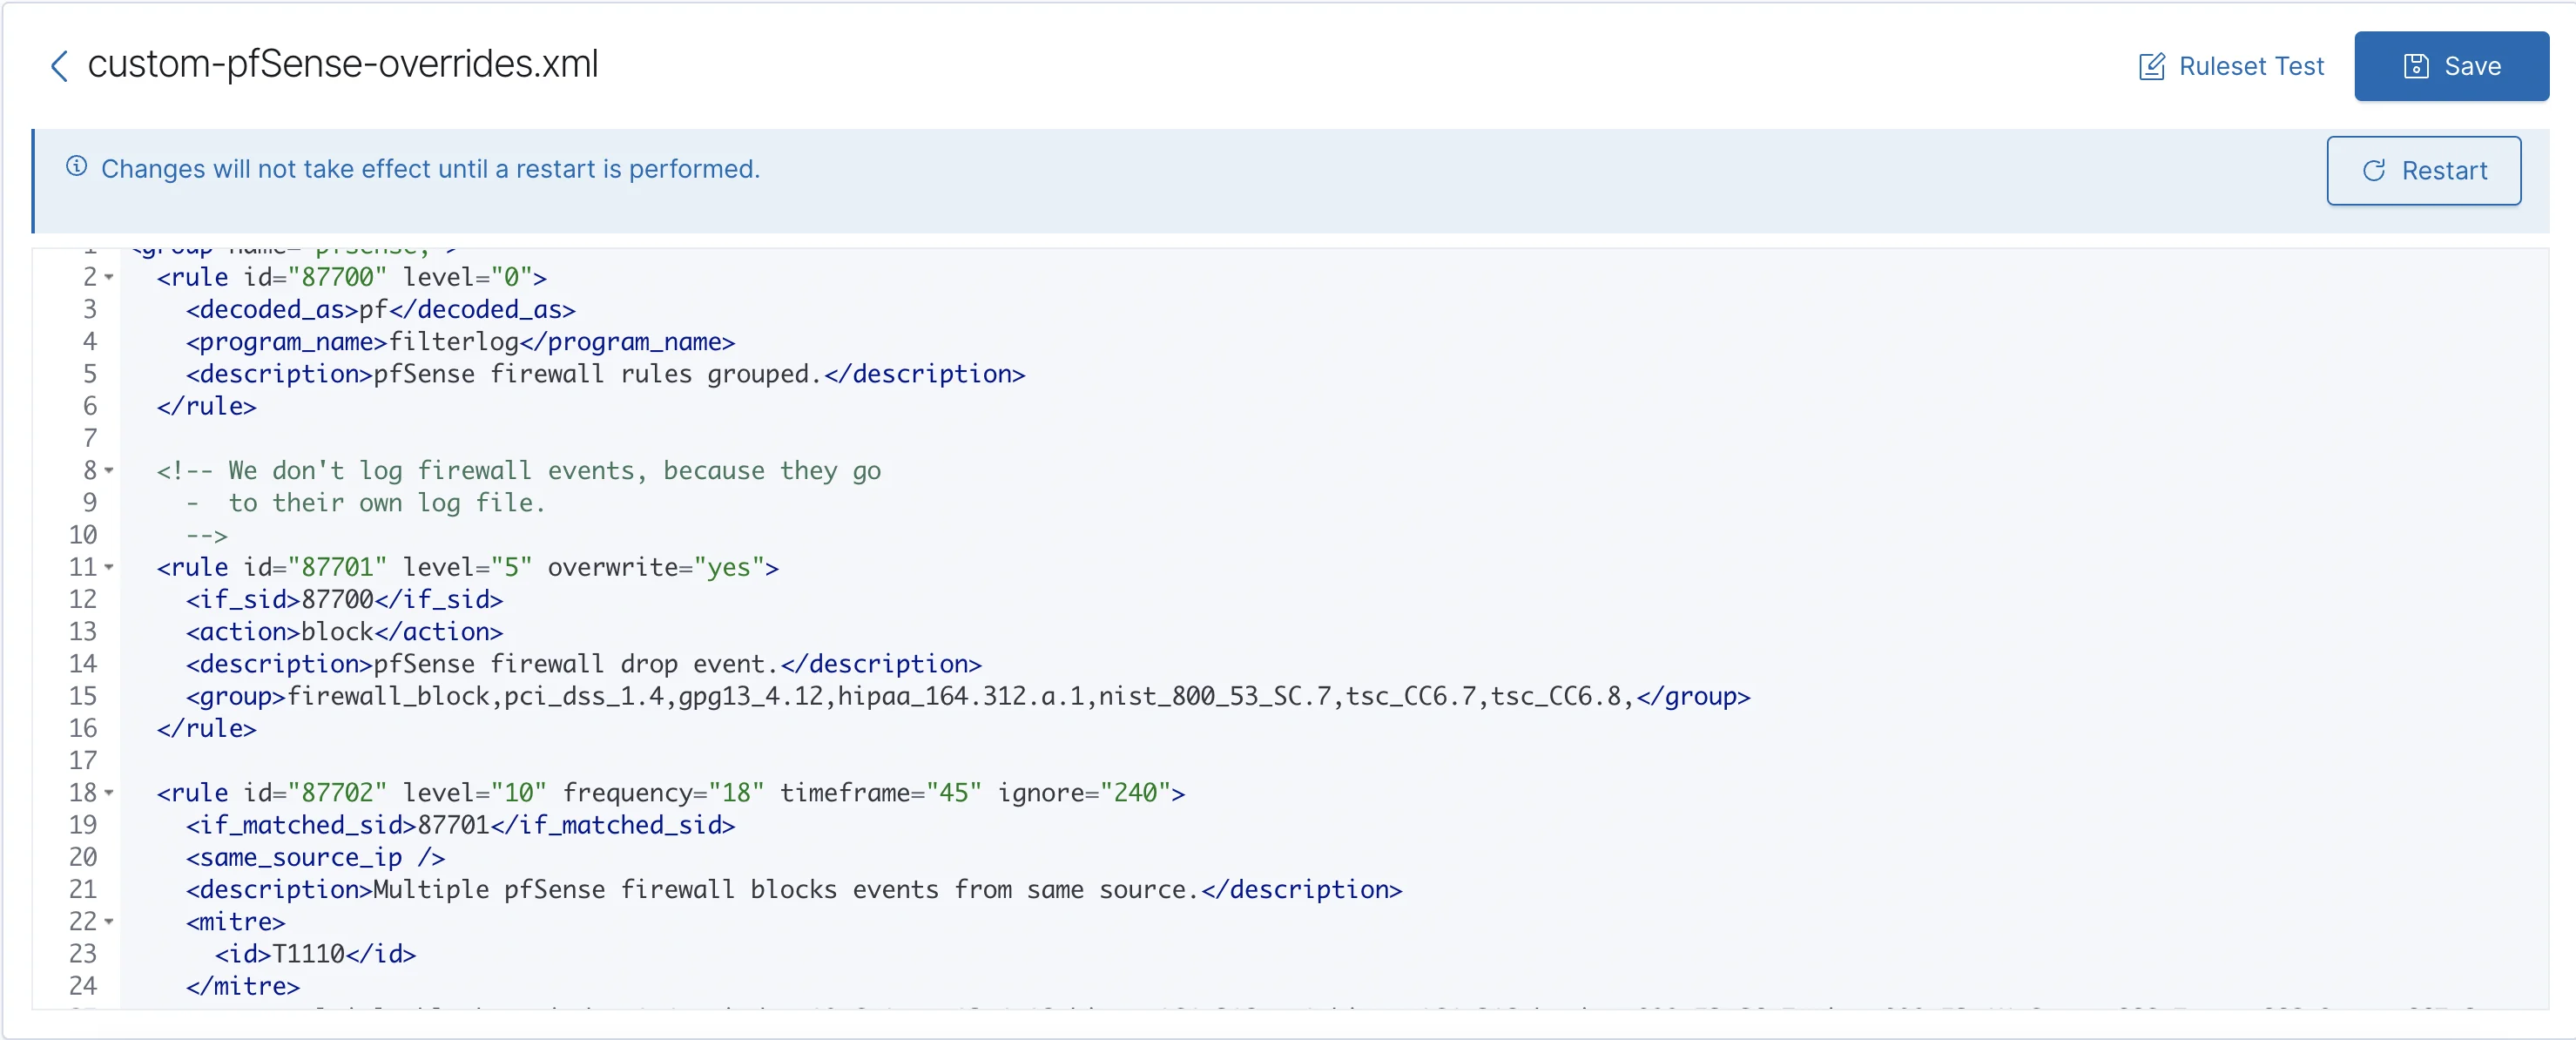
Figure 5. Save and Settings Window
6. It is necessary to confirm the applied settings (see Figure 6).
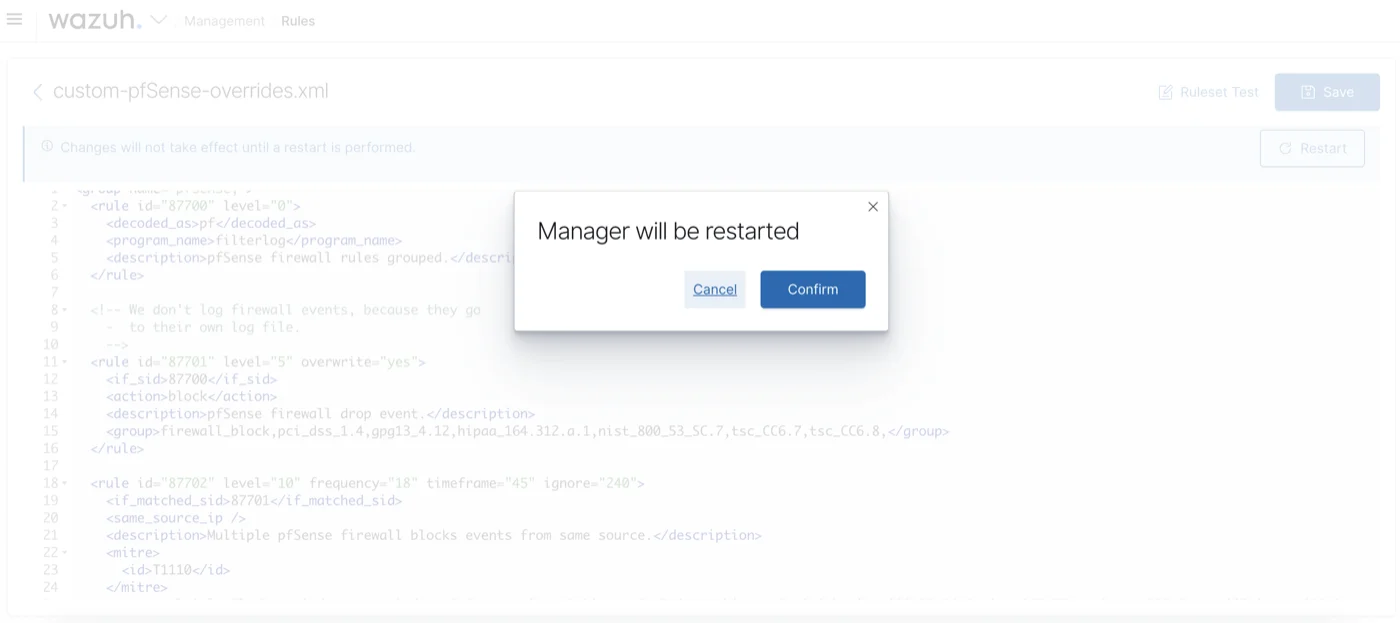
Figure 6. Settings Applied Confirmation Window
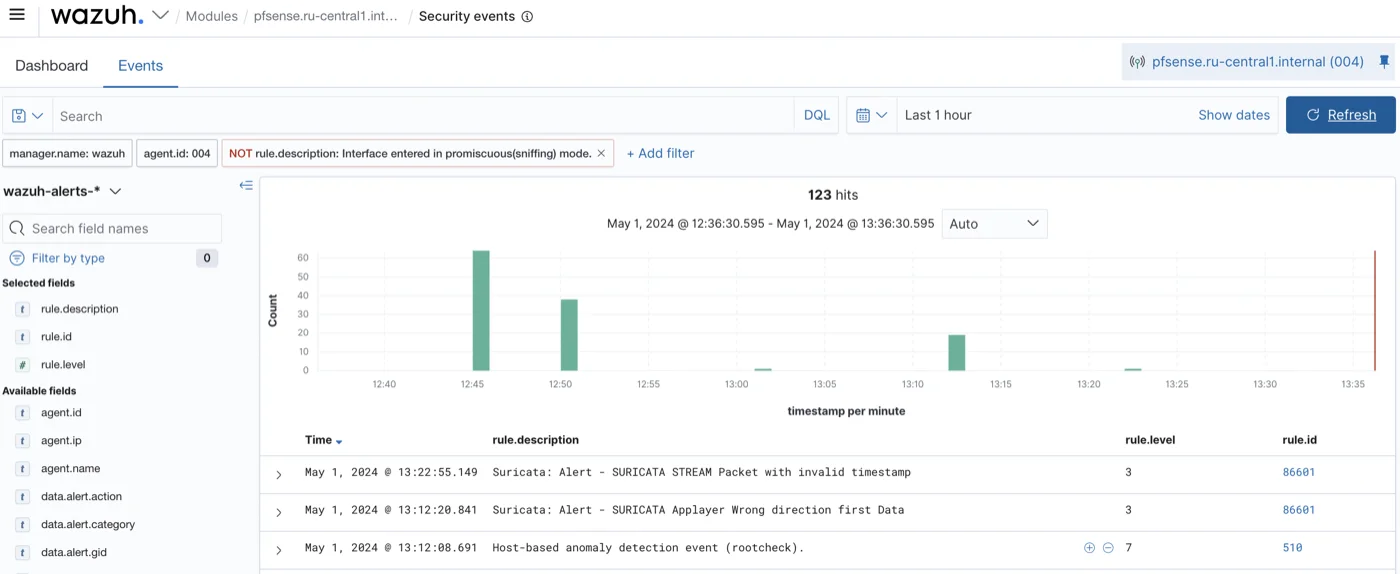
You will now receive firewall events for the Wazuh agent on pfSense (see Figure 7).