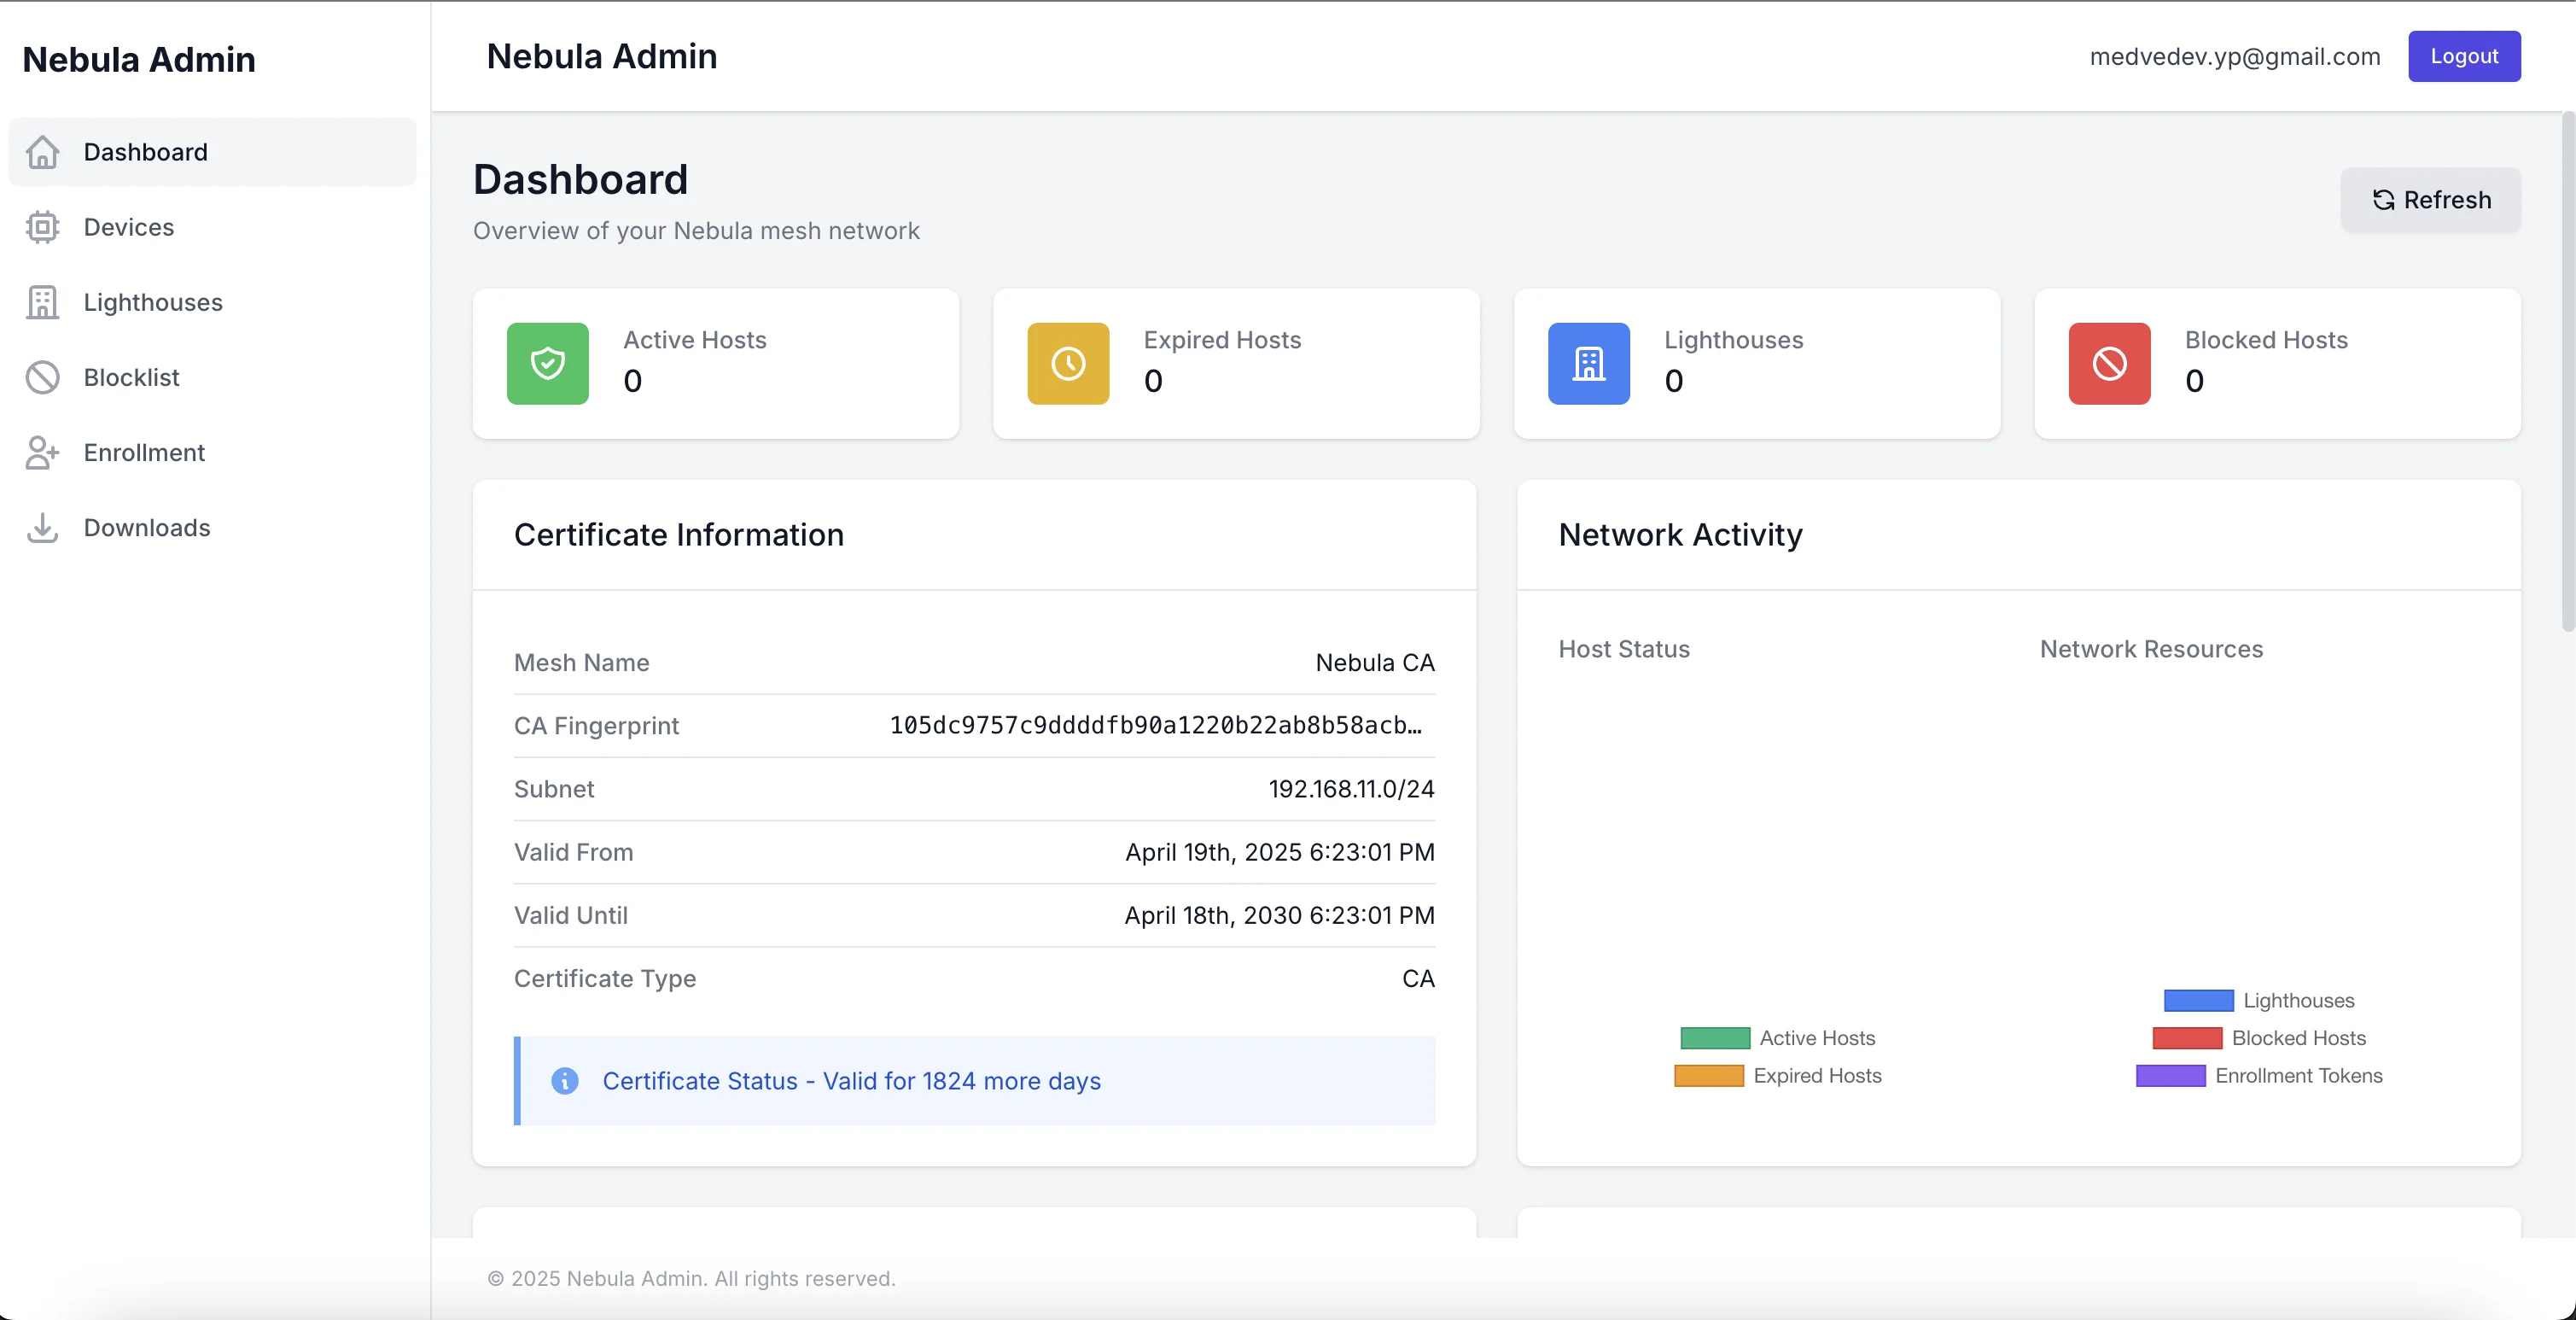
Creating a VM with a Control Panel for Nebula
Creating a Virtual Machine
Obtain an SSH key pair to connect to the virtual machine (VM).
Create a VM from a public image. In the Image/boot disk selection block, switch to the Cloud Marketplace tab and select nebula. In the Access block:
in the Login field, enter, for example,
ubuntu;in the SSH key field, paste the contents of your public SSH key file. Save the VM’s public IP address.
Connect to the VM over SSH. To do this, use the login
your-usernameand the private SSH key you created earlier.
Initial Setup of the Nebula Control Panel
After creating the virtual machine, open its public IP address in your browser.
You should see the configuration manager.
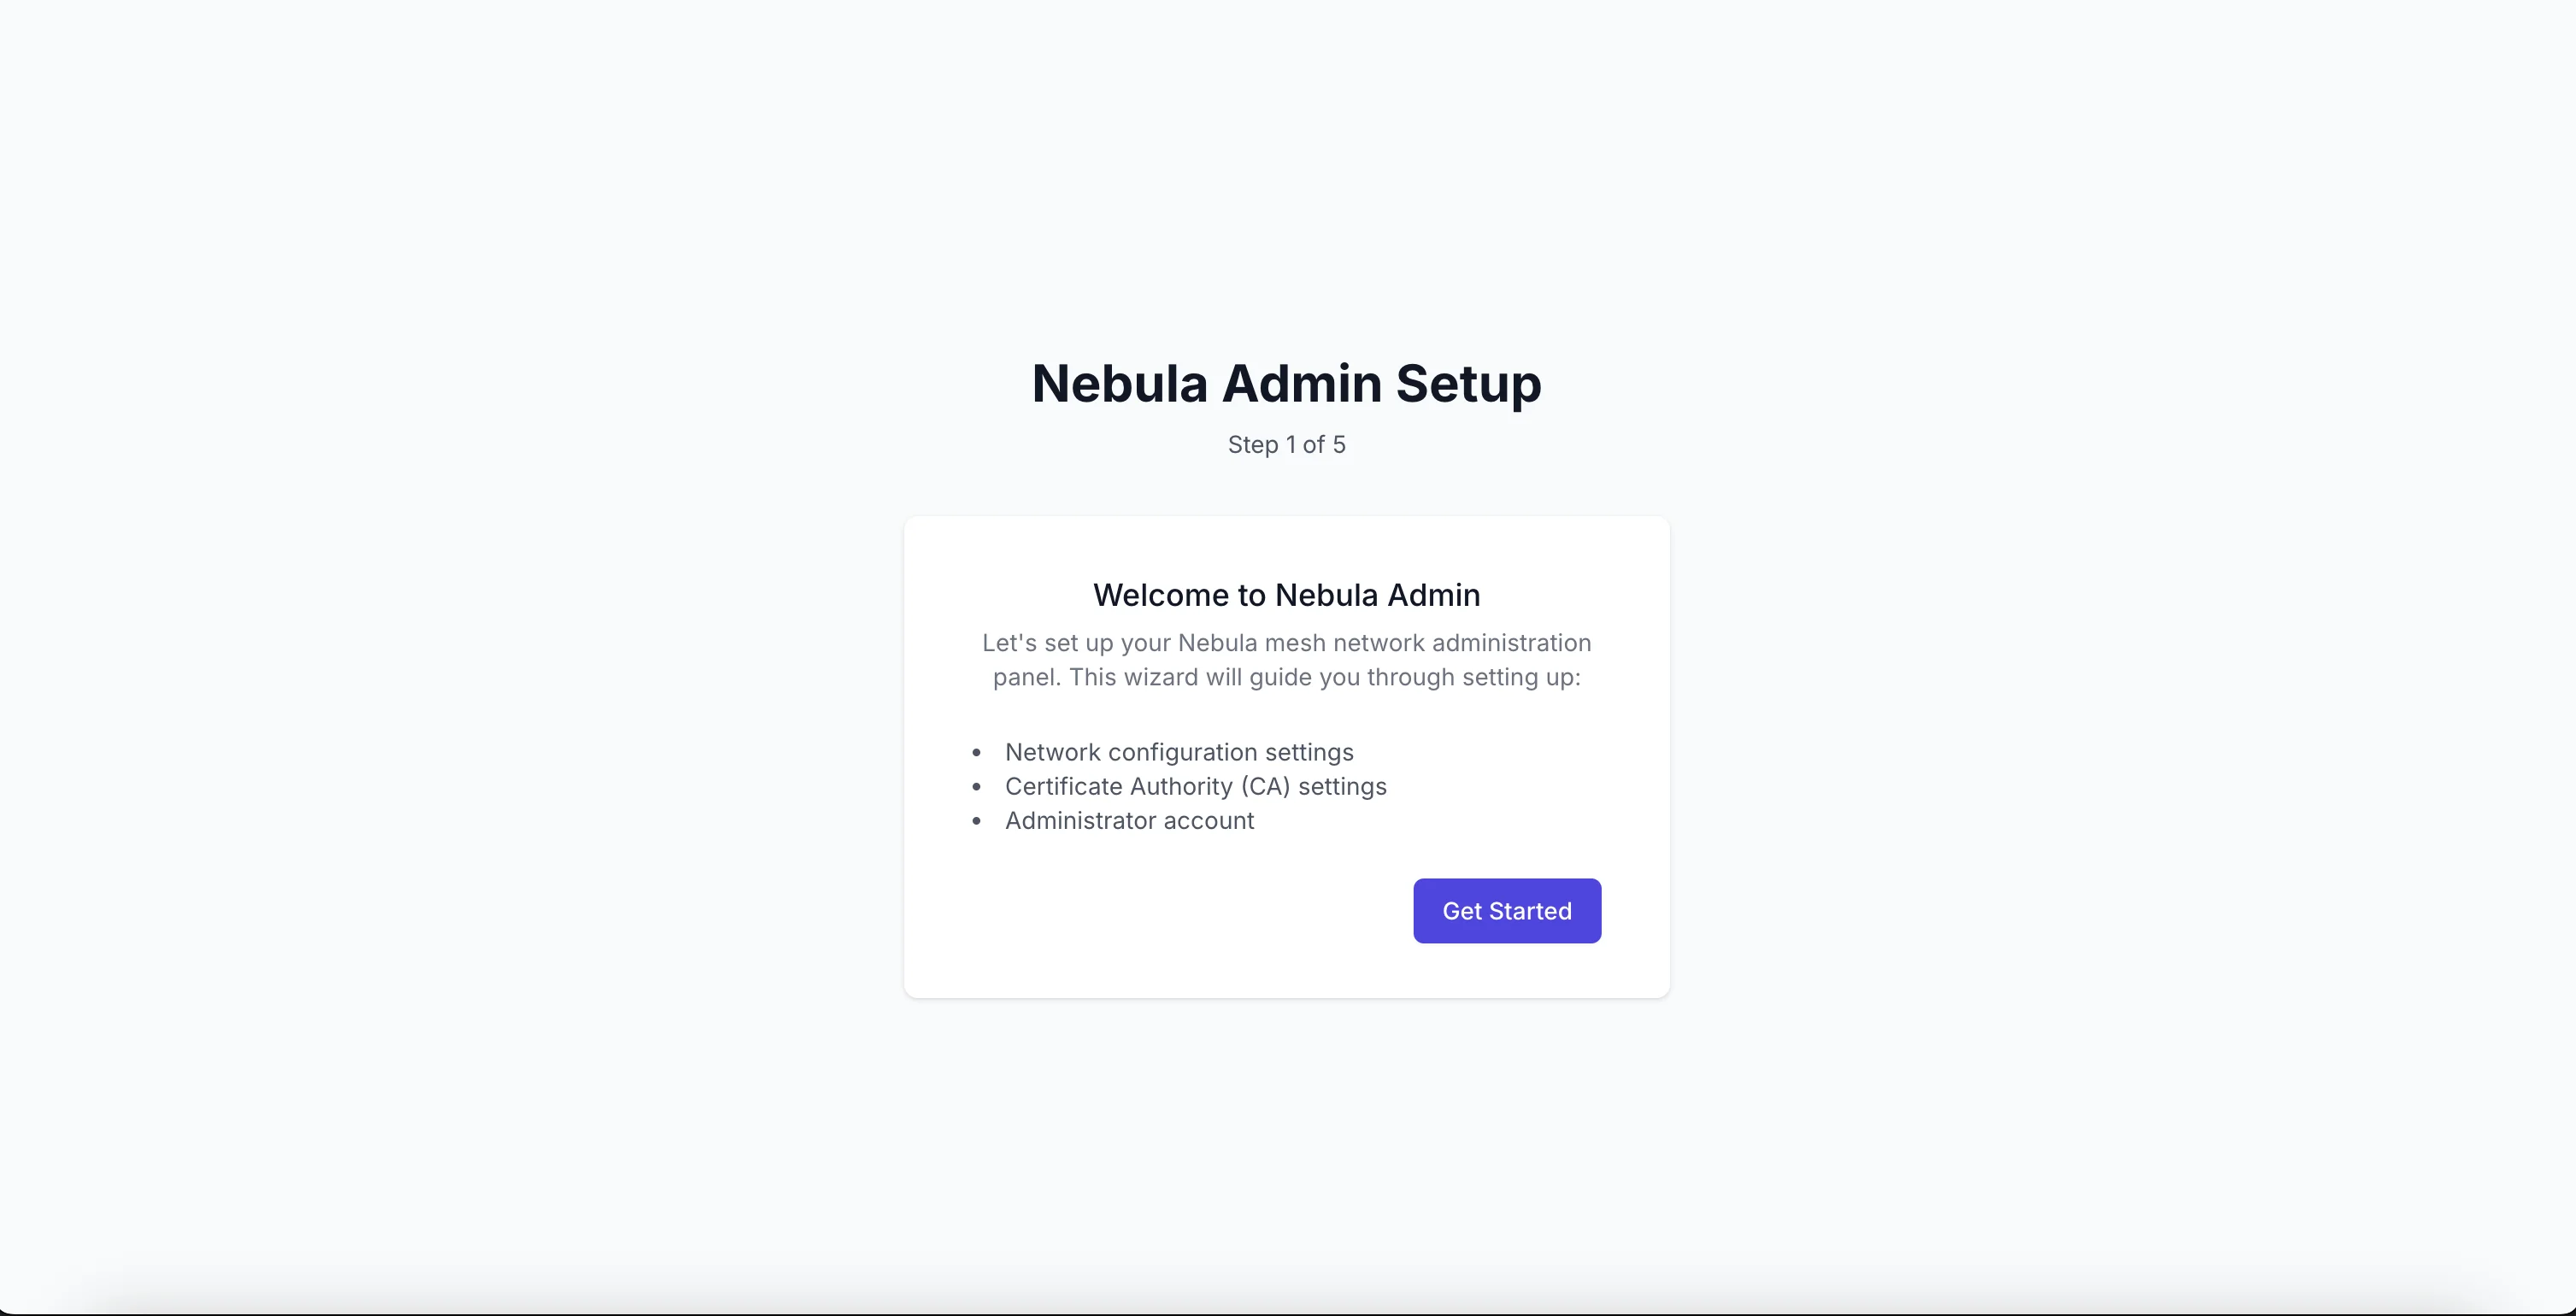
Click Get Started.
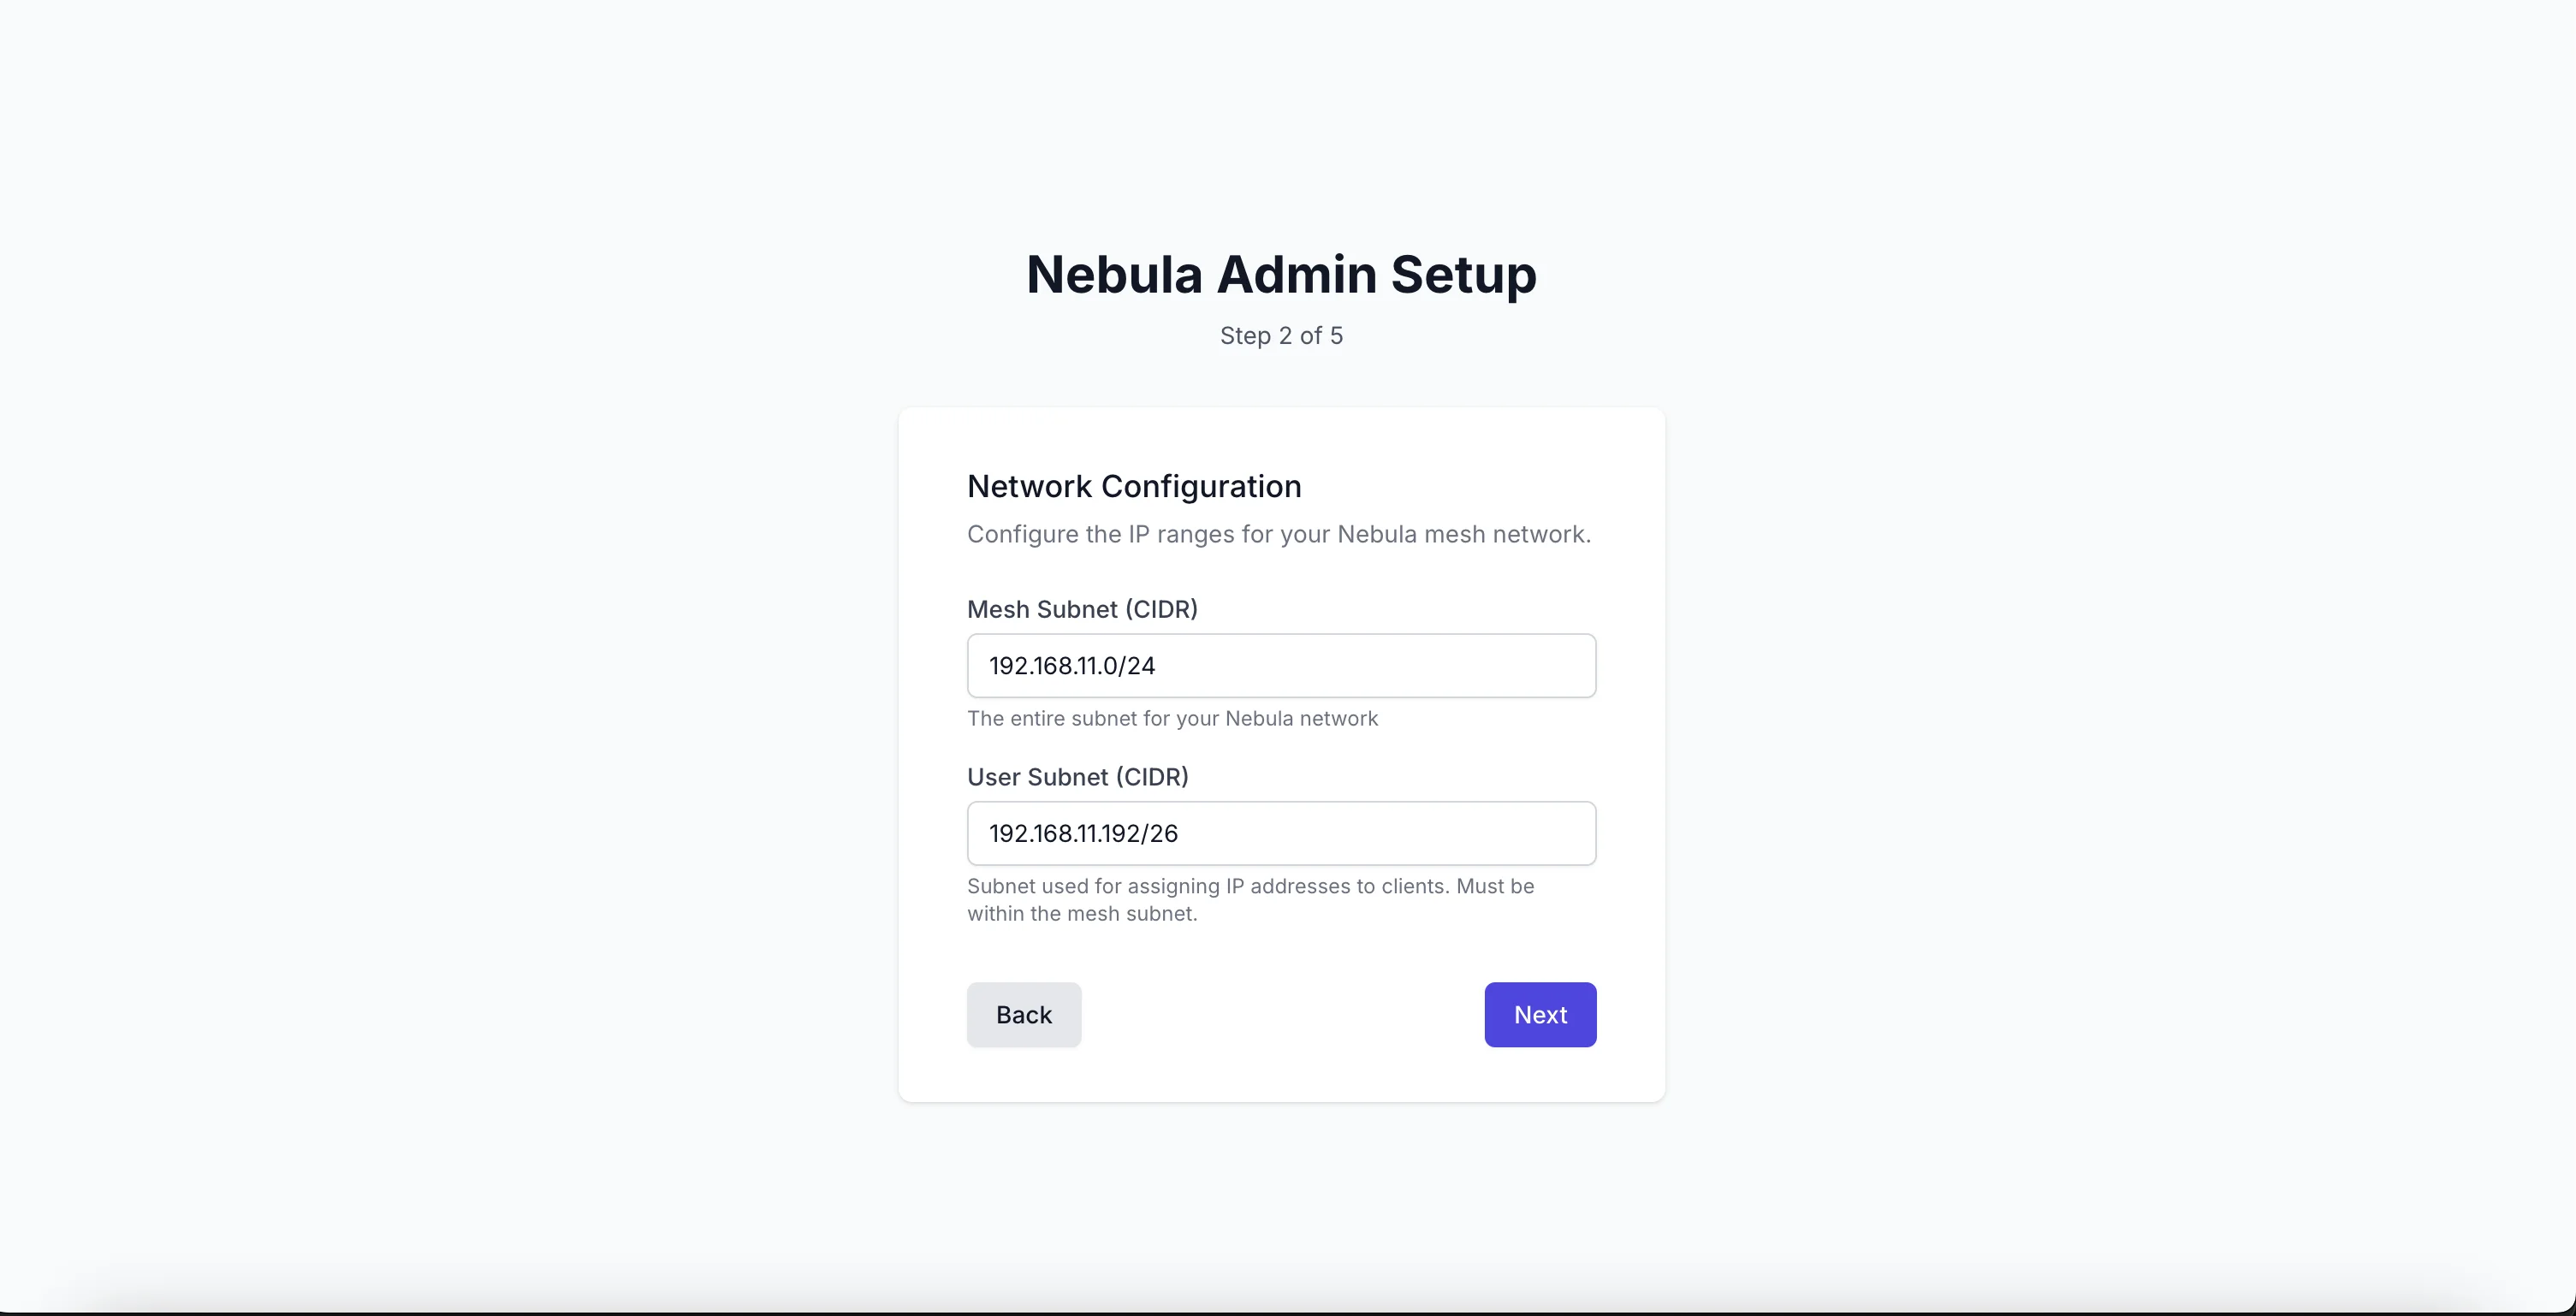
Next, you need to specify the subnets for the MESH network as well as the client subnet, then click Next.
On the next screen, you will be prompted to specify a name for the CA certificate and its validity period. You can leave everything as is.
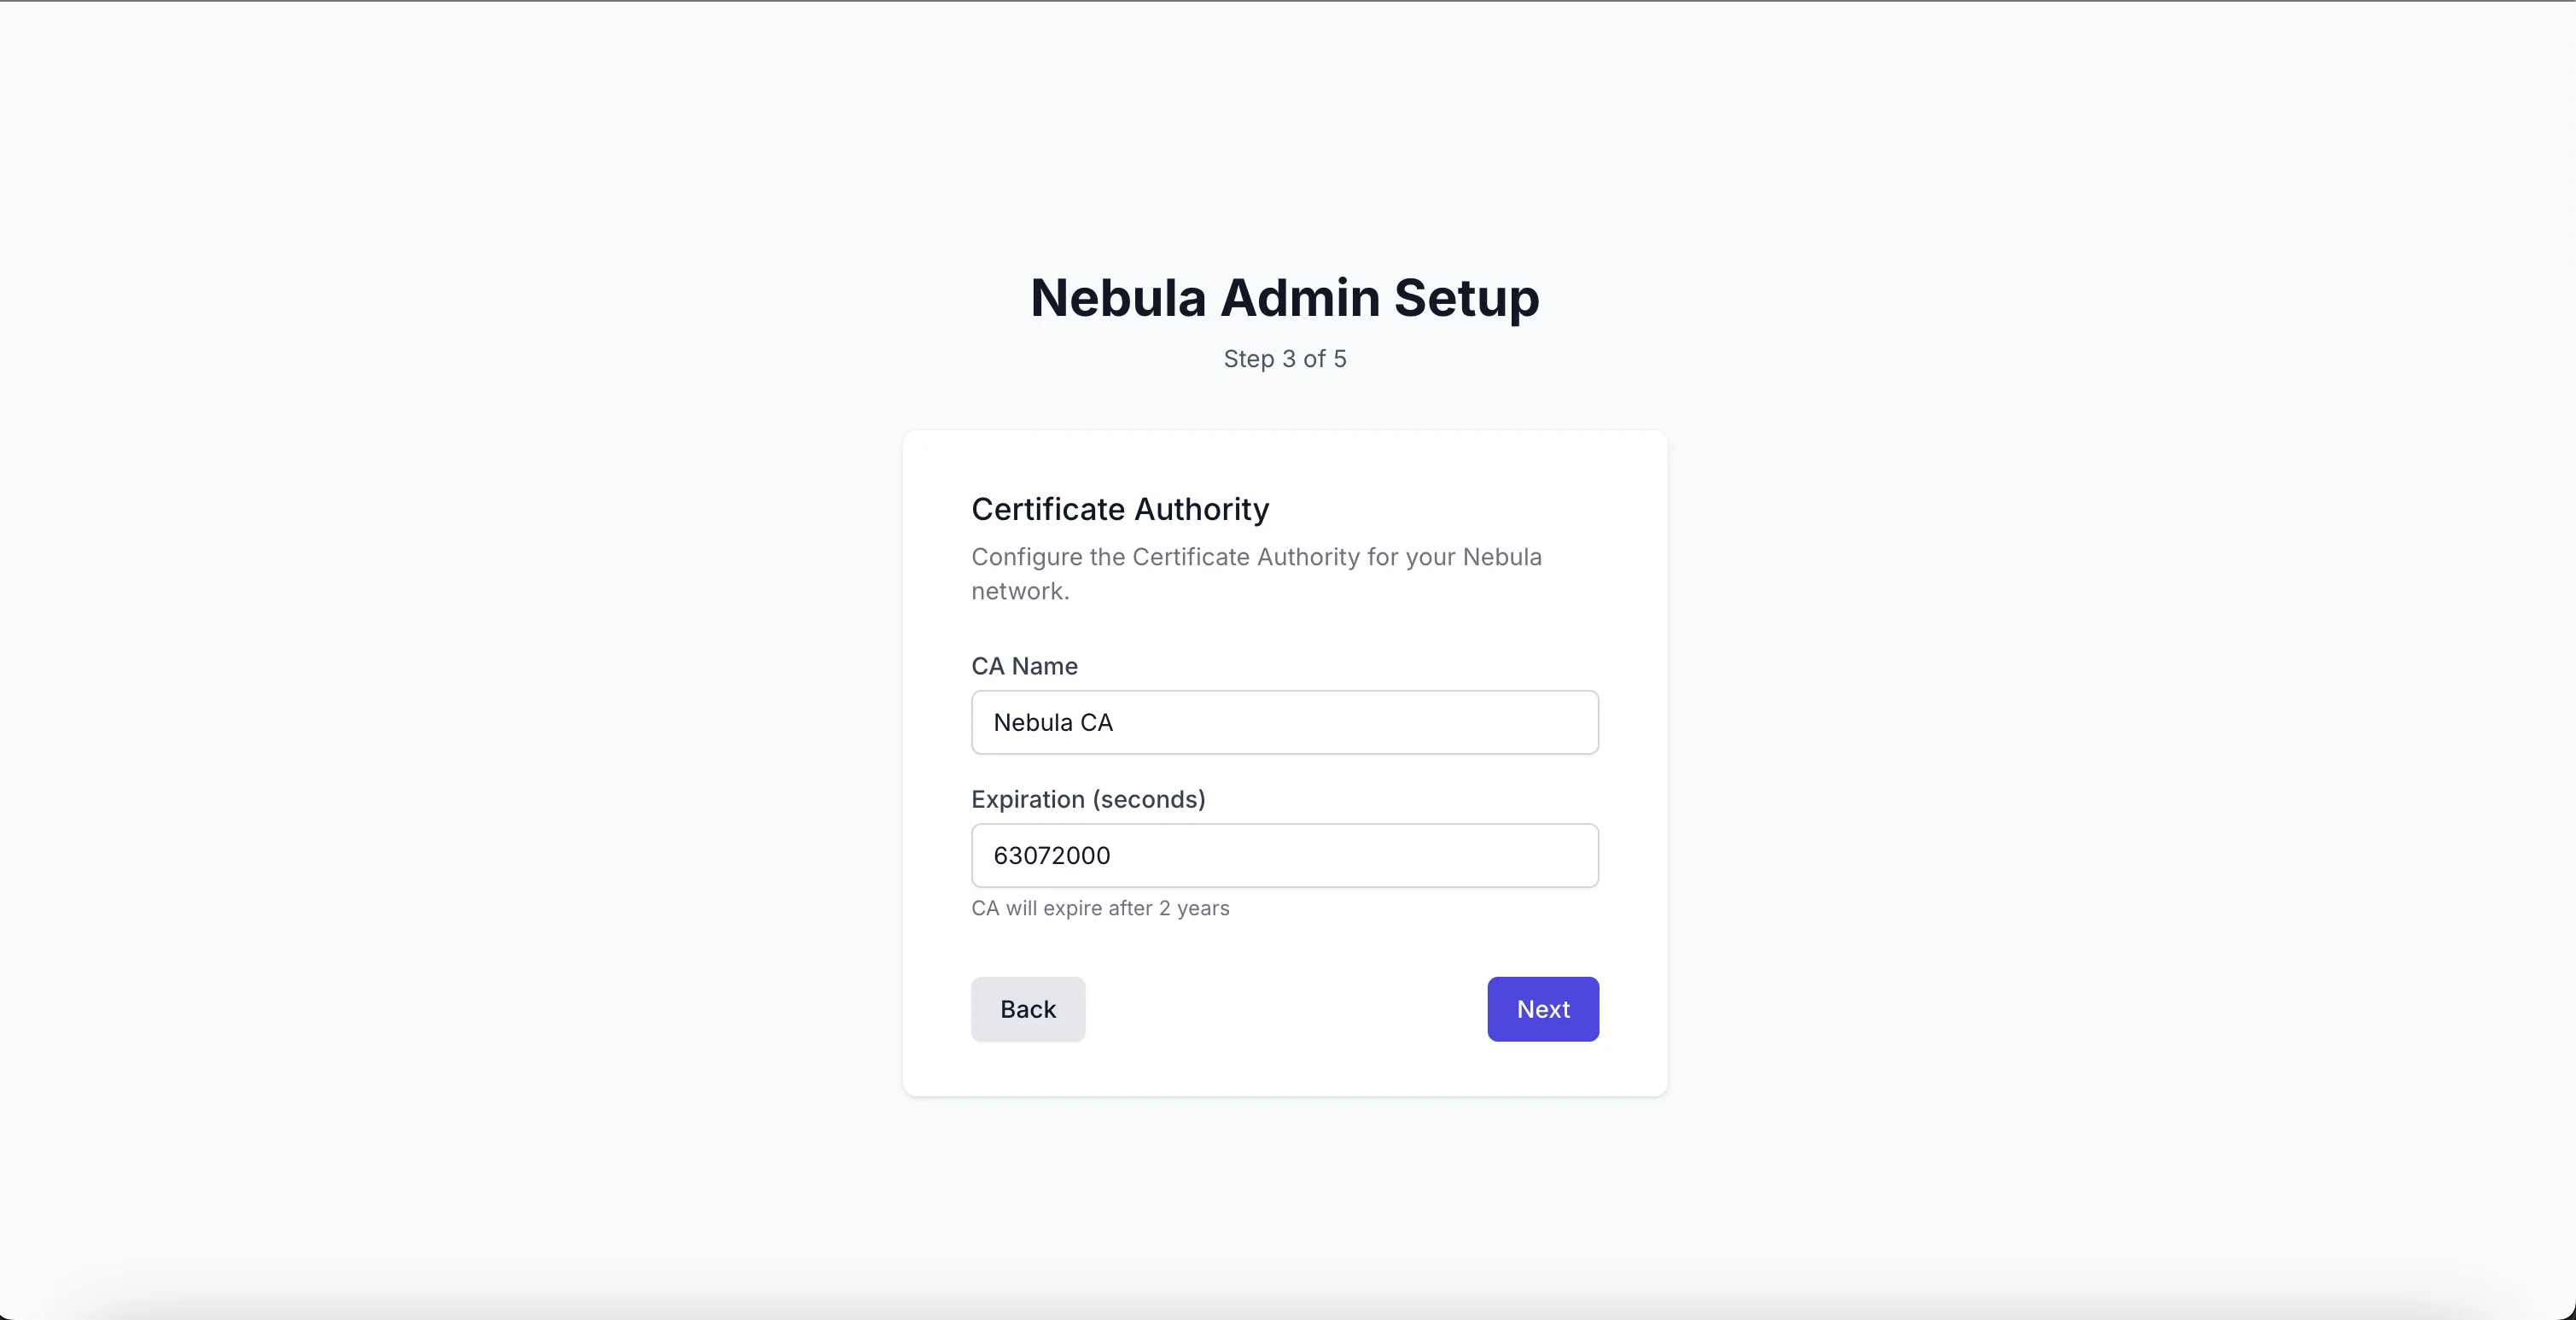
Click Next and create a user for logging in.
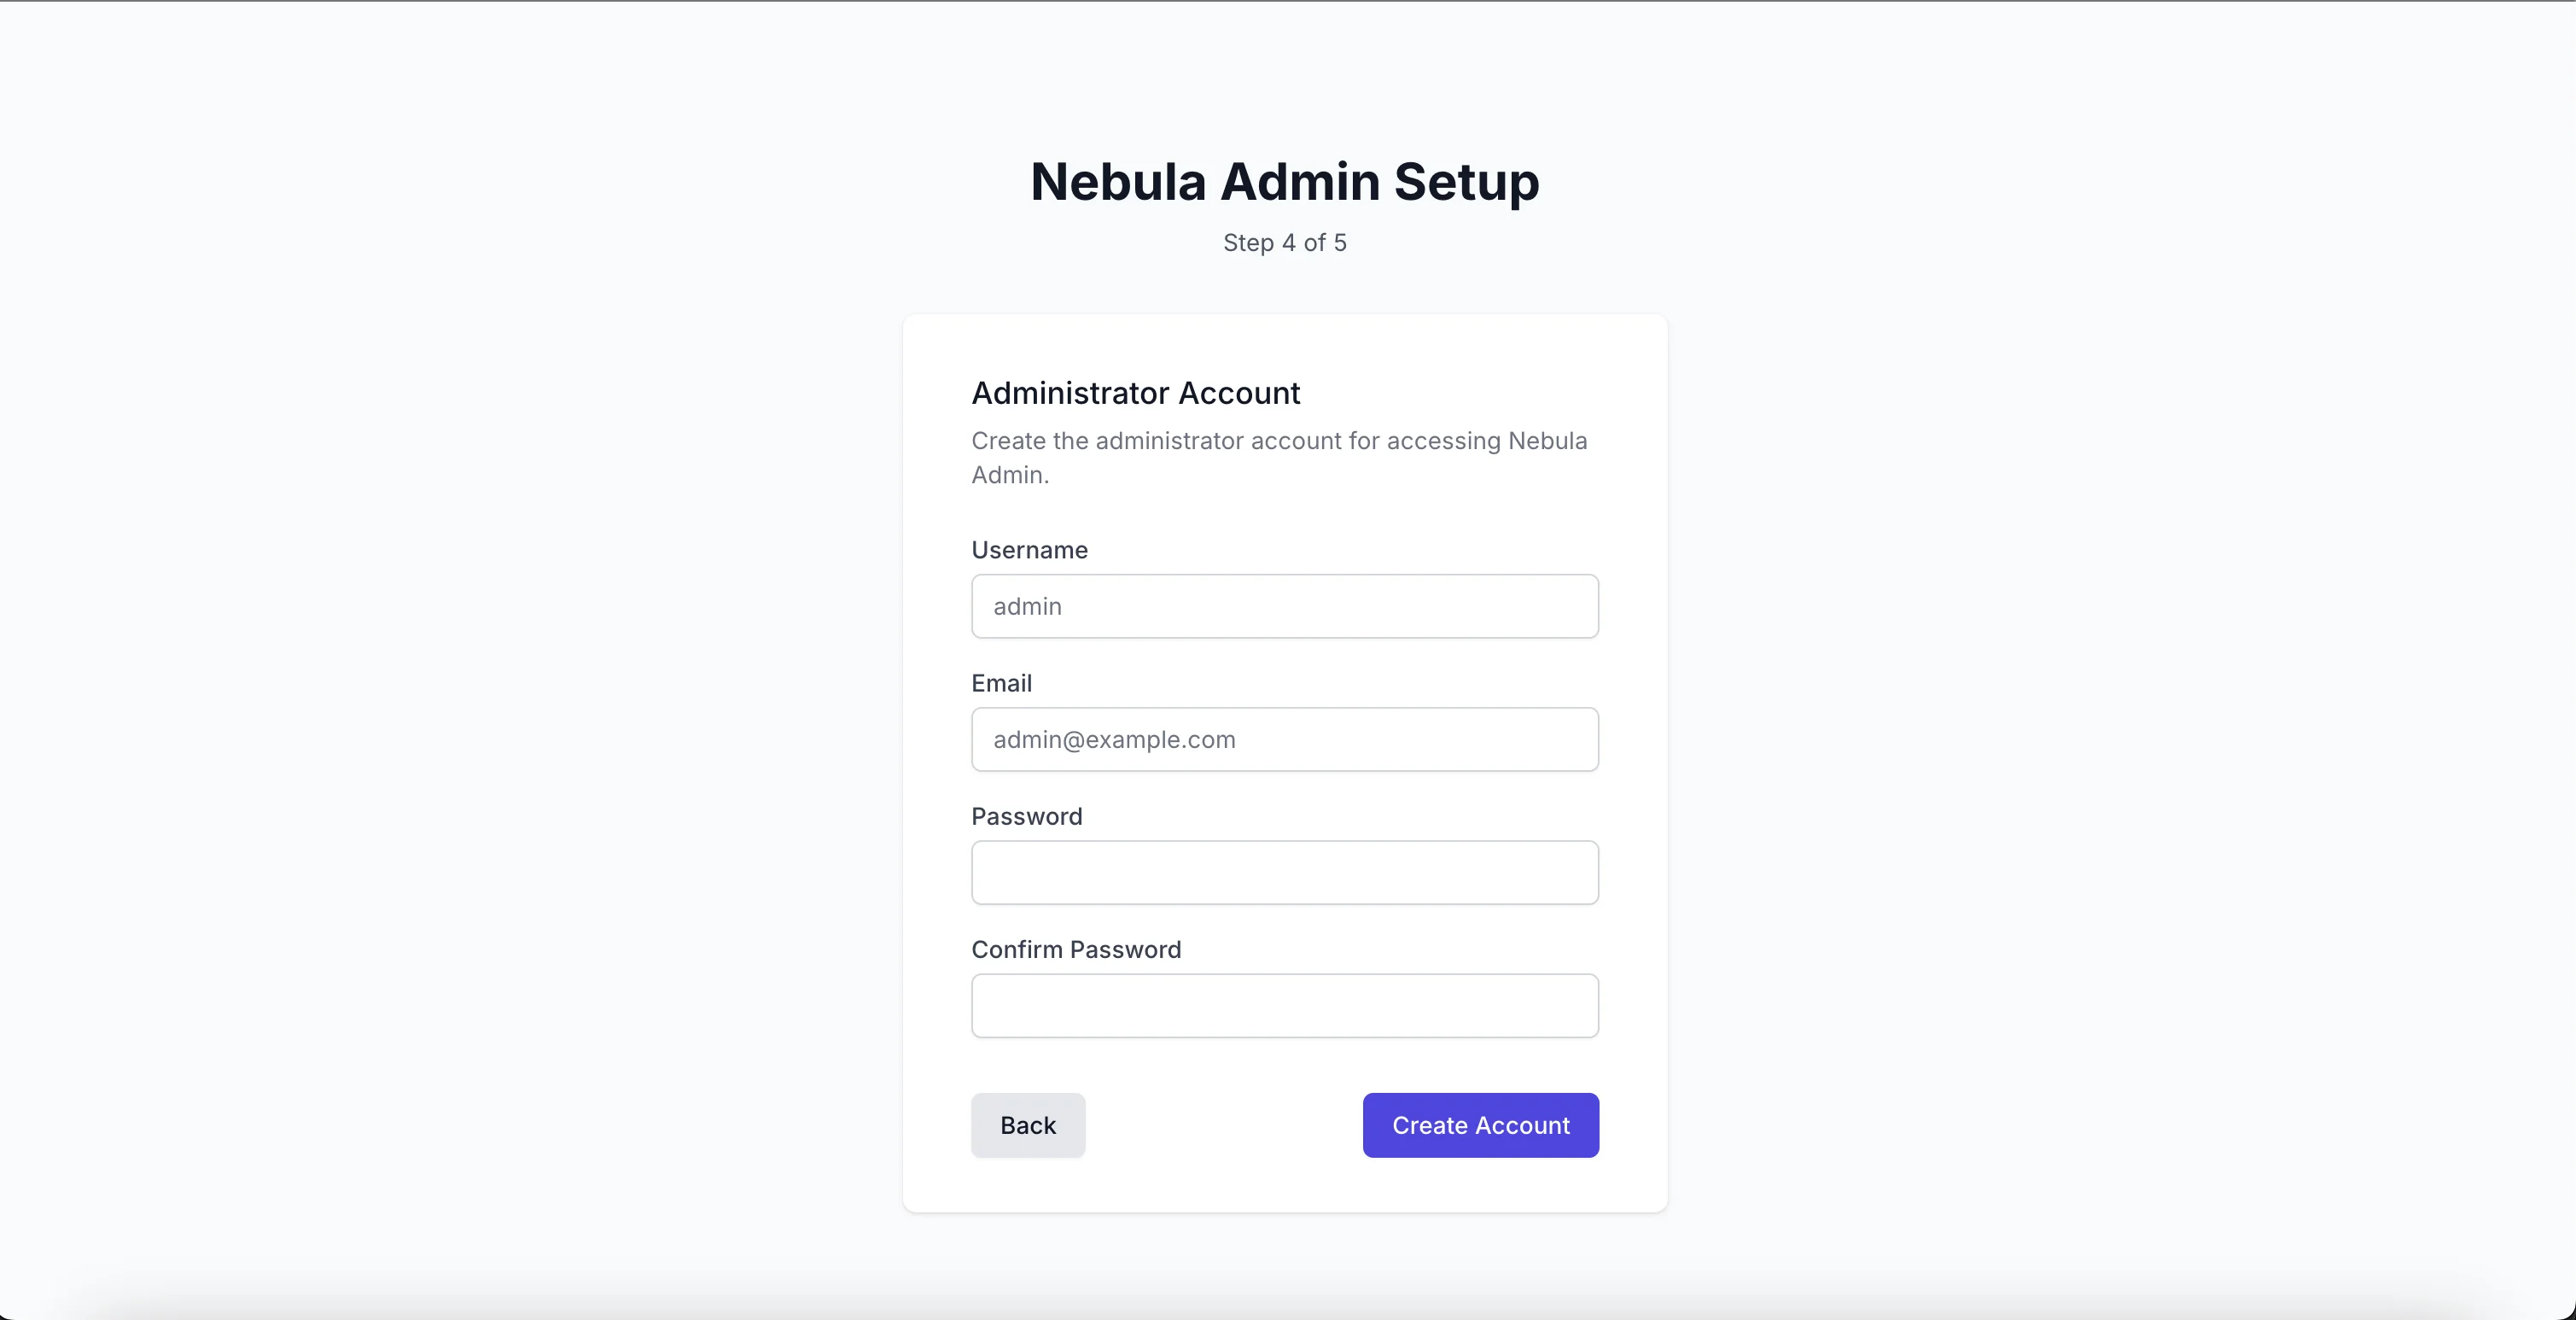 Click Next to complete the configuration.
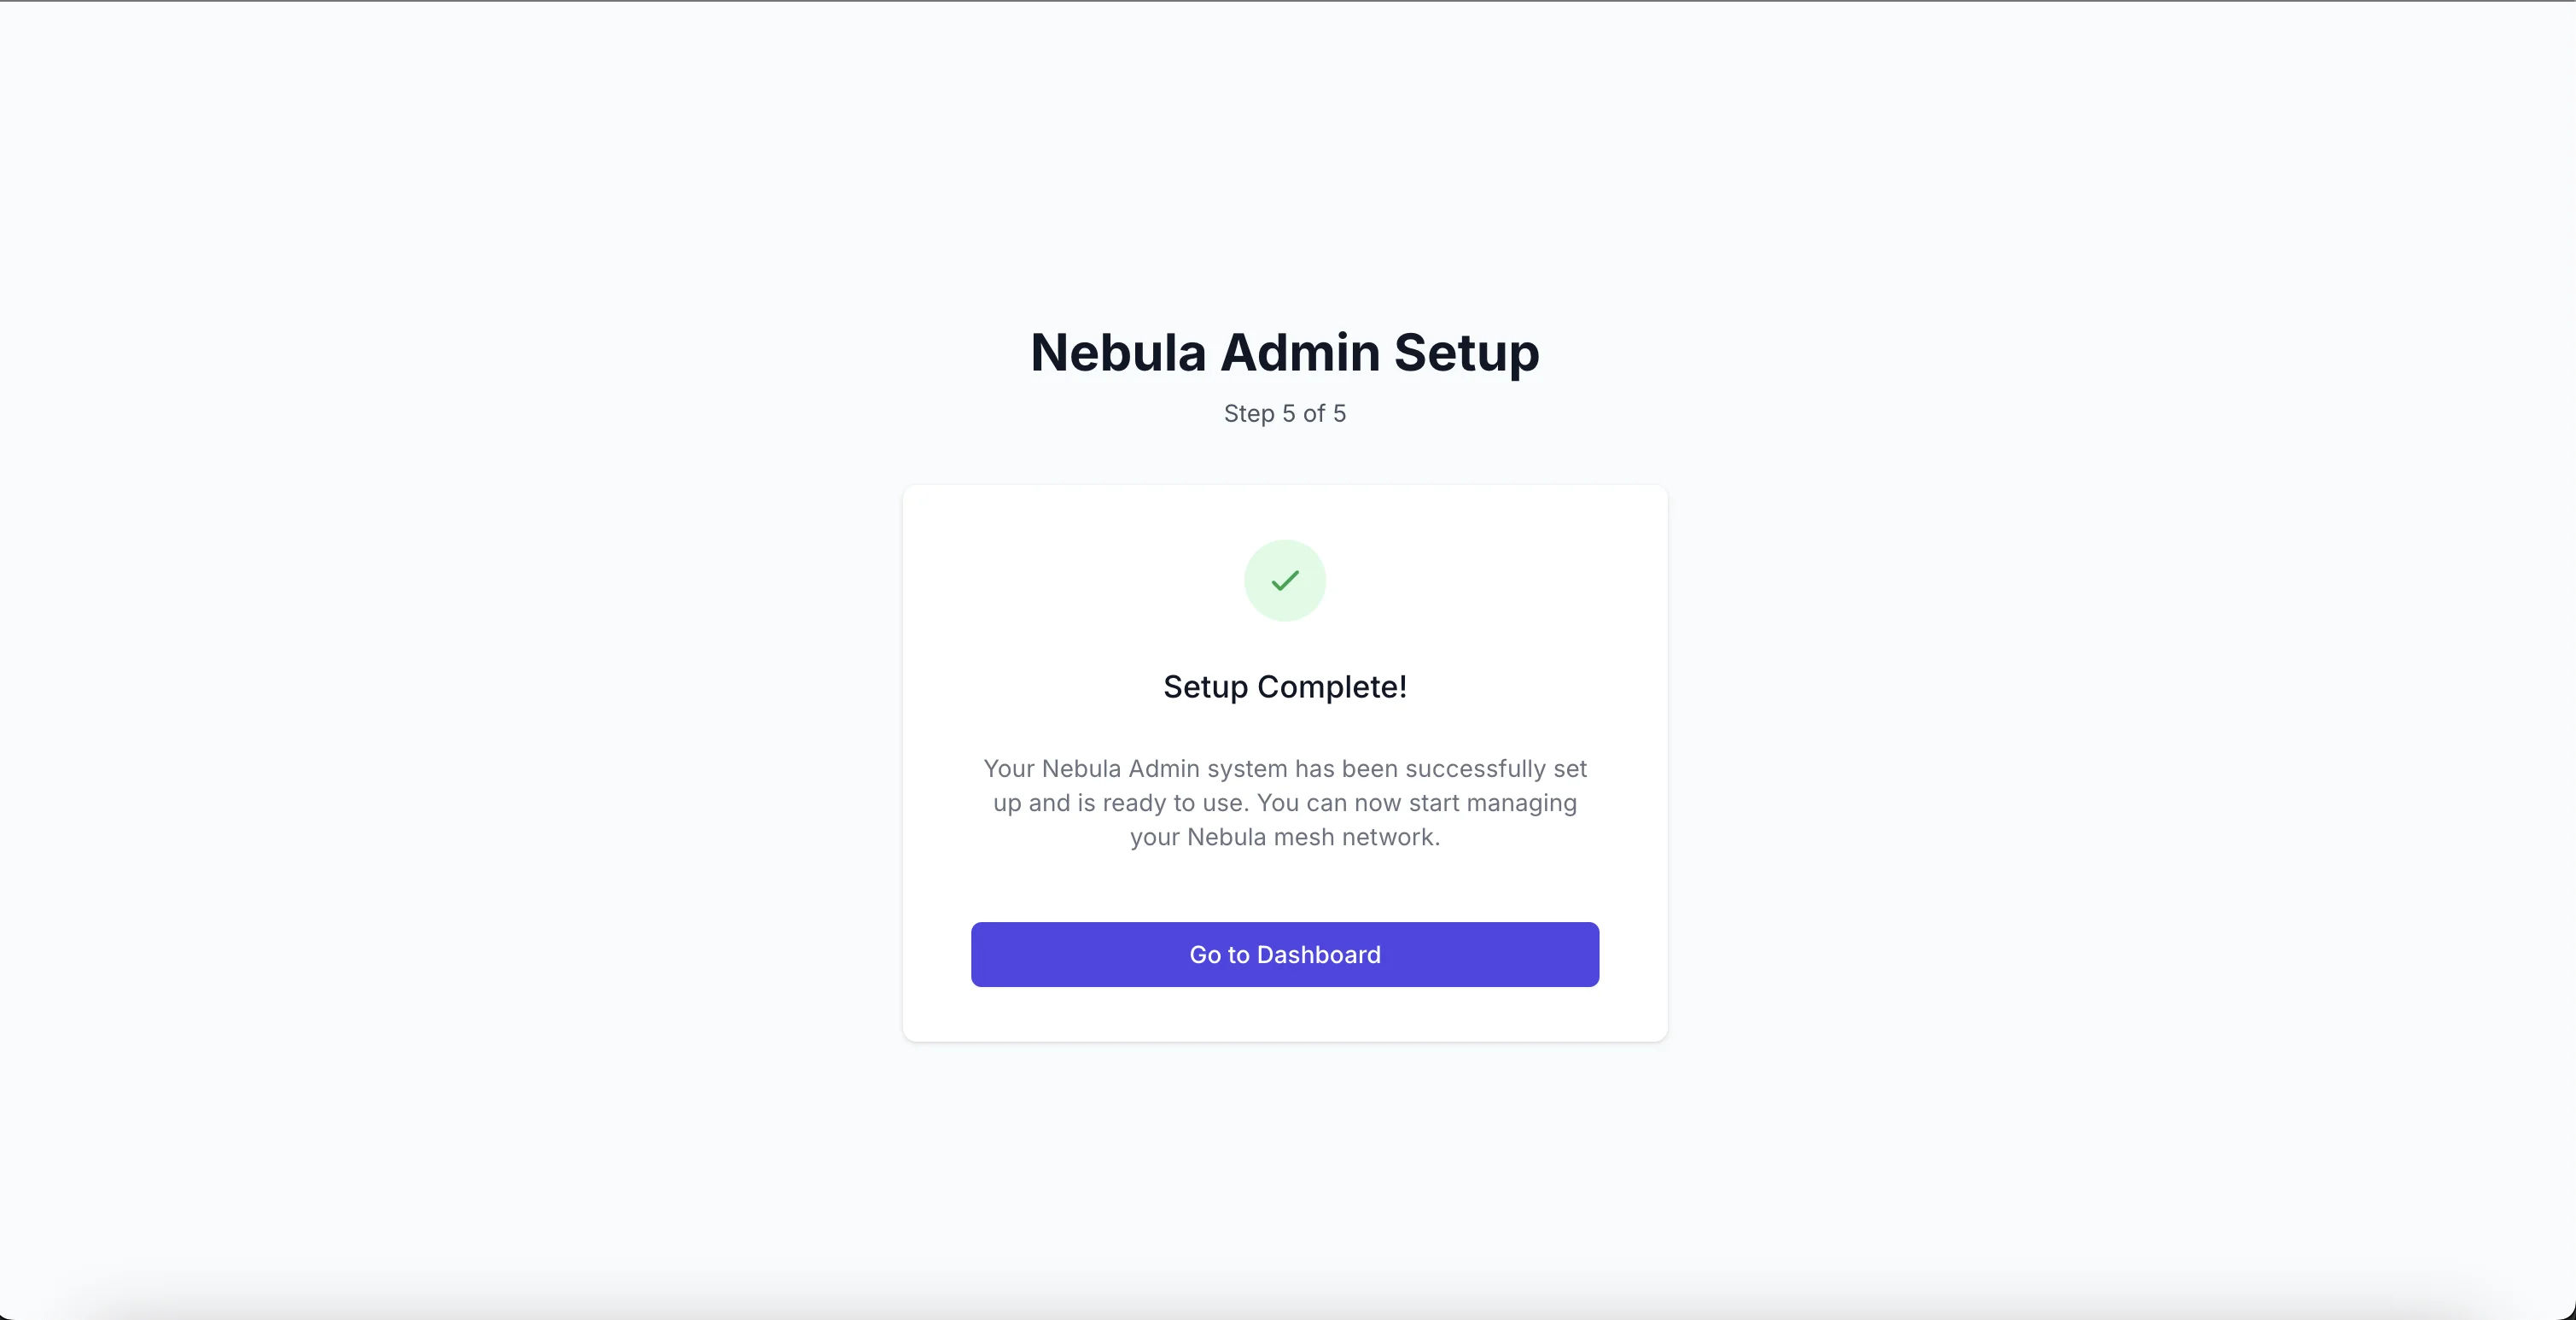 After clicking the Go to Dashboard button, you should see the main management interface.