Figure 1. SecurityOnion Installation Window
Press “yes” and proceed to the next step. 3. The next screen prompts the user to select the type of installation (see Figure 2). 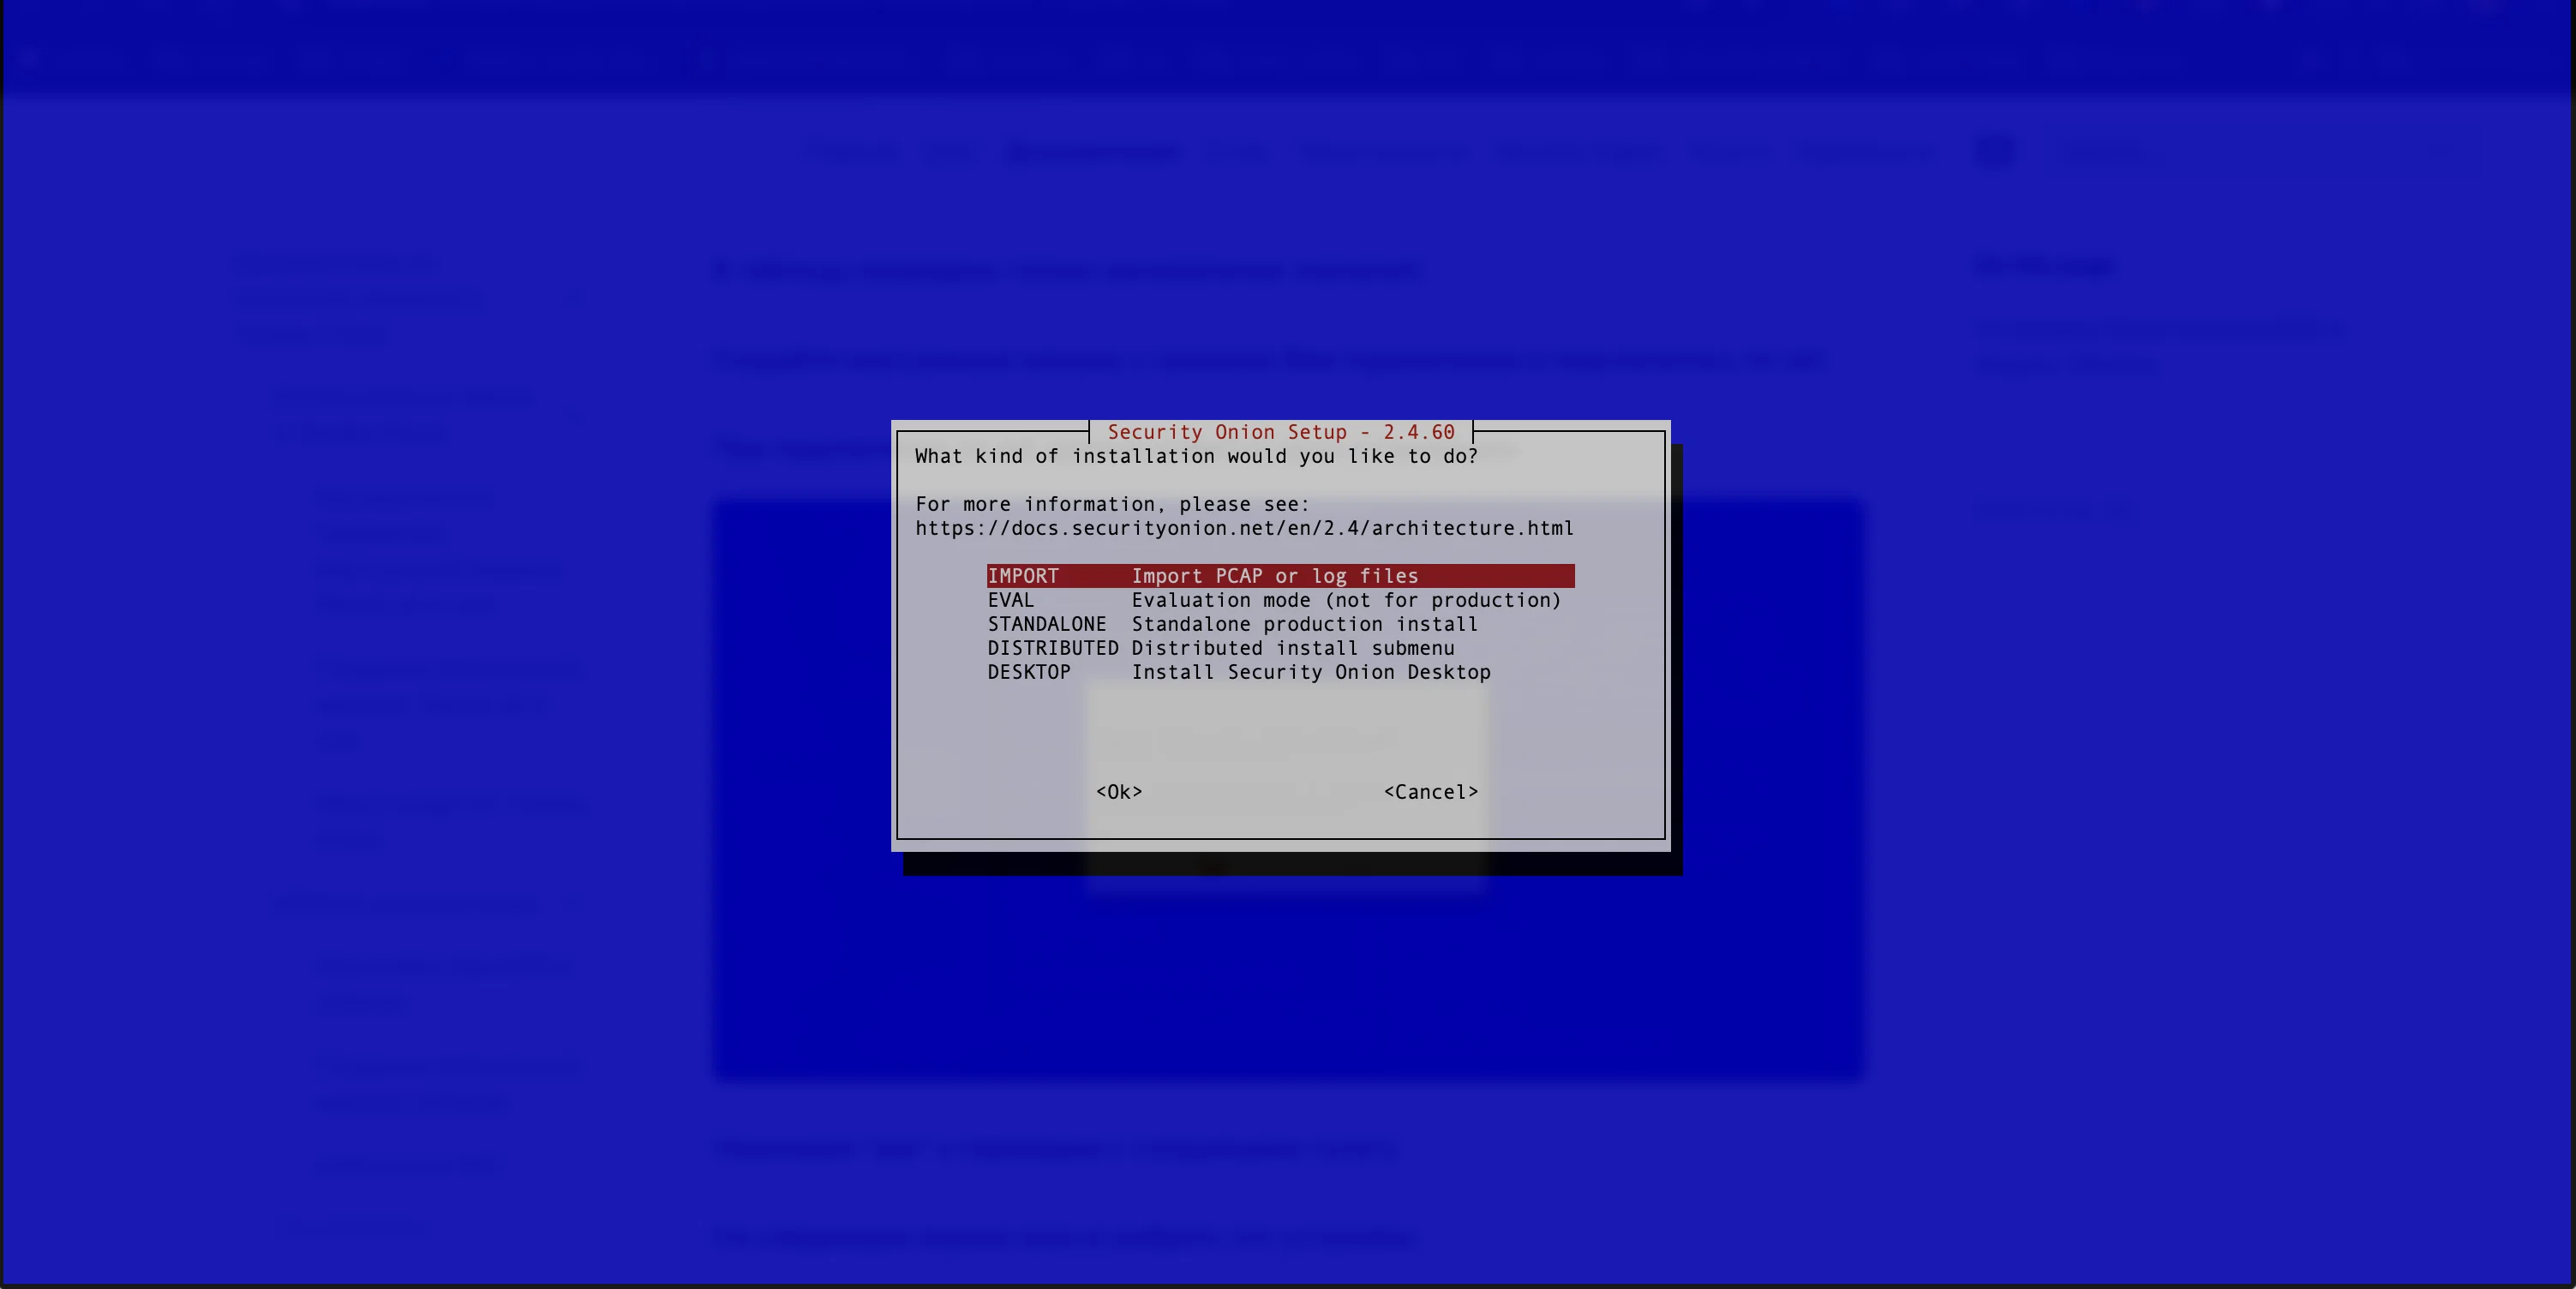Figure 2. Selection of Installation Type
To simplify the process, it is recommended to select Standalone mode. For more information please refer to the [official documentation](https://docs.securityonion.net/en/2.4/architecture.html). 4. On the next screen, the user is prompted to read the license agreement (see Figure 3). 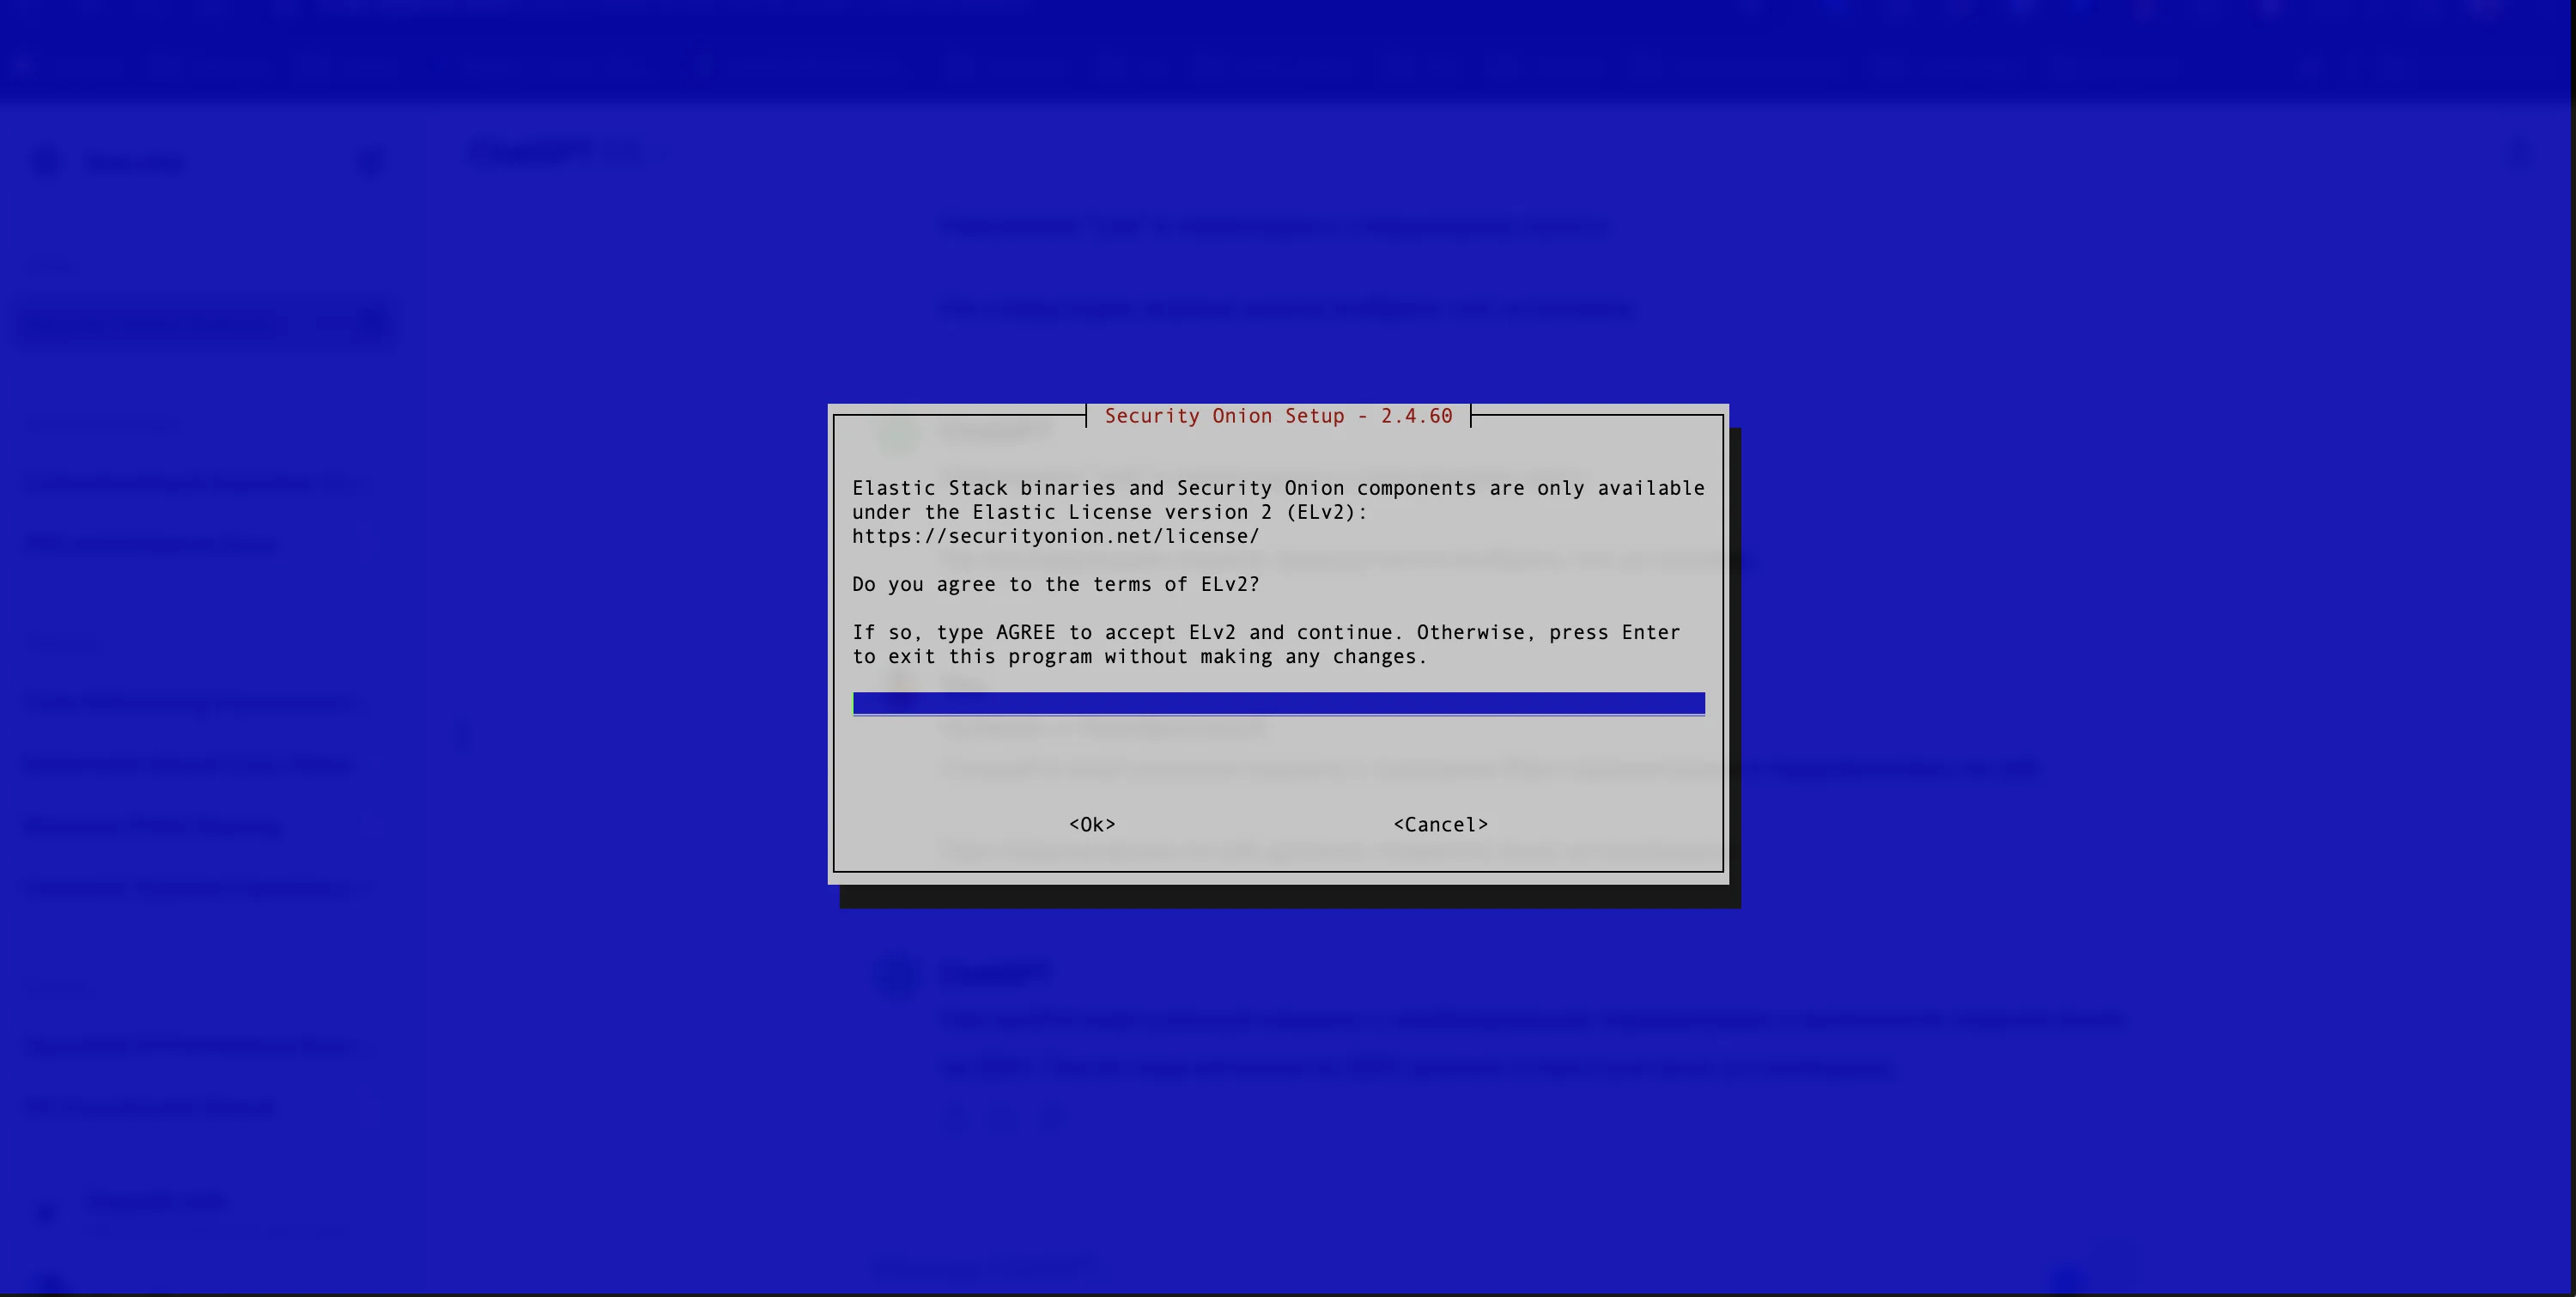Figure 3. License Agreement Window
It is necessary to read the [licensing](https://securityonionsolutions.com/license). If the user agrees with it, enter “AGREE” and proceed to the next step. 5. The hostname (not the FQDN!) must be set (see Figure 4). 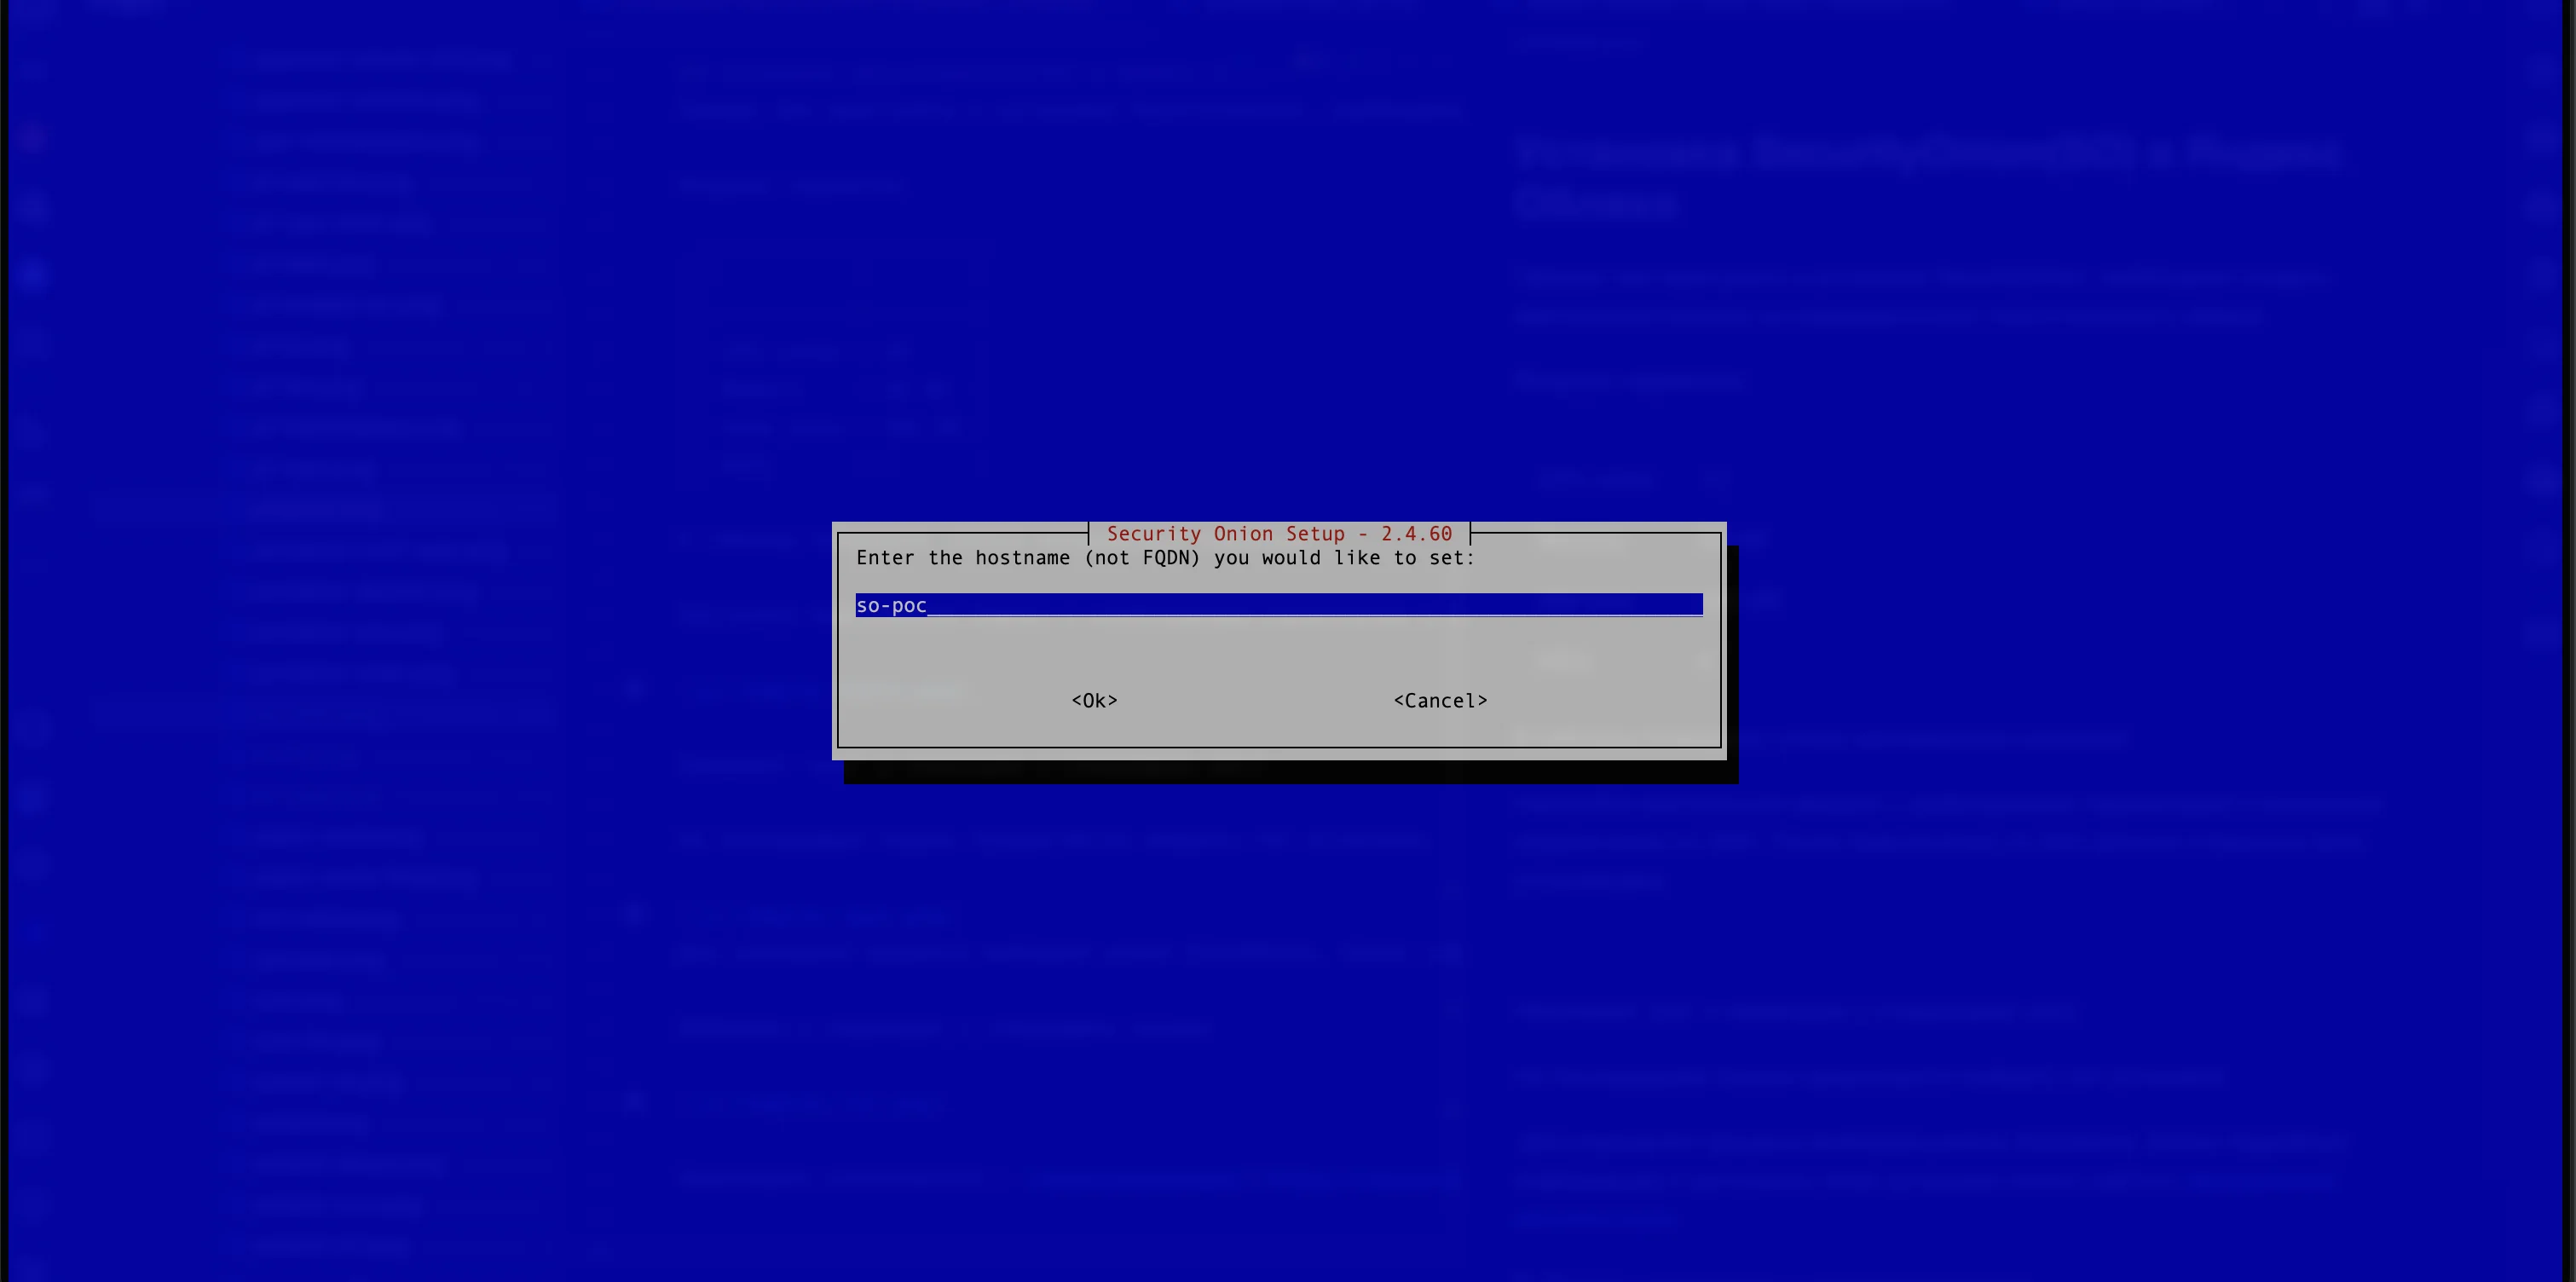Figure 4. The Hostname Name
The user filled in everything at this point, so they must select “Yes” (see Figure 5). 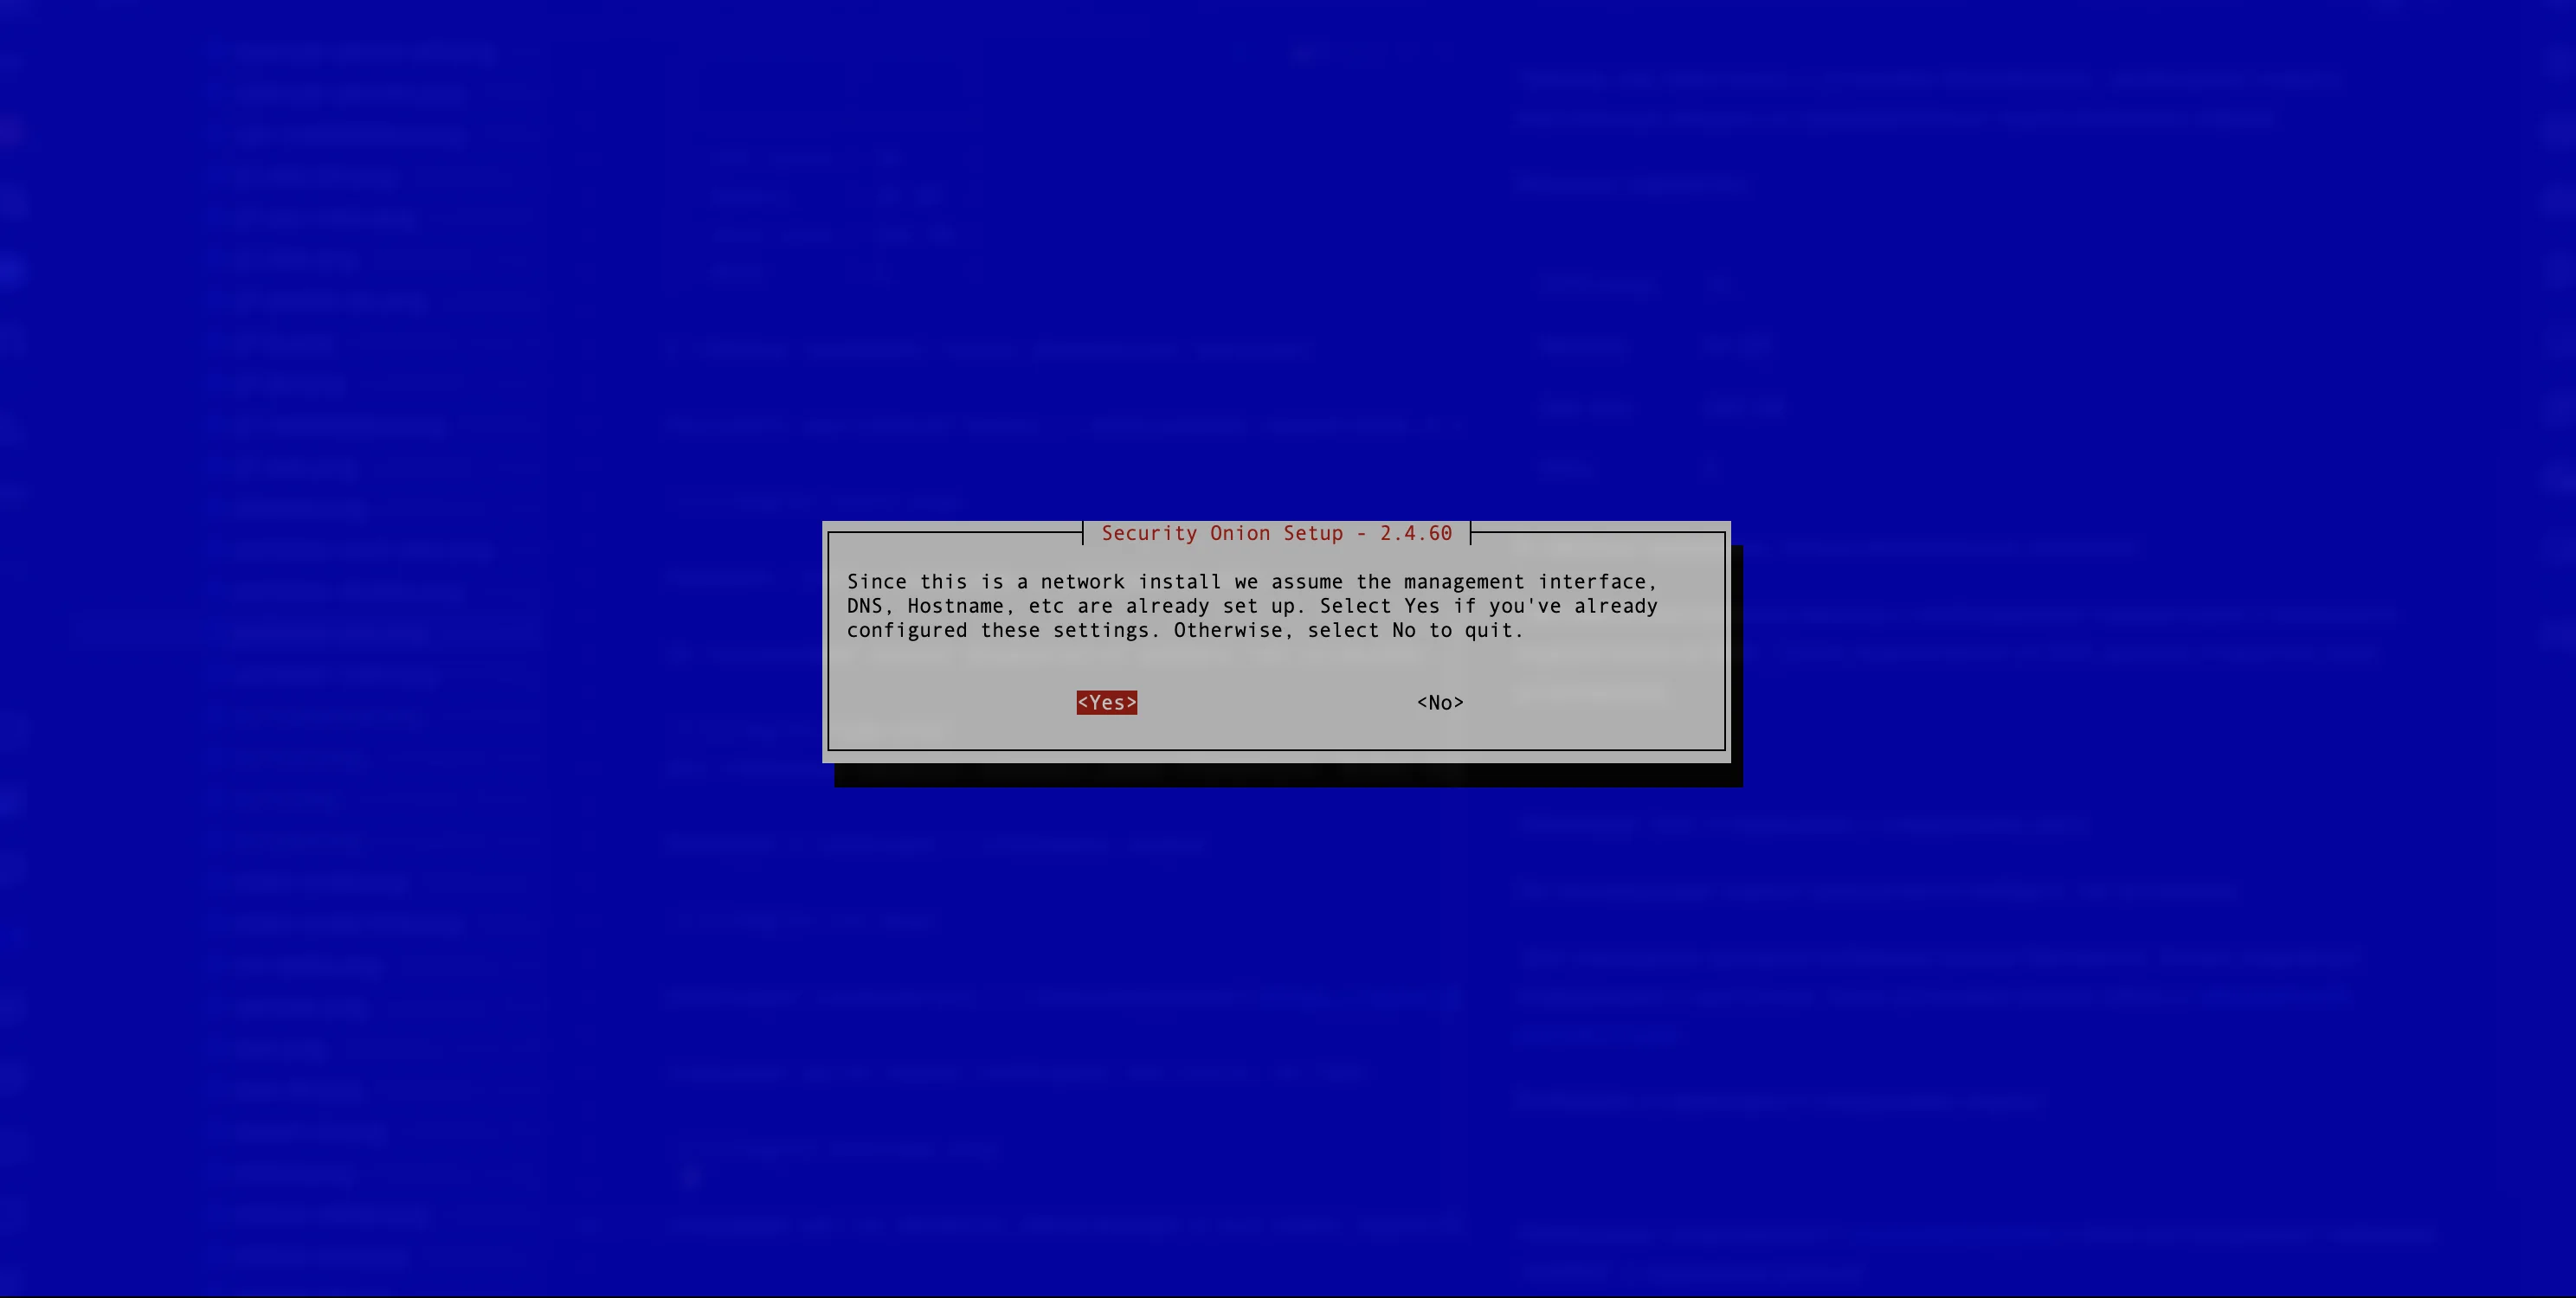Figure 5. Continued Installation
6. It is required to read the DHCP warning carefully and accept the risks (see Figure 6). 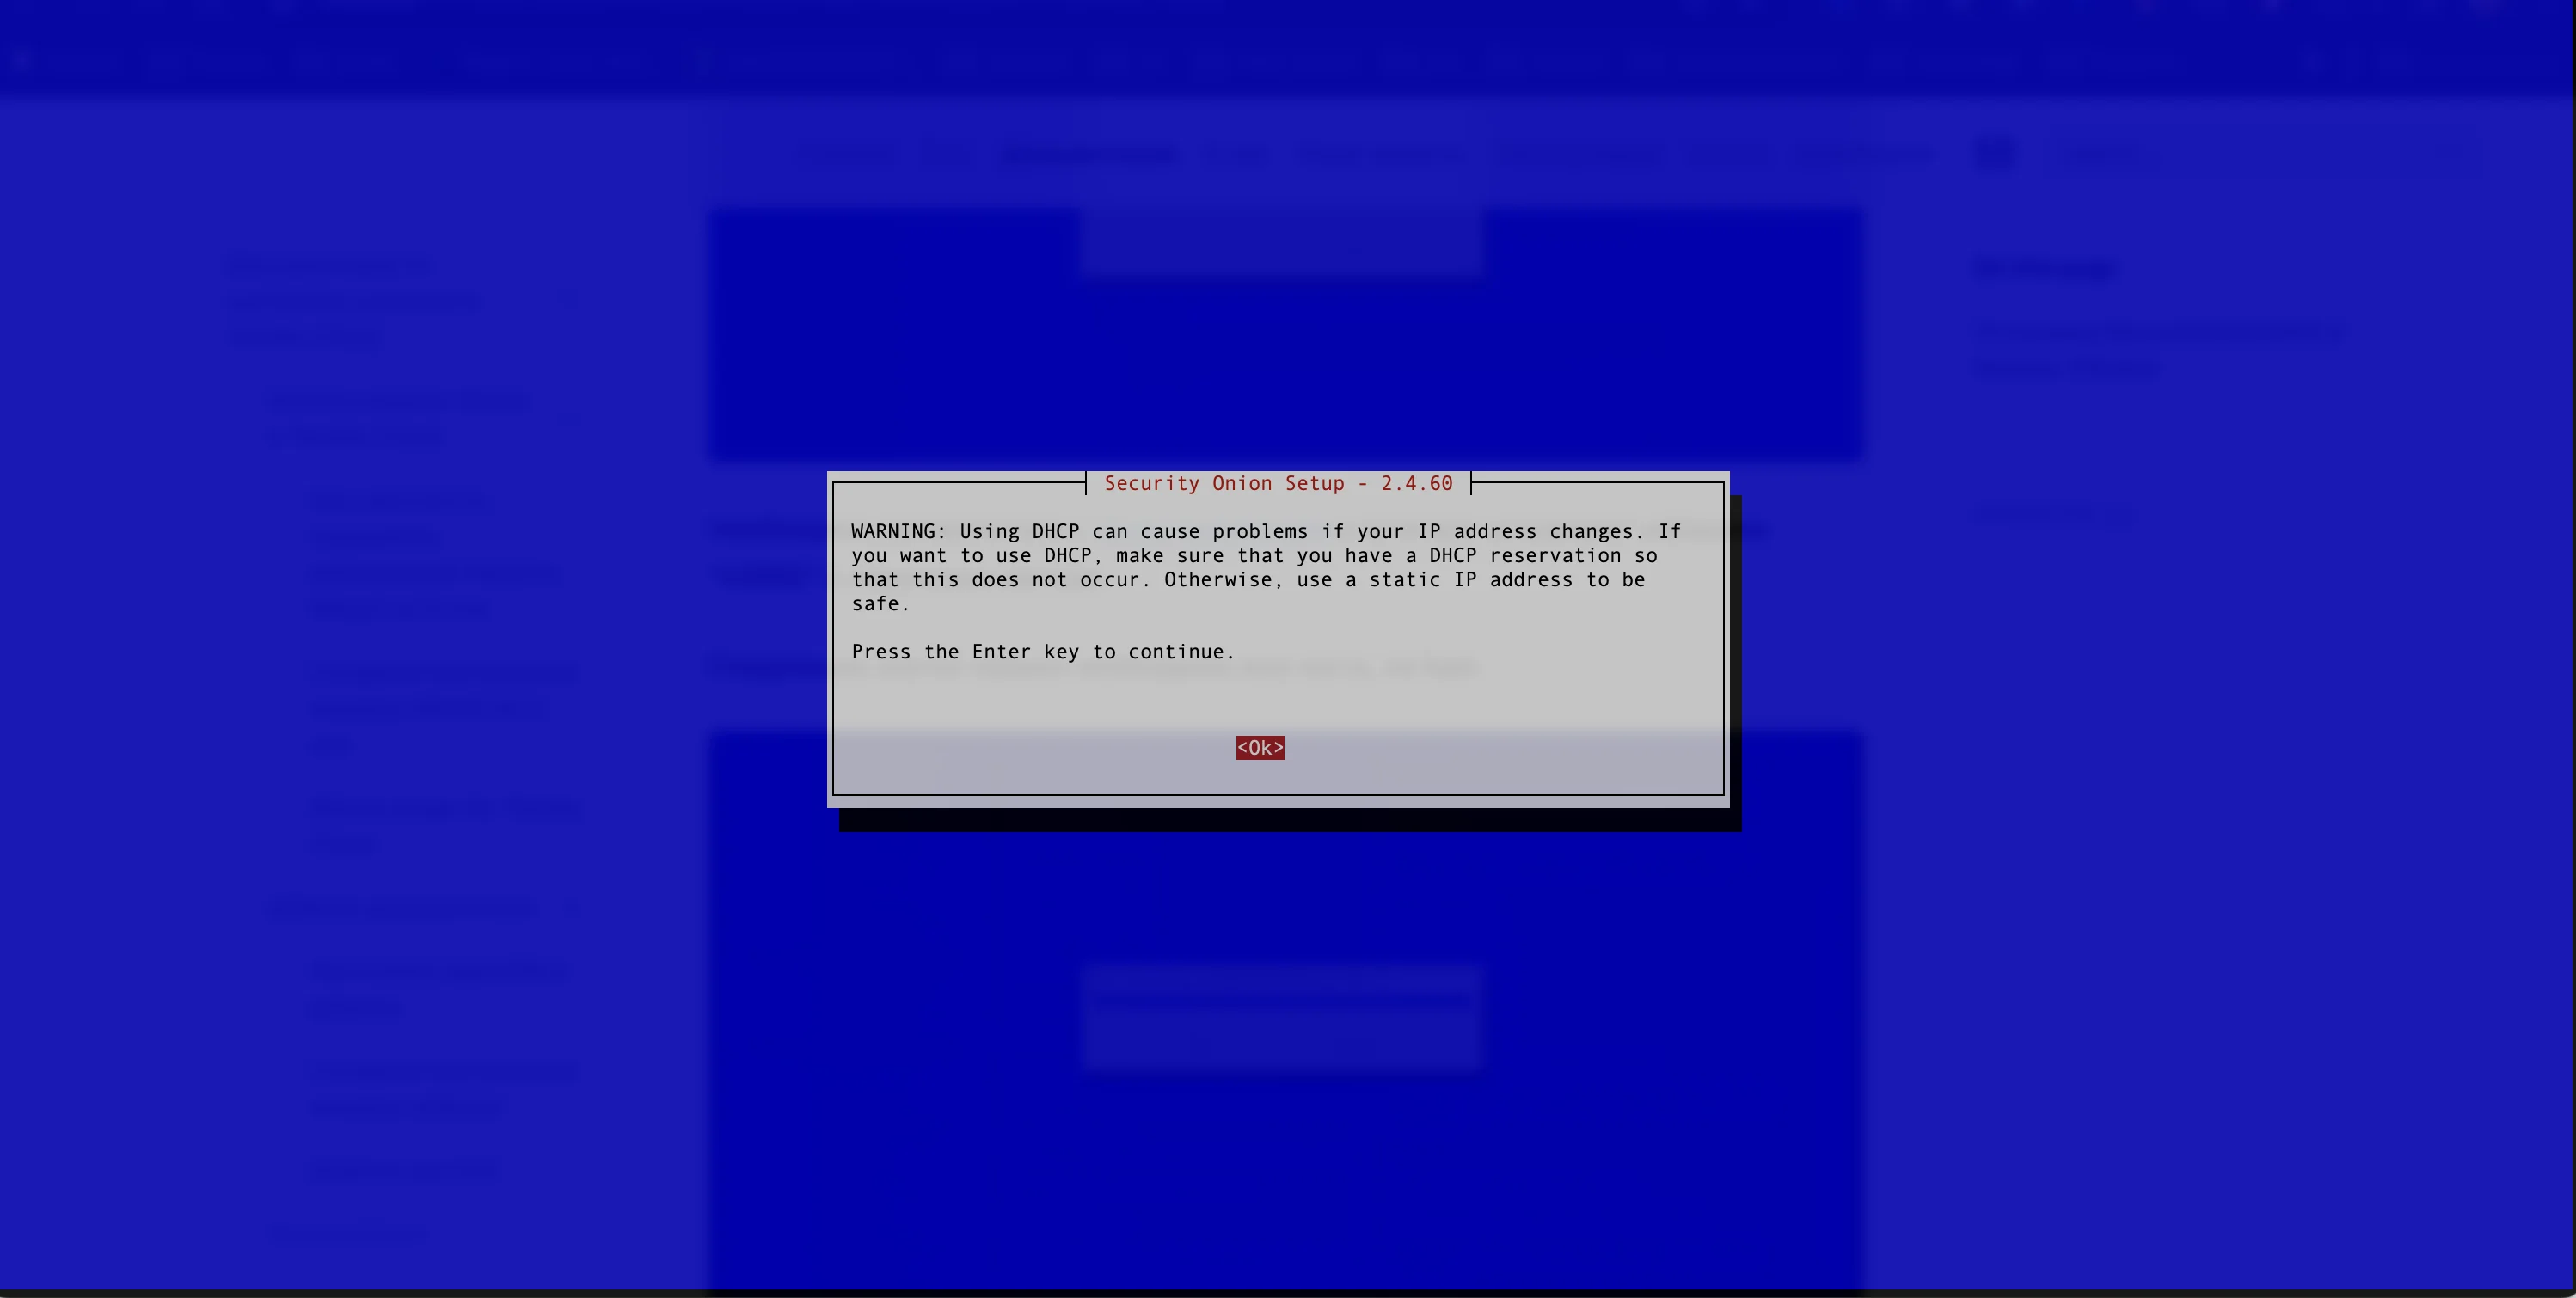Figure 6. DHCP Warning Window
7. When selecting a management interface, the first one from the list should be marked. This interface will provide access to the web interface. *The developers recommend using a VPN to access the web interface* (see Figure 7). 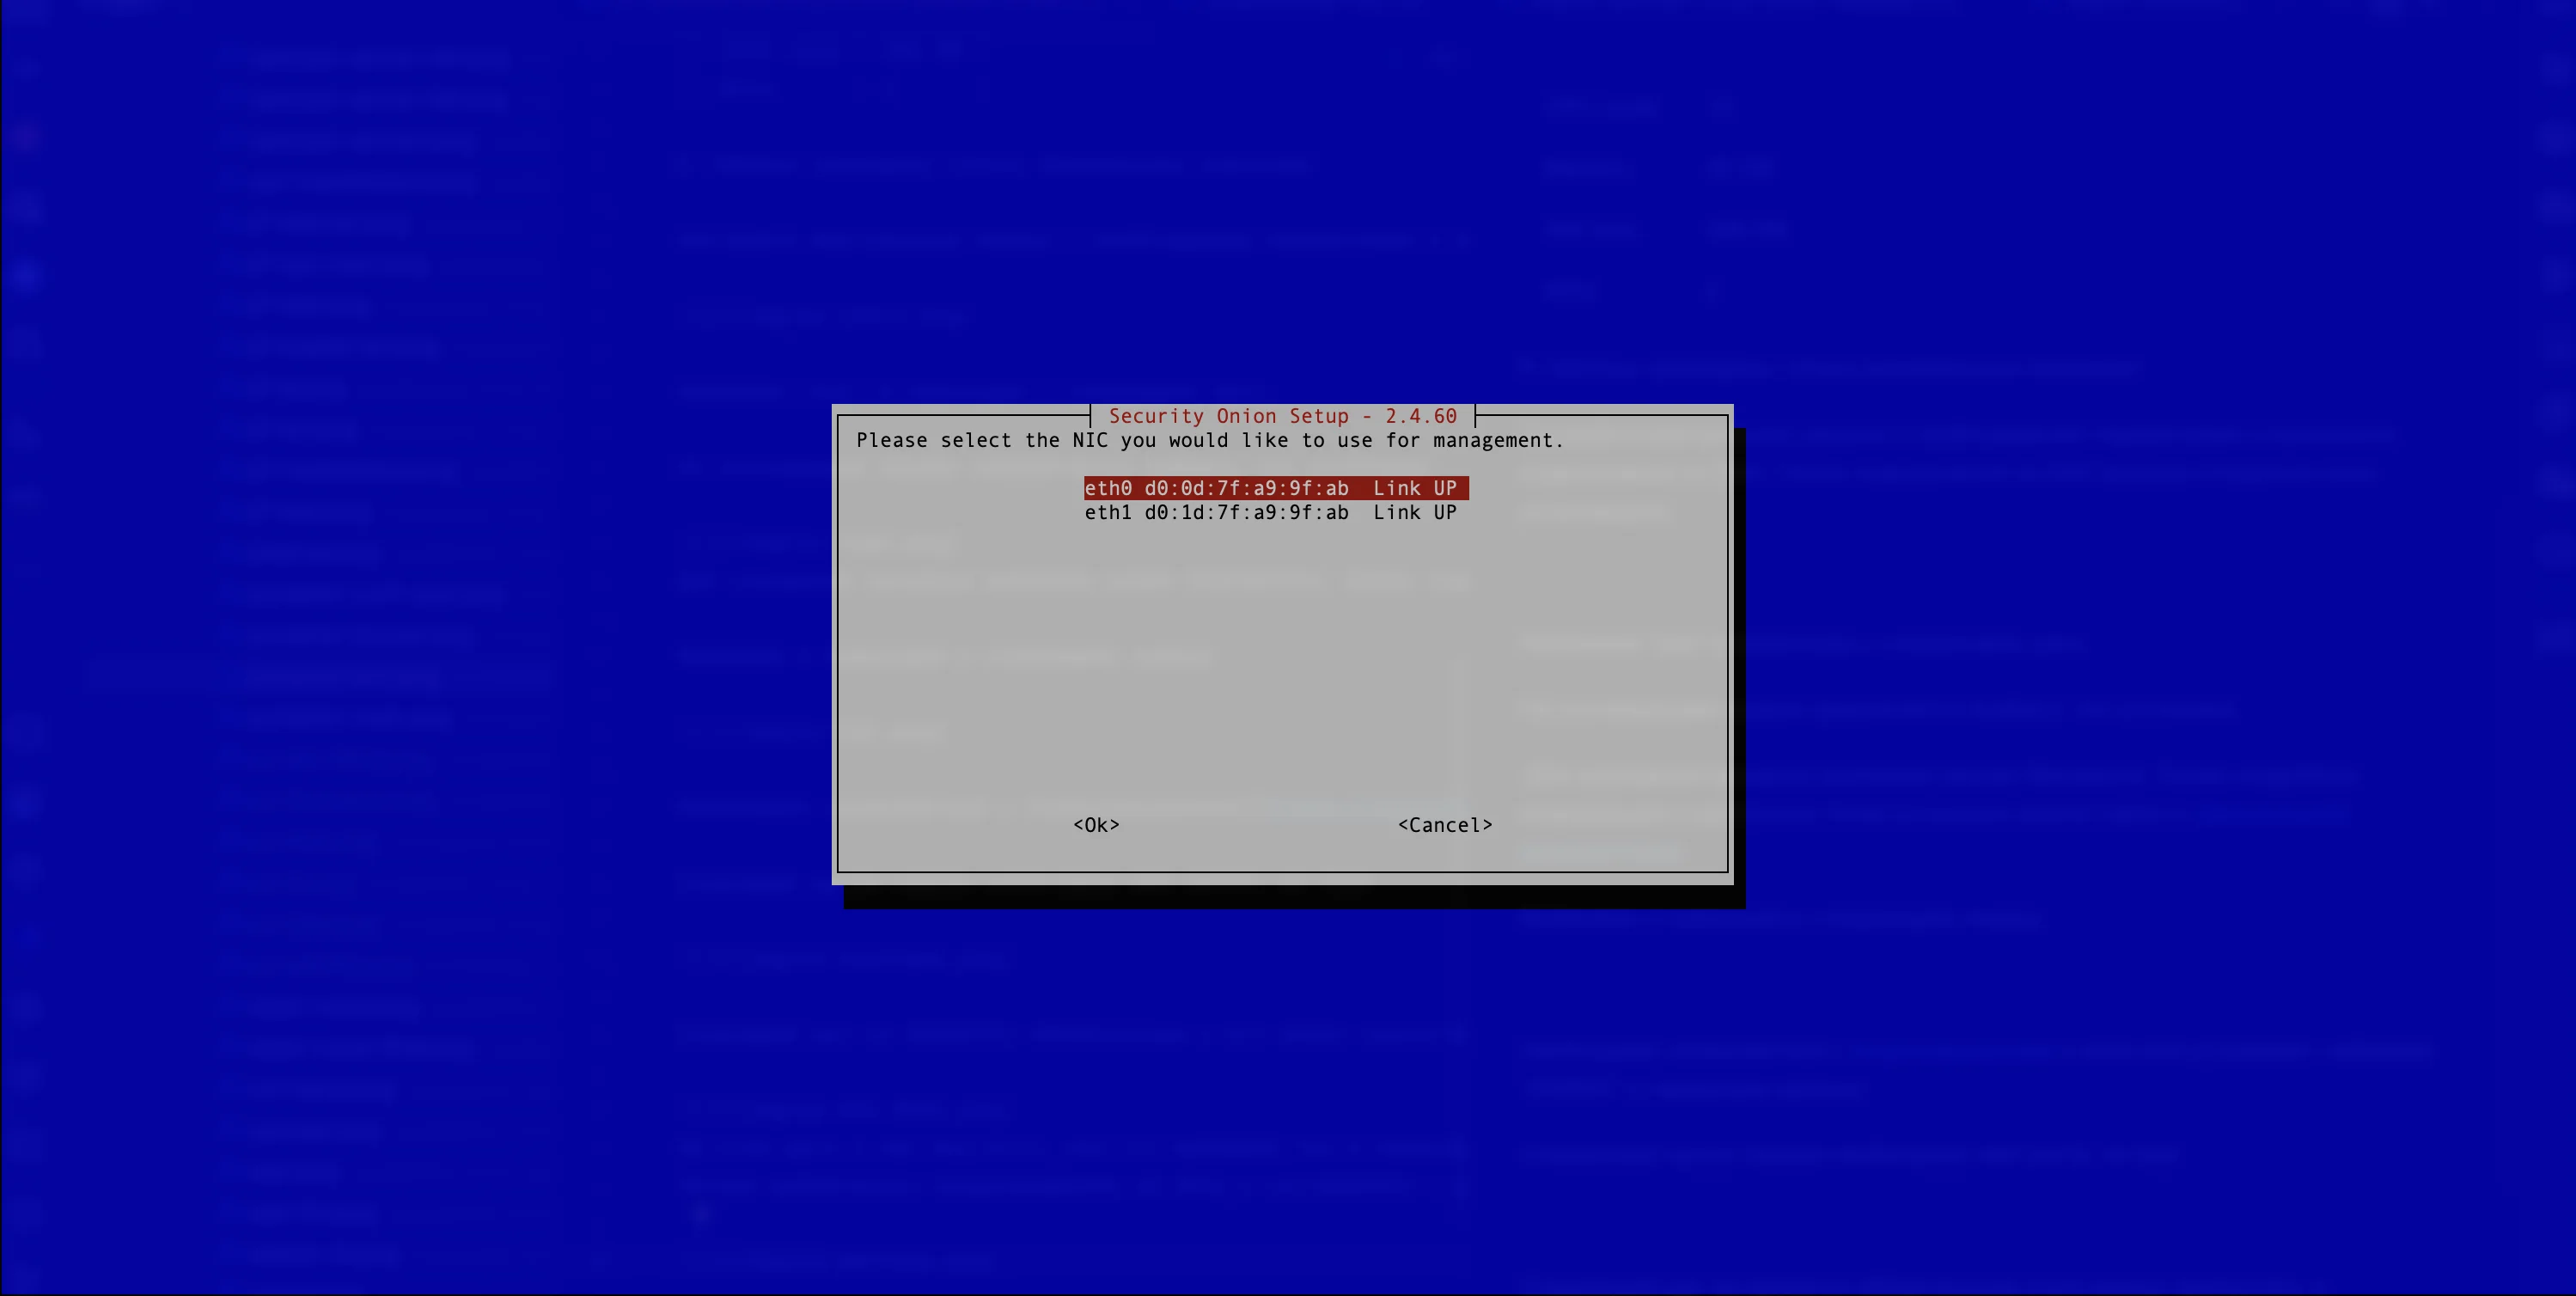Figure 7. Selecting the Network Interface to Access the Web Interface
8. The user needs to go to the following screen to continue with the setting (see Figure 8). 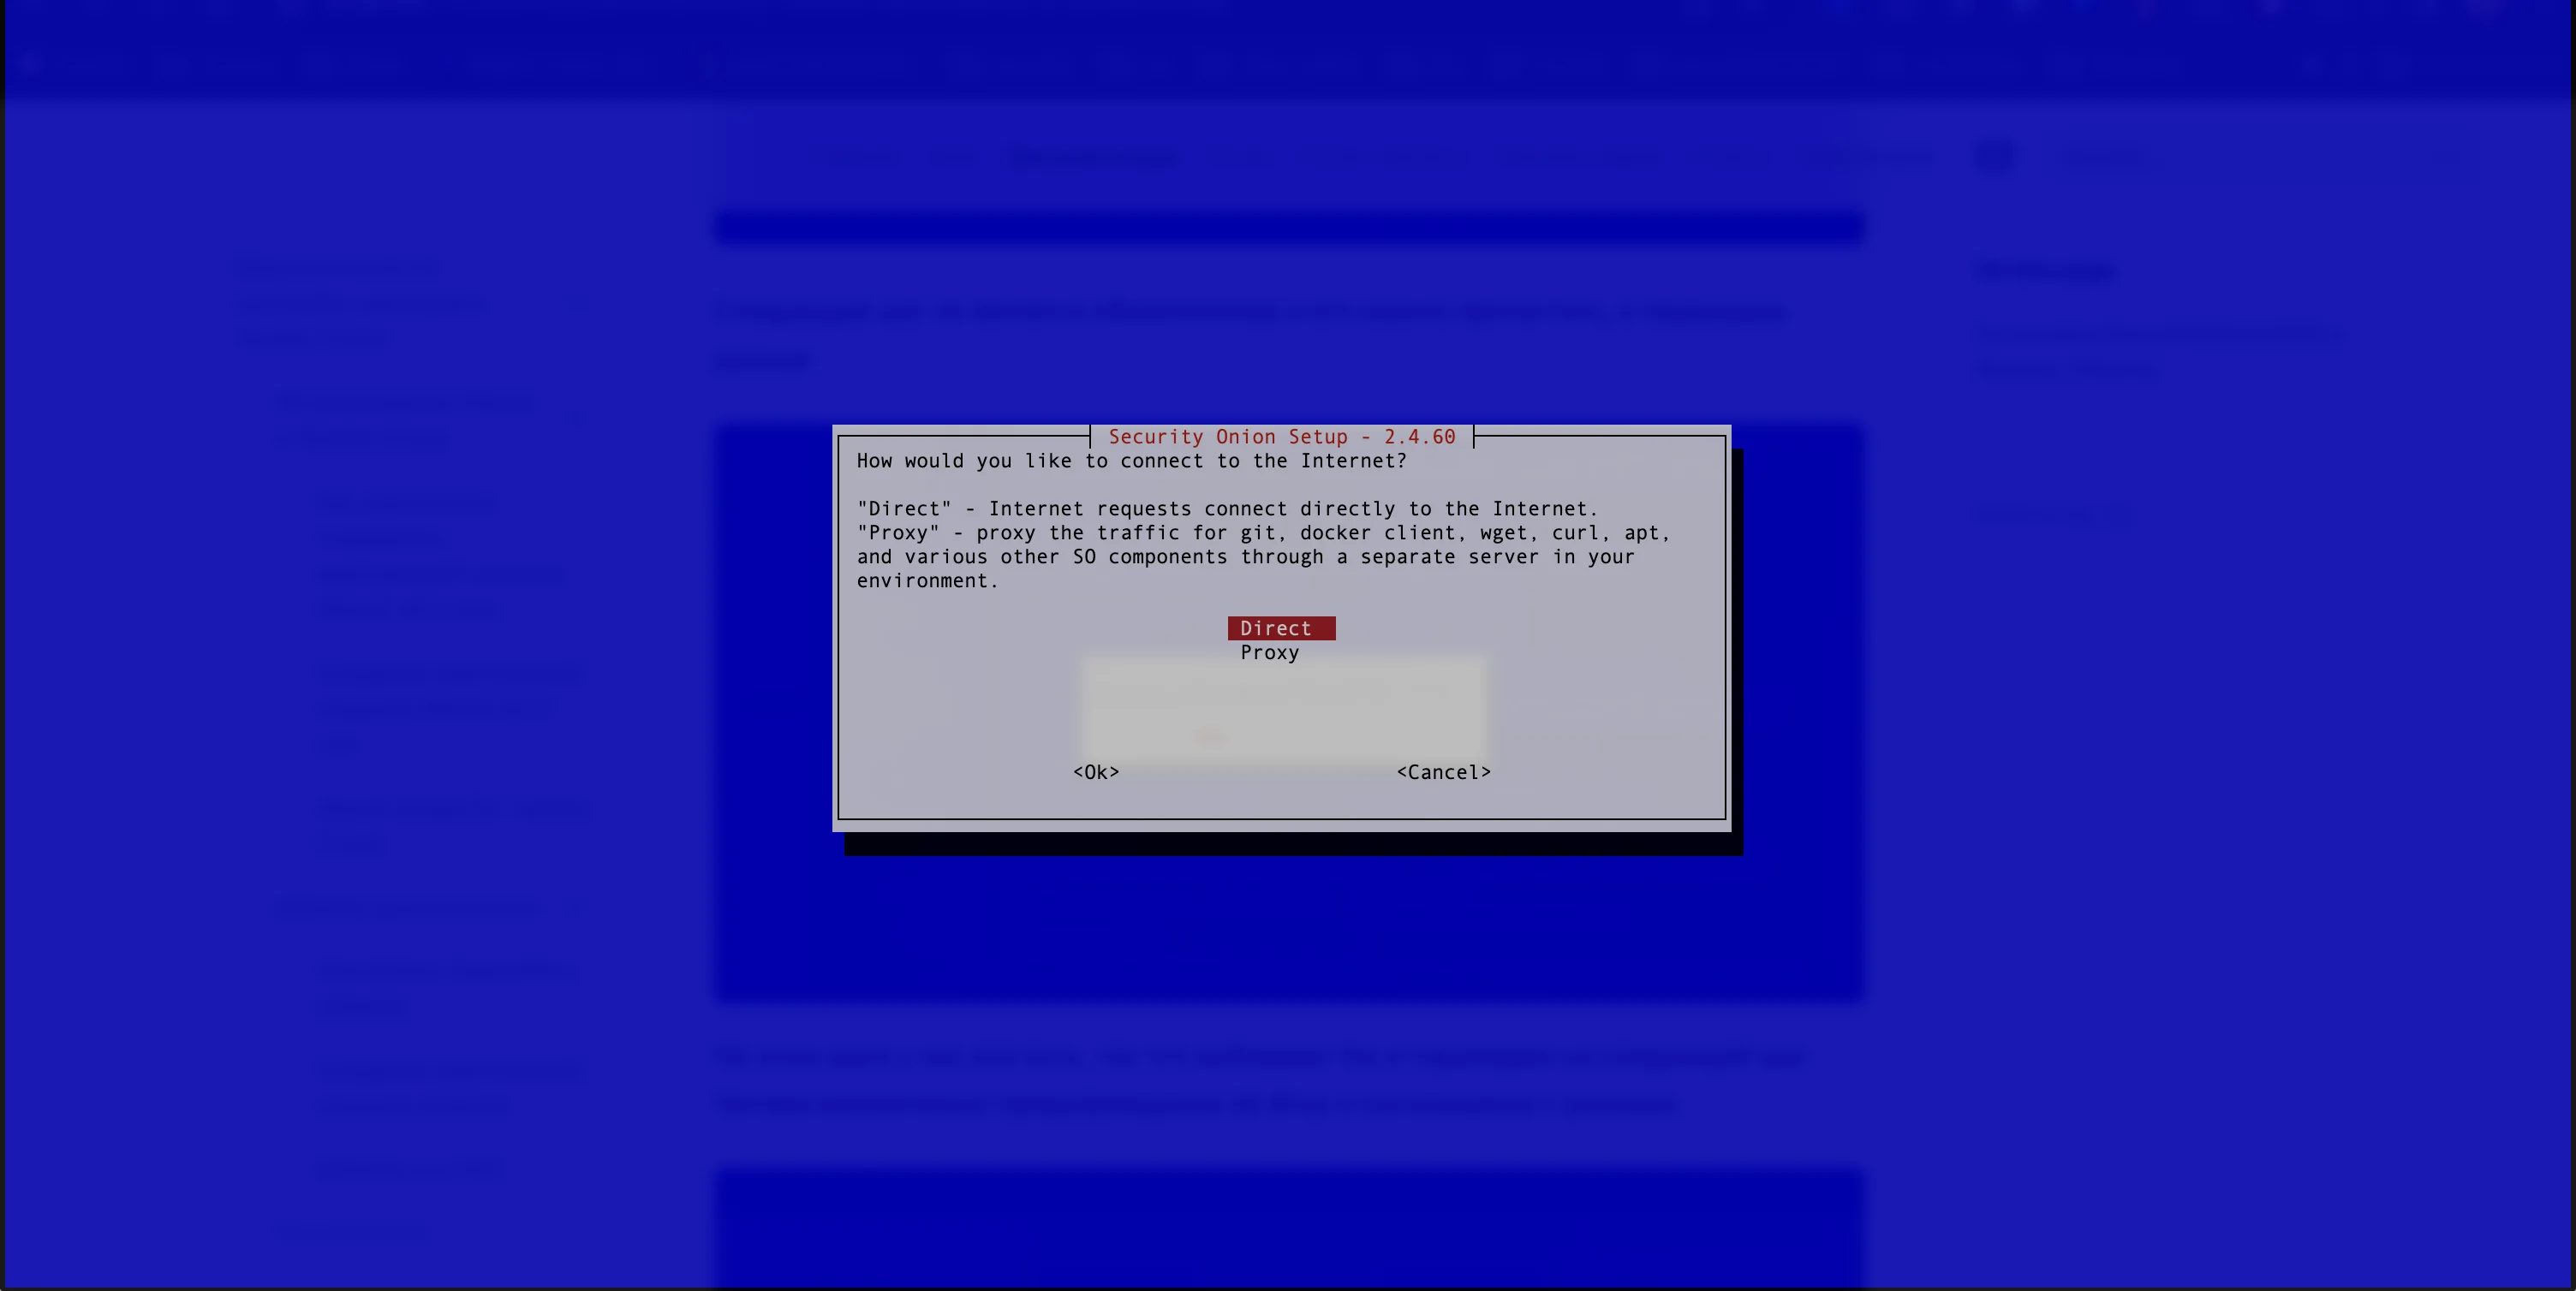Figure 8. Selecting the Type of Internet Connection
If the user is not using a proxy server, they should select Direct and proceed to the next step (see Figure 9). 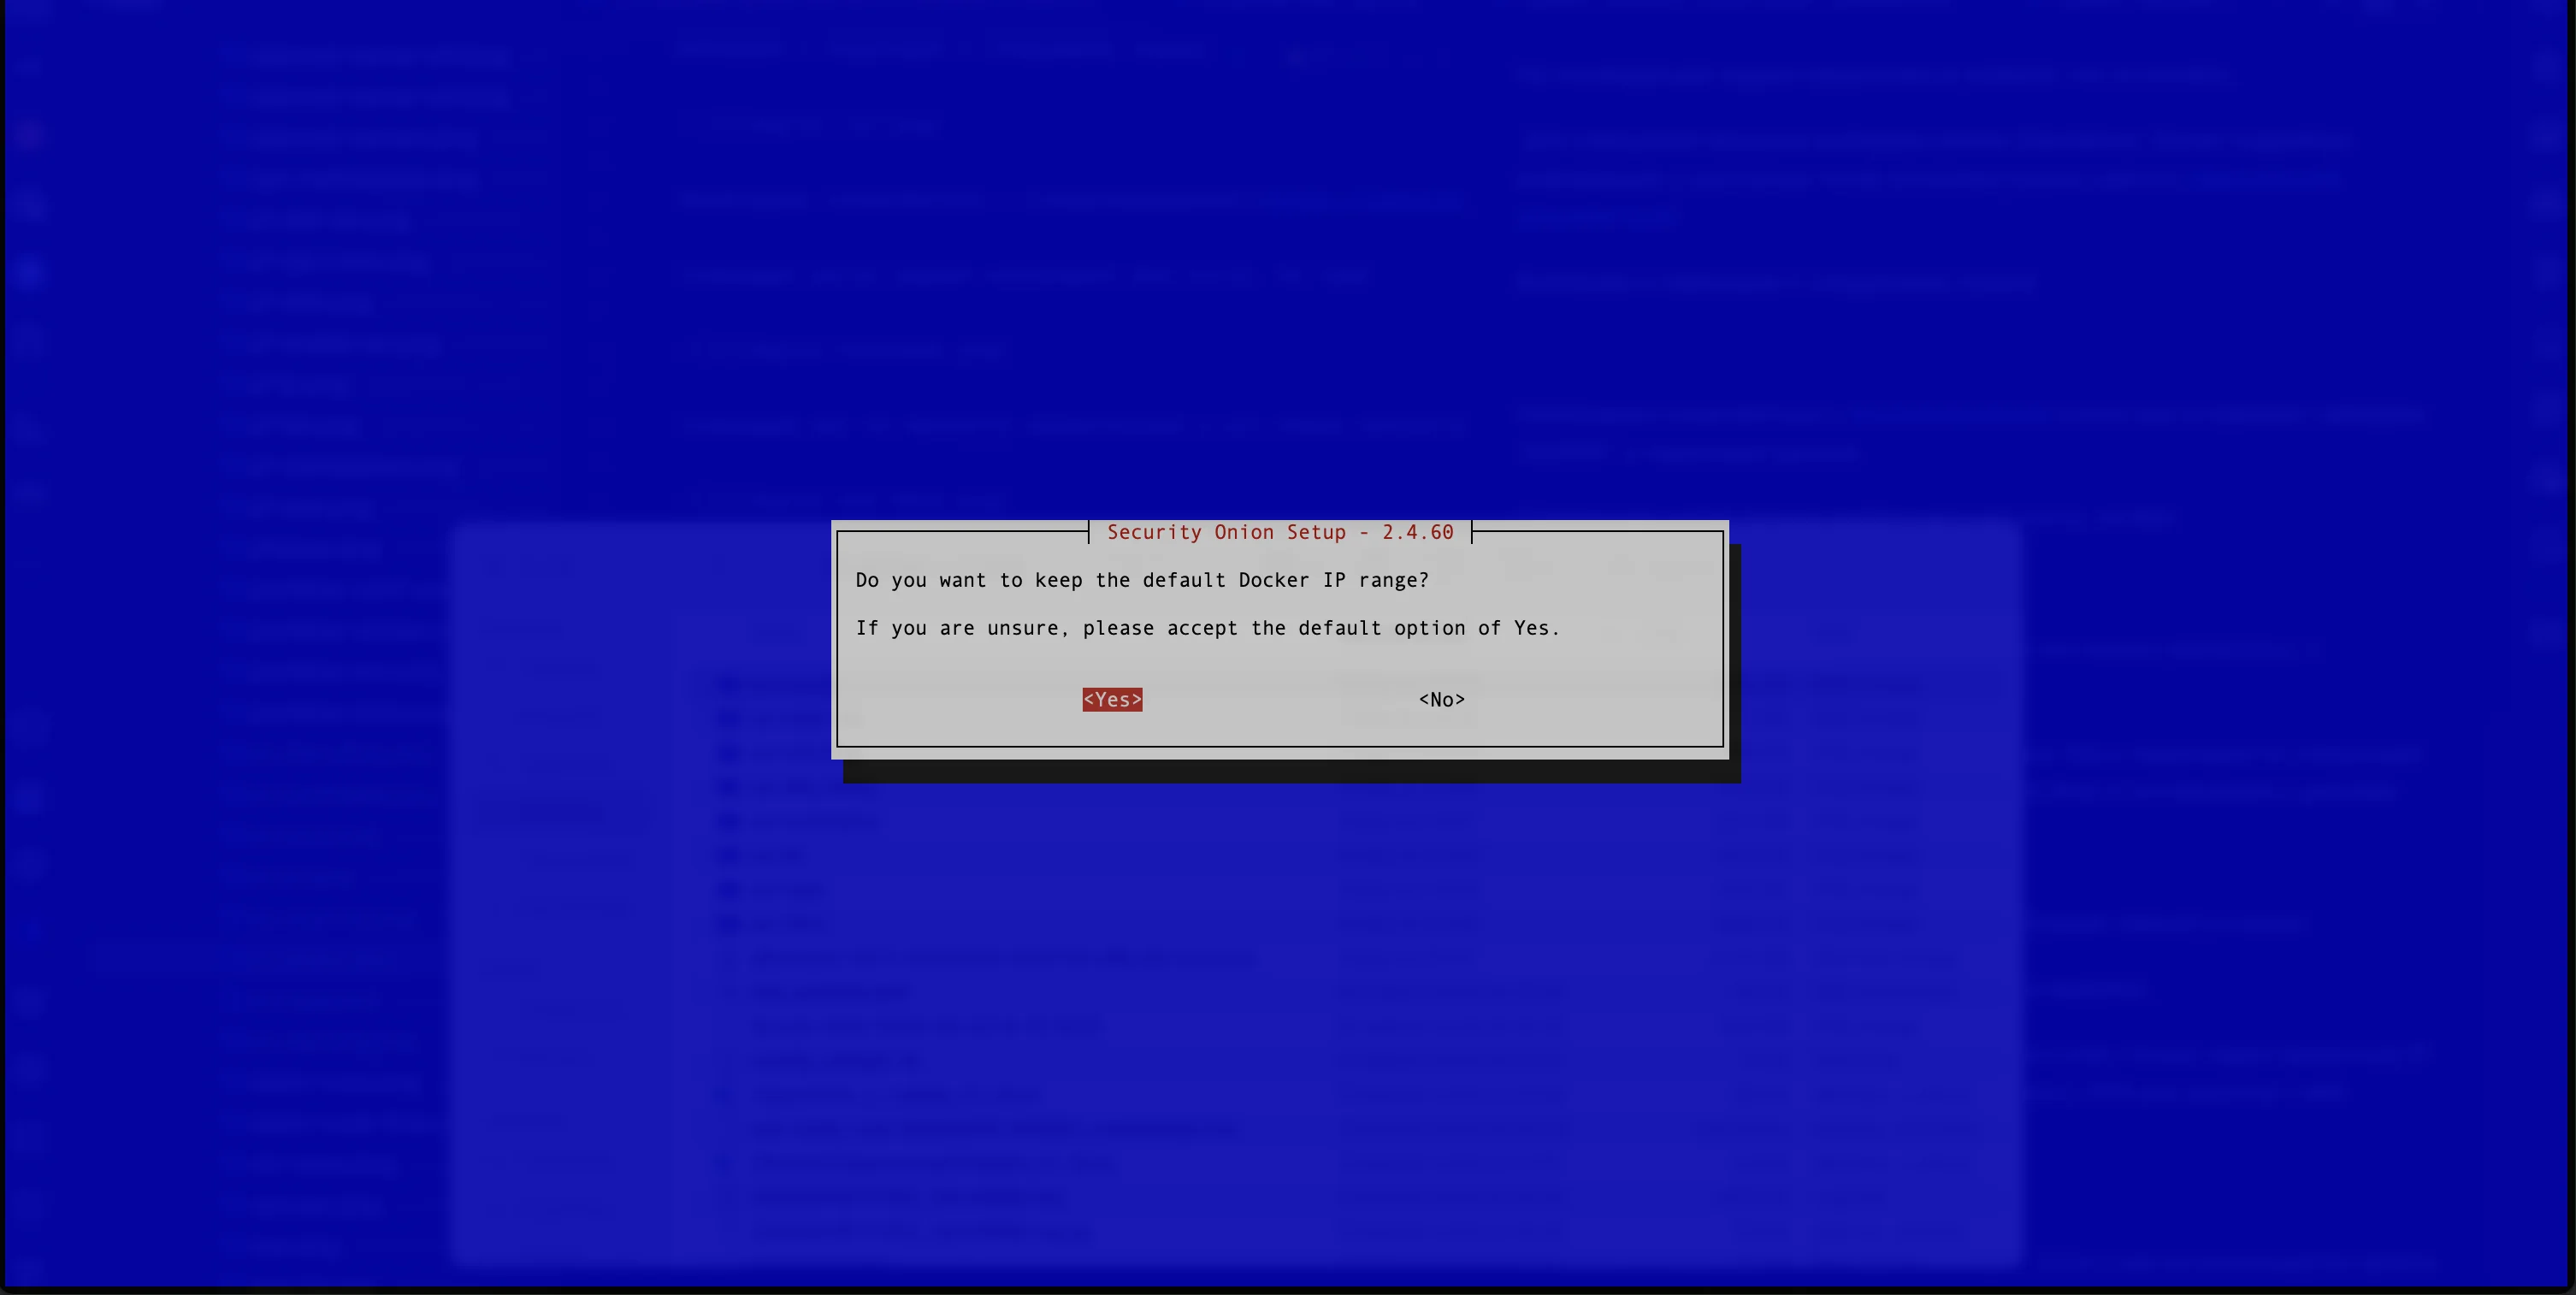Figure 9. Selecting a Default Option
If the user cannot answer this question, they need to select “Yes” and proceed to the next step. 9. In this step, the user must select the interface or interfaces for monitoring (see Figure 10). 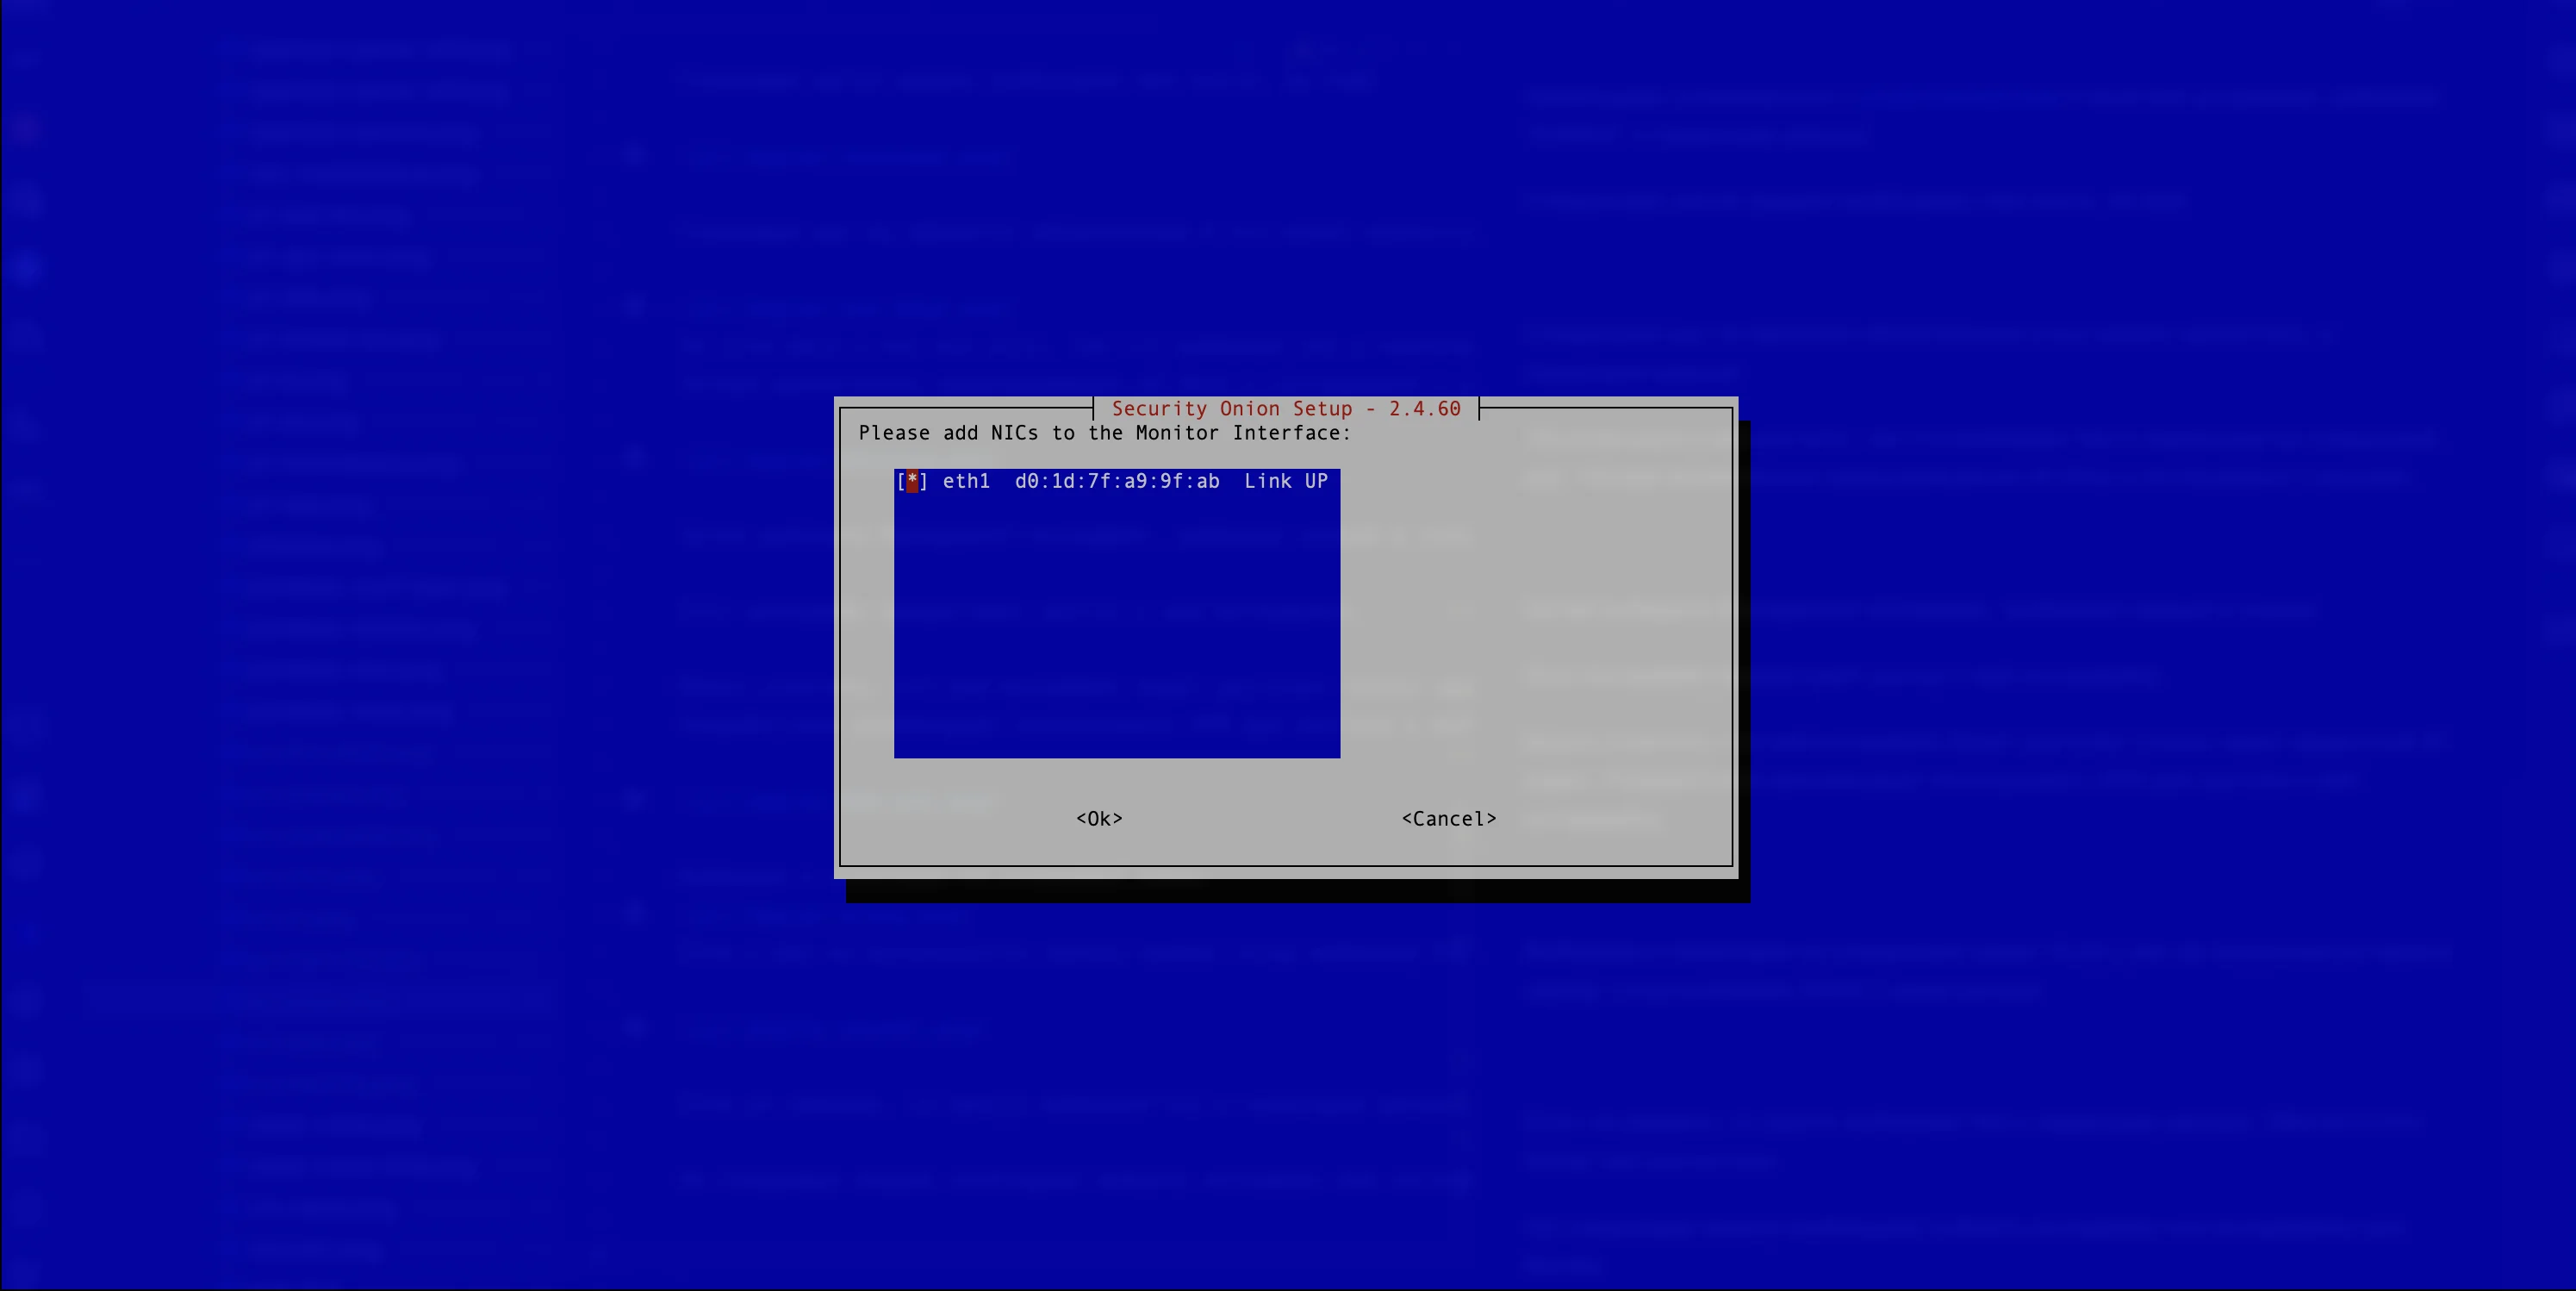Figure 10. Interface Selection
The example selects an existing interface. The selection is made by pressing the spacebar. 10. Creating a user for the web interface and setting a password is necessary (see Figure 11). In the first window, you need to set the administrator's email address. 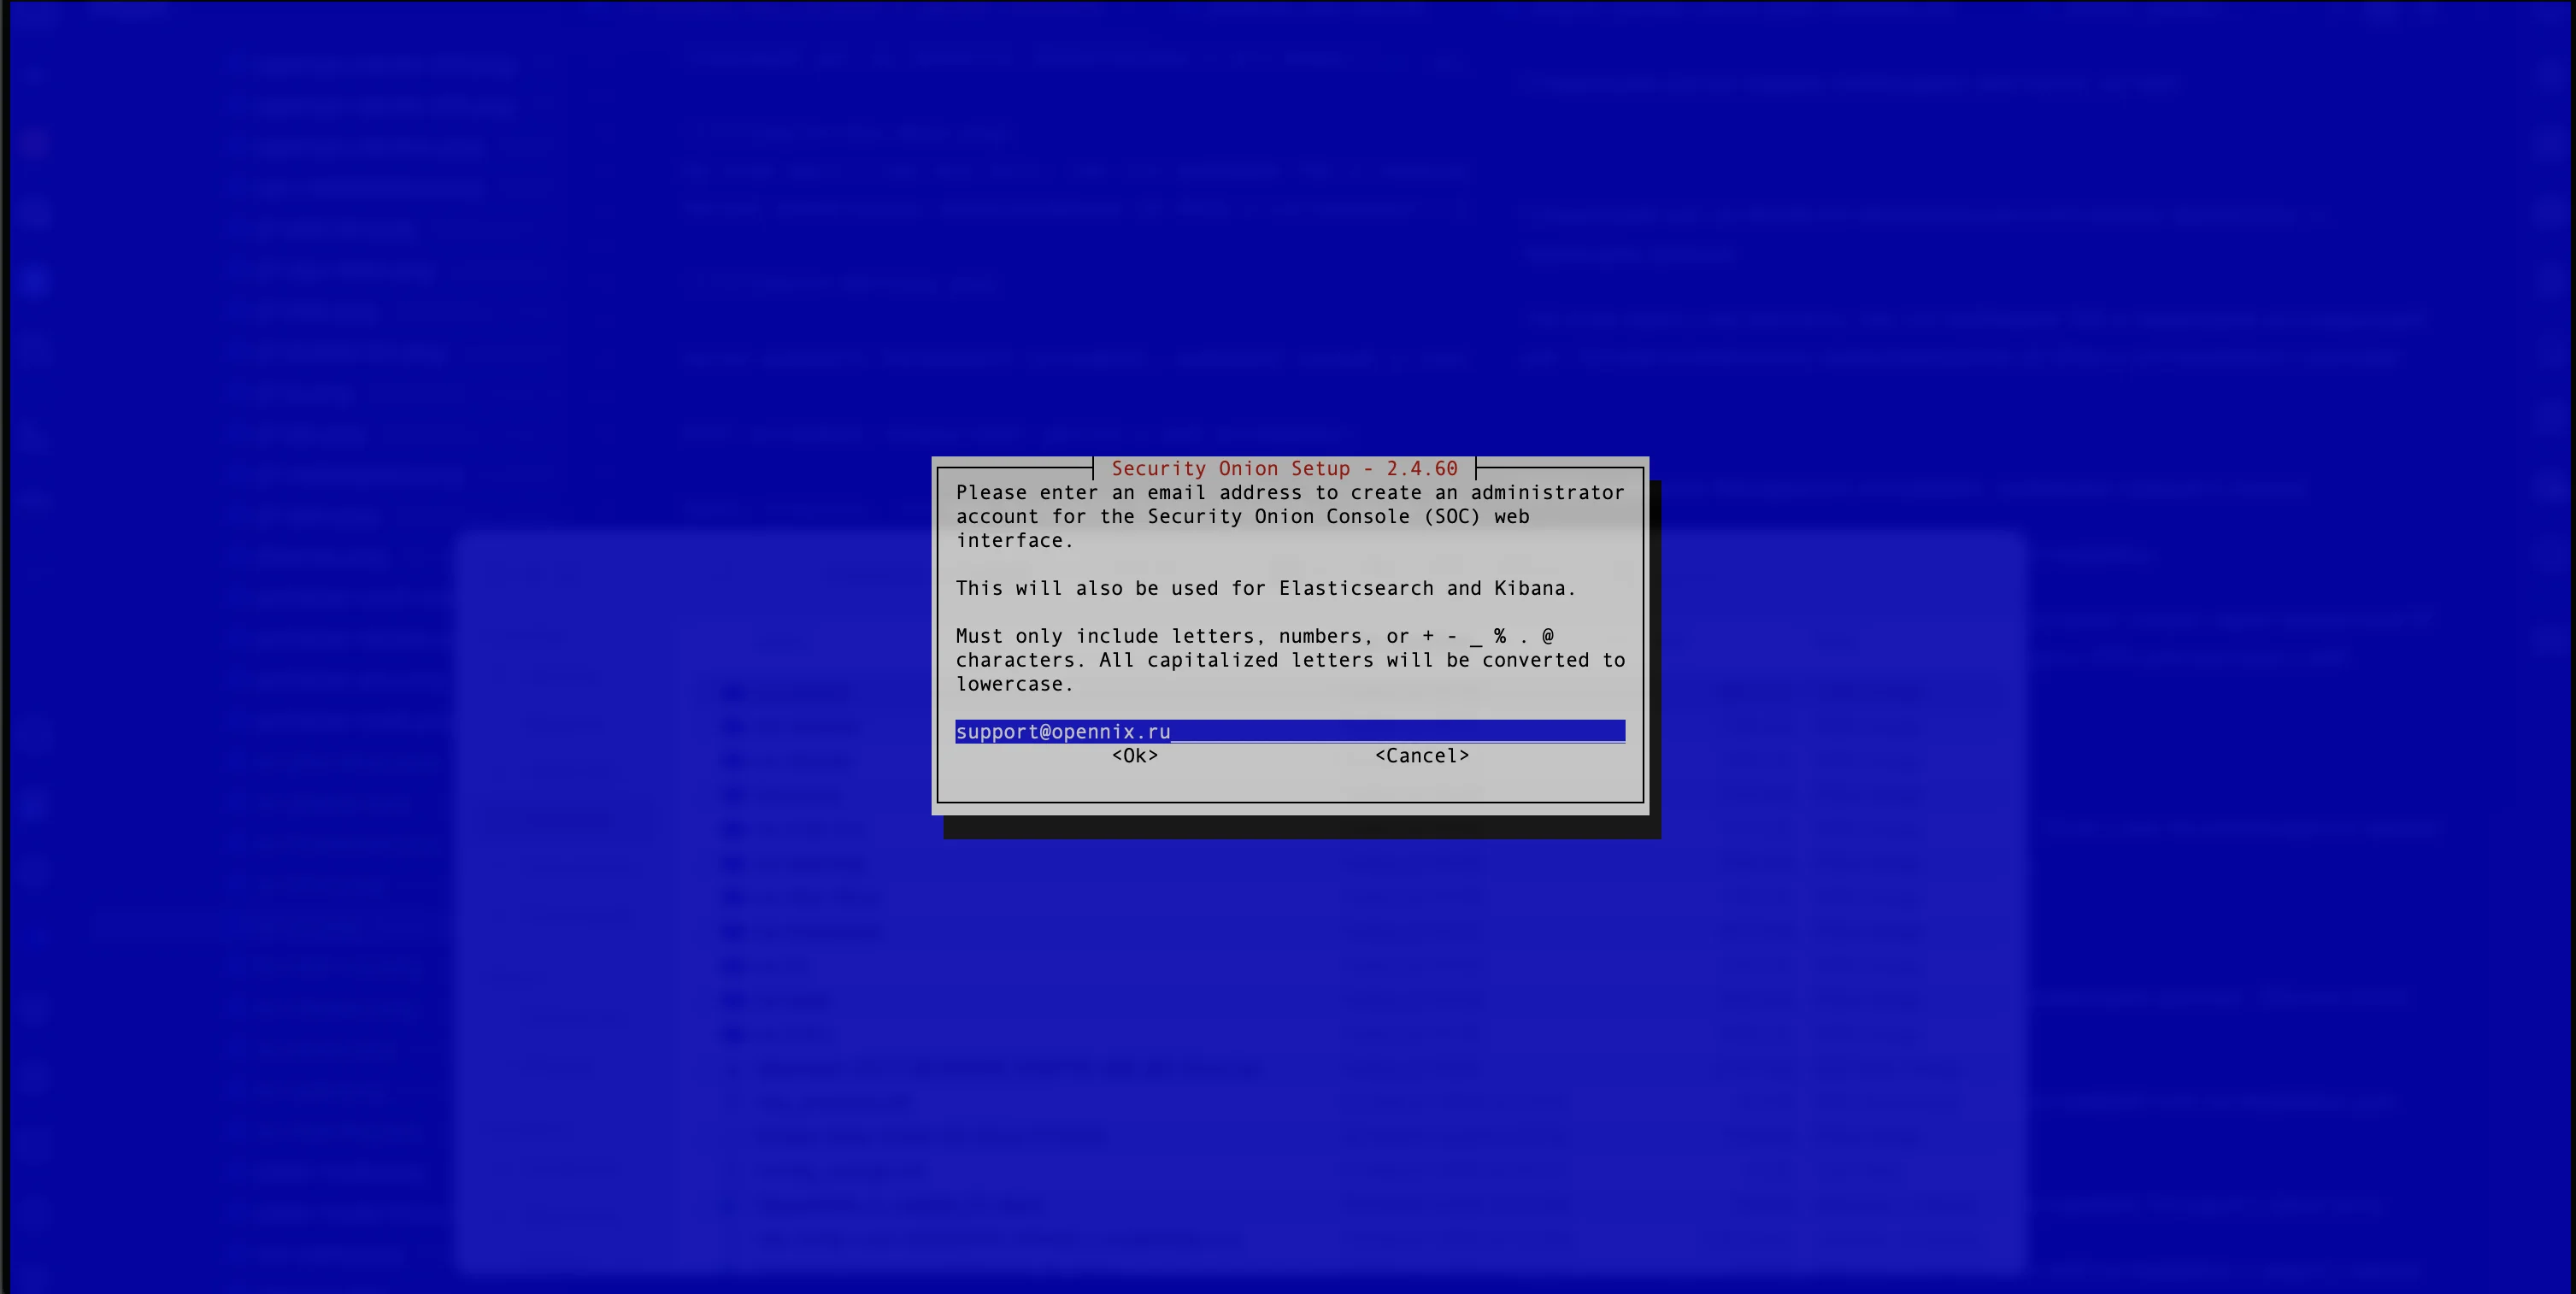Figure 11. Setting up the Administrator Email
11. The next step is to create a secure password that complies with the cryptocurrency standards and security policy of the user's organization (see Figure 12). 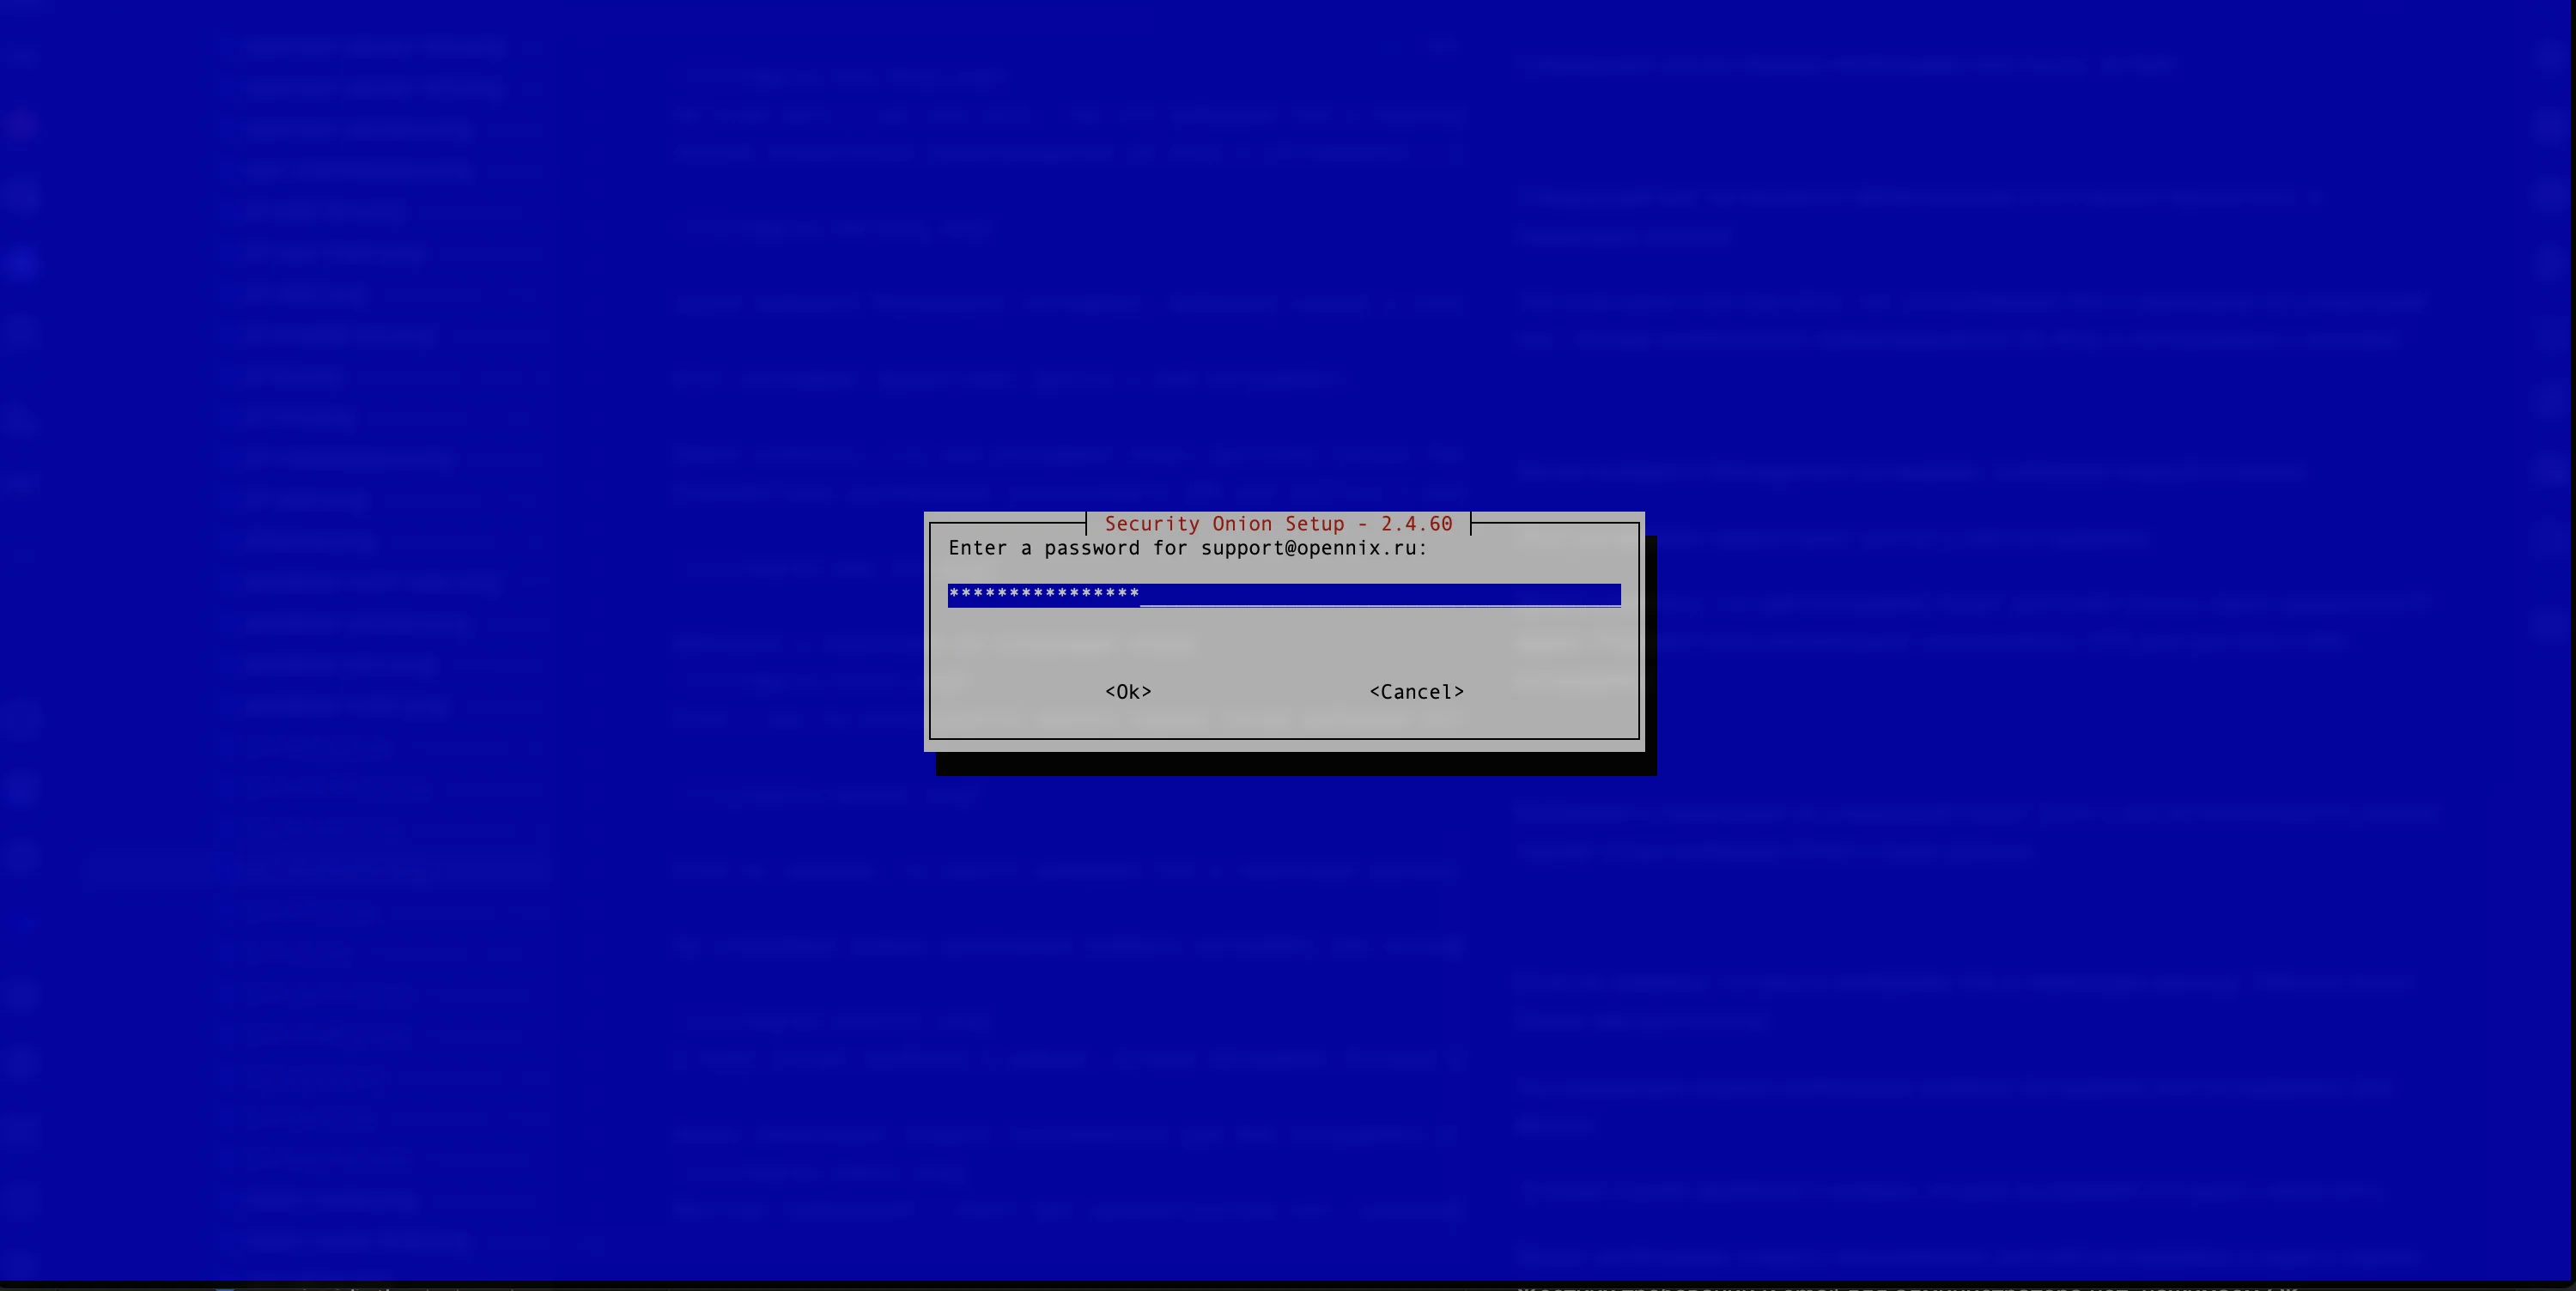Figure 12. Creating an Administrator Password
12. Once the user configuration is complete, select access to the web interface. If the users are on an internal network, the user must select IP or HOSTNAME (see Figure 13). 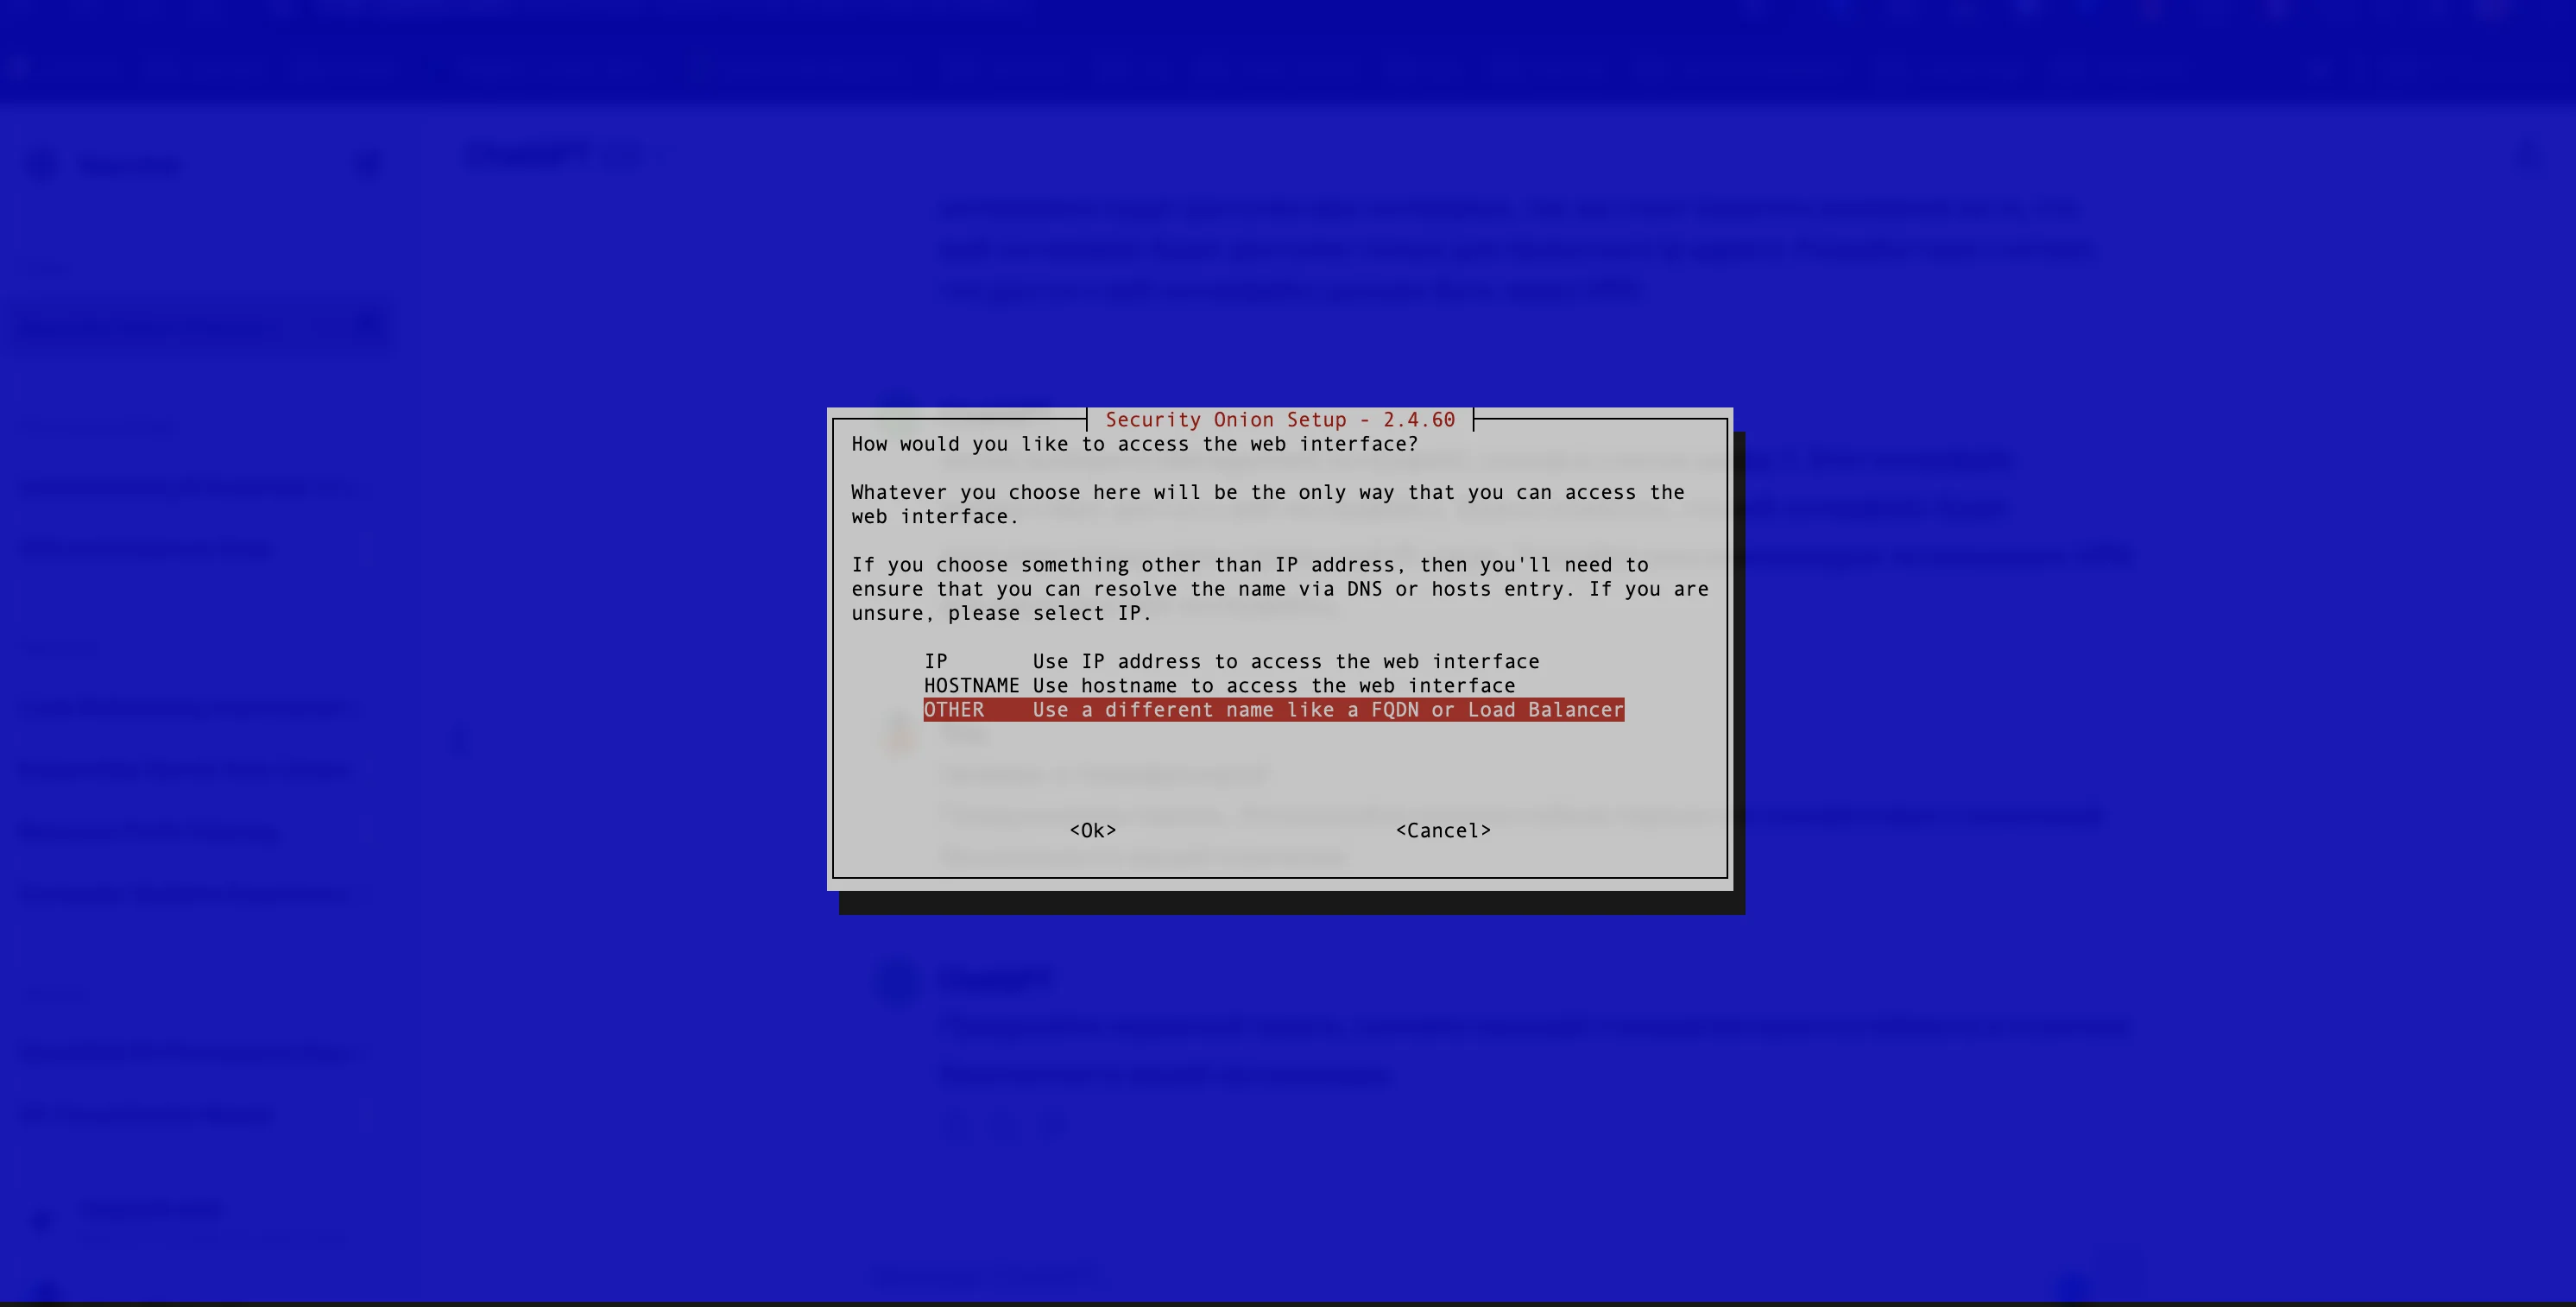Figure 13. Selecting Access to the Web Interface
In the example we select OTHER. Then enter the IP address of the external virtual machine (see Figure 14). 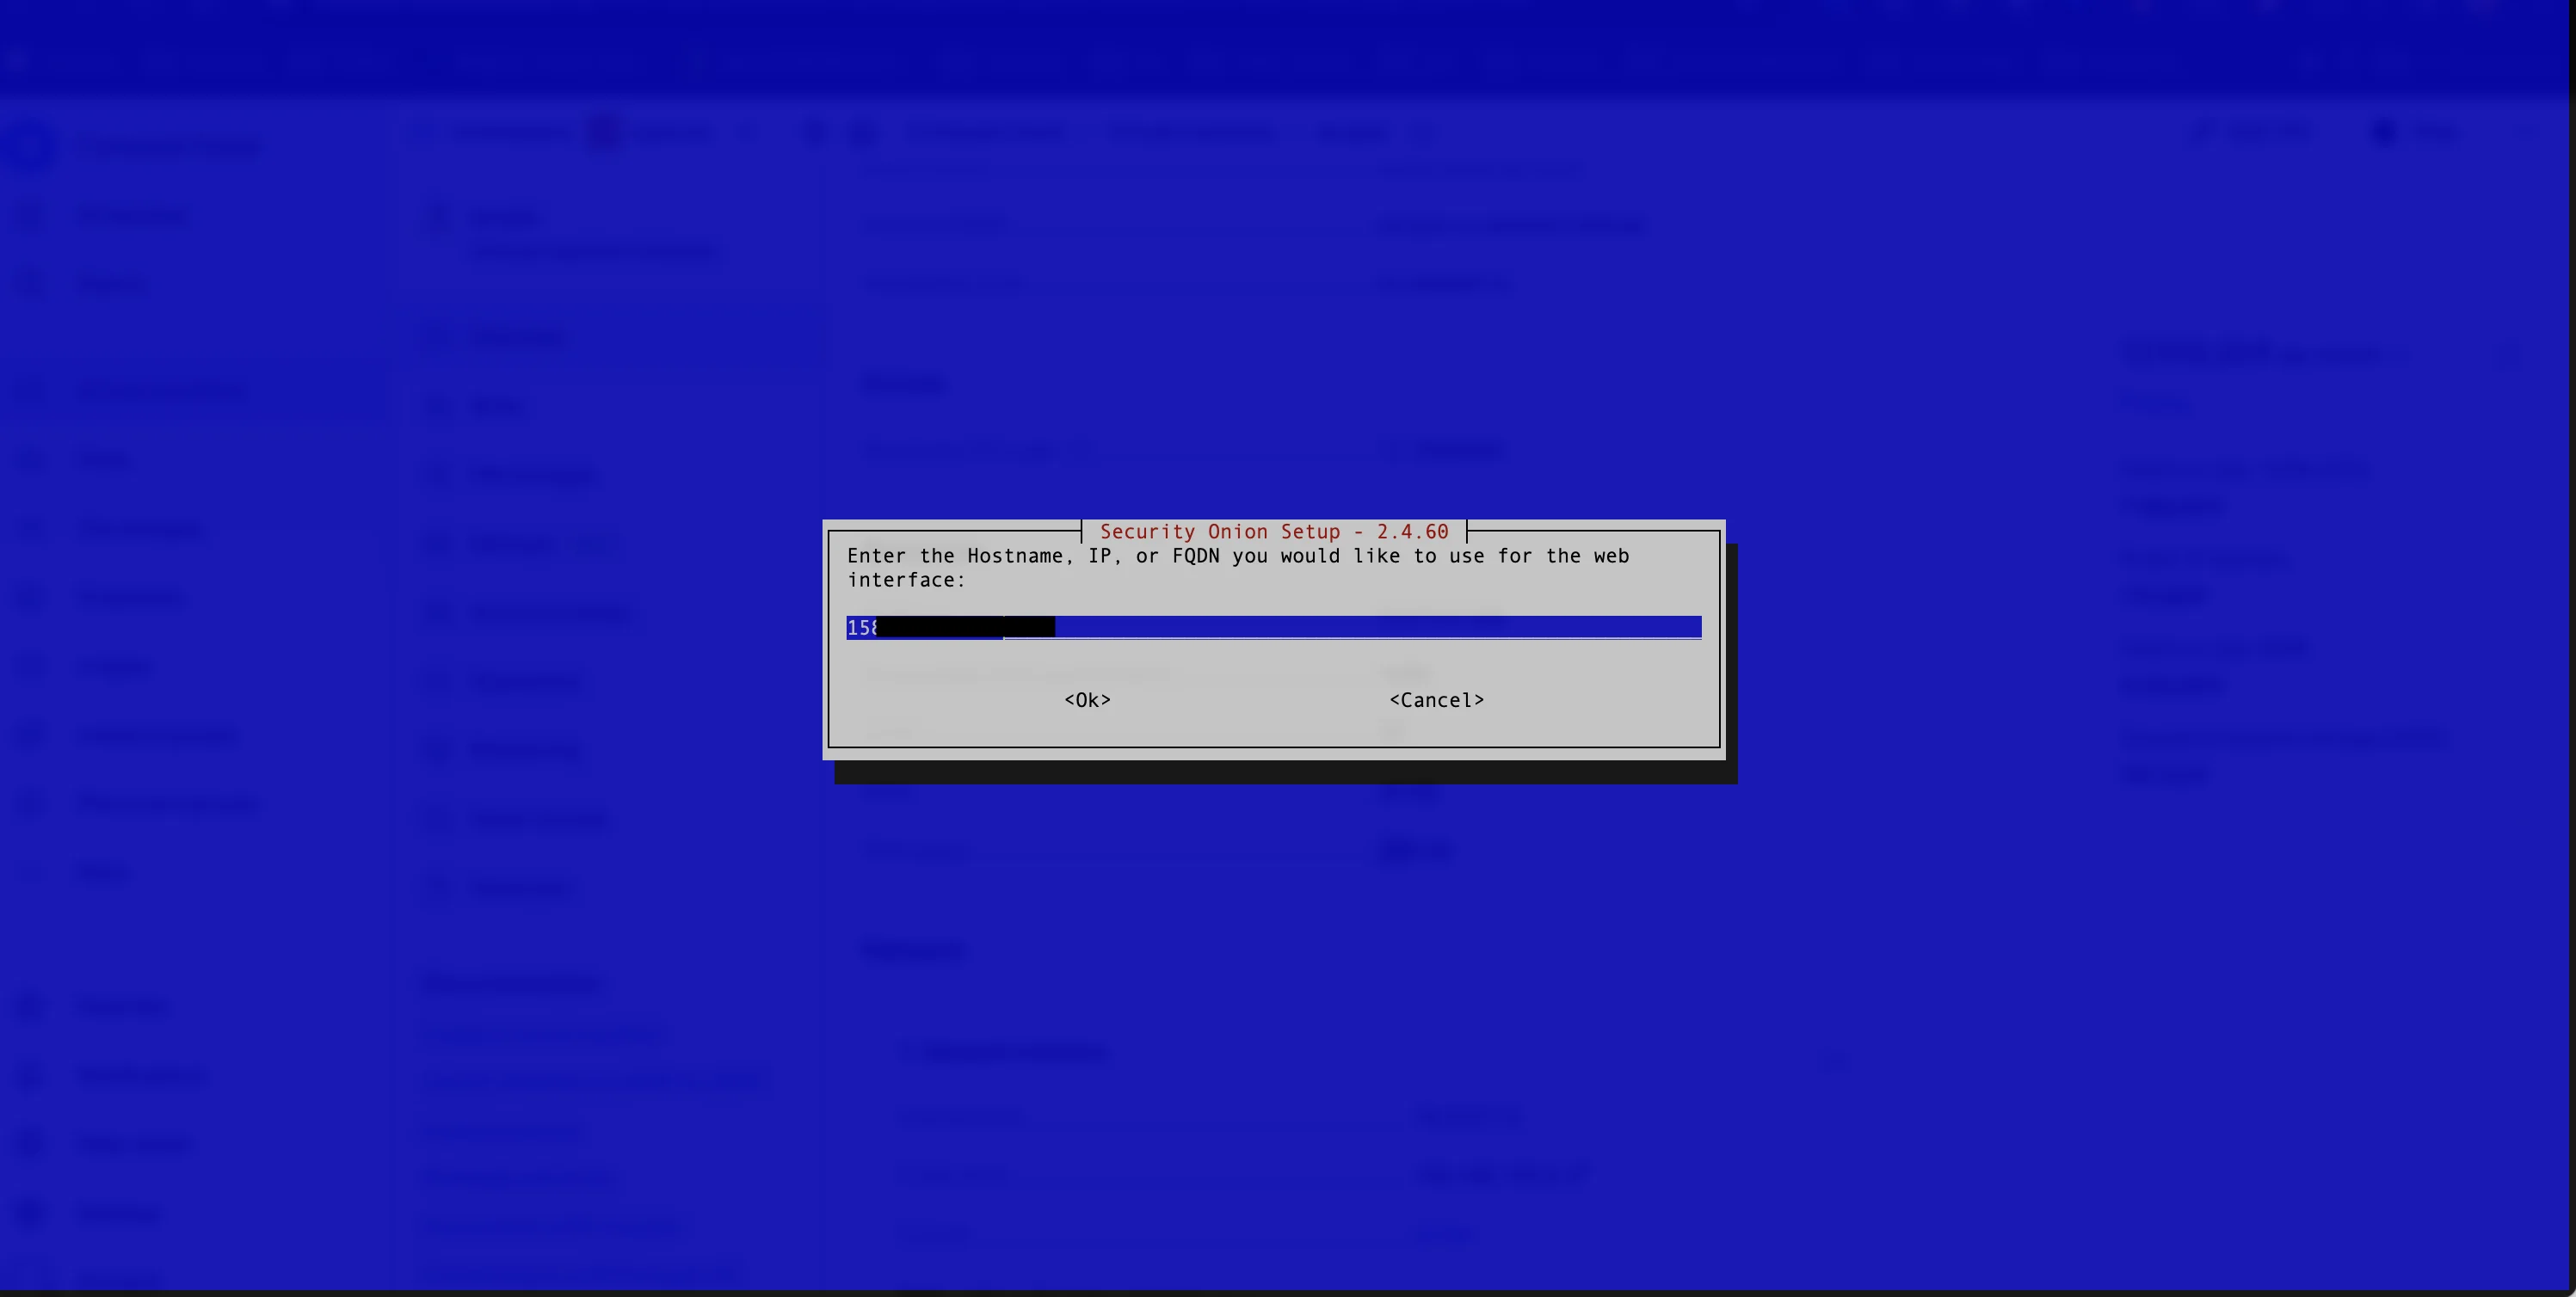Figure 14. Entering the virtual machine’s name or IP
Developers do not guarantee that this scheme will work and will not change in the future. We recommend using an internal IP address with access via VPN. 13. The next step is to allow access to the web interface (see Figure 15). 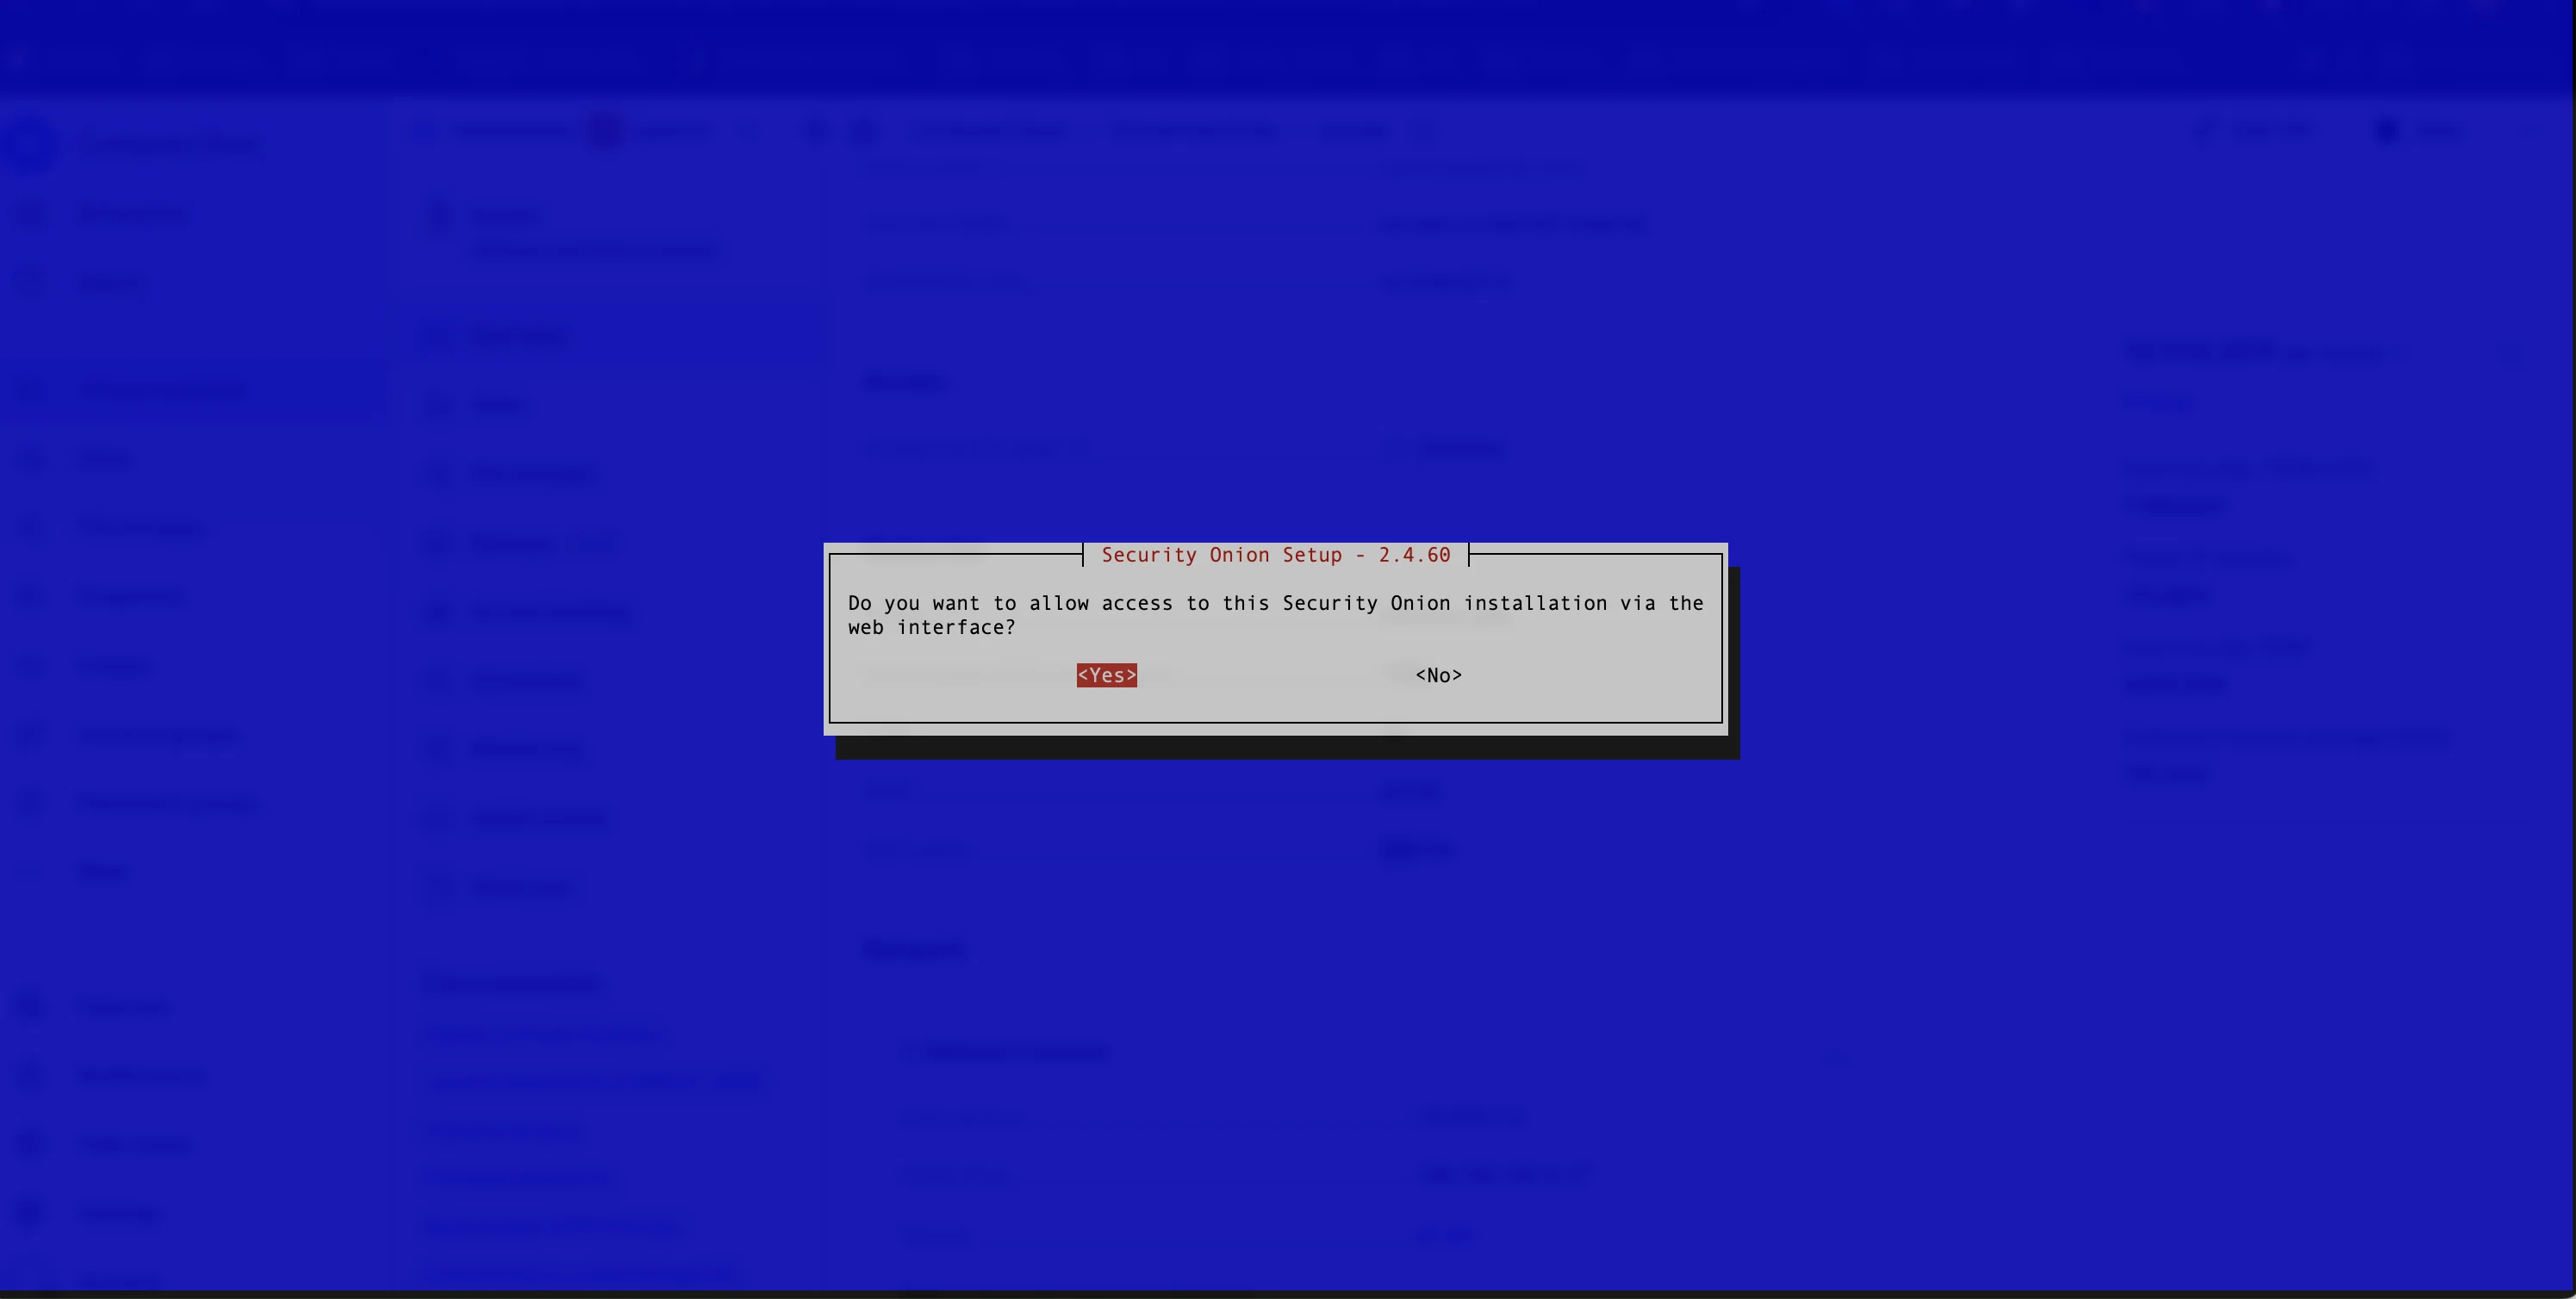Figure 15. Enabling Access to the Web Interface
The user should select “Yes”. On the next screen, they must enter either the IP address or the subnet from which access will be granted. In the example, access to the web interface is allowed from all subnets (see Figure 16). 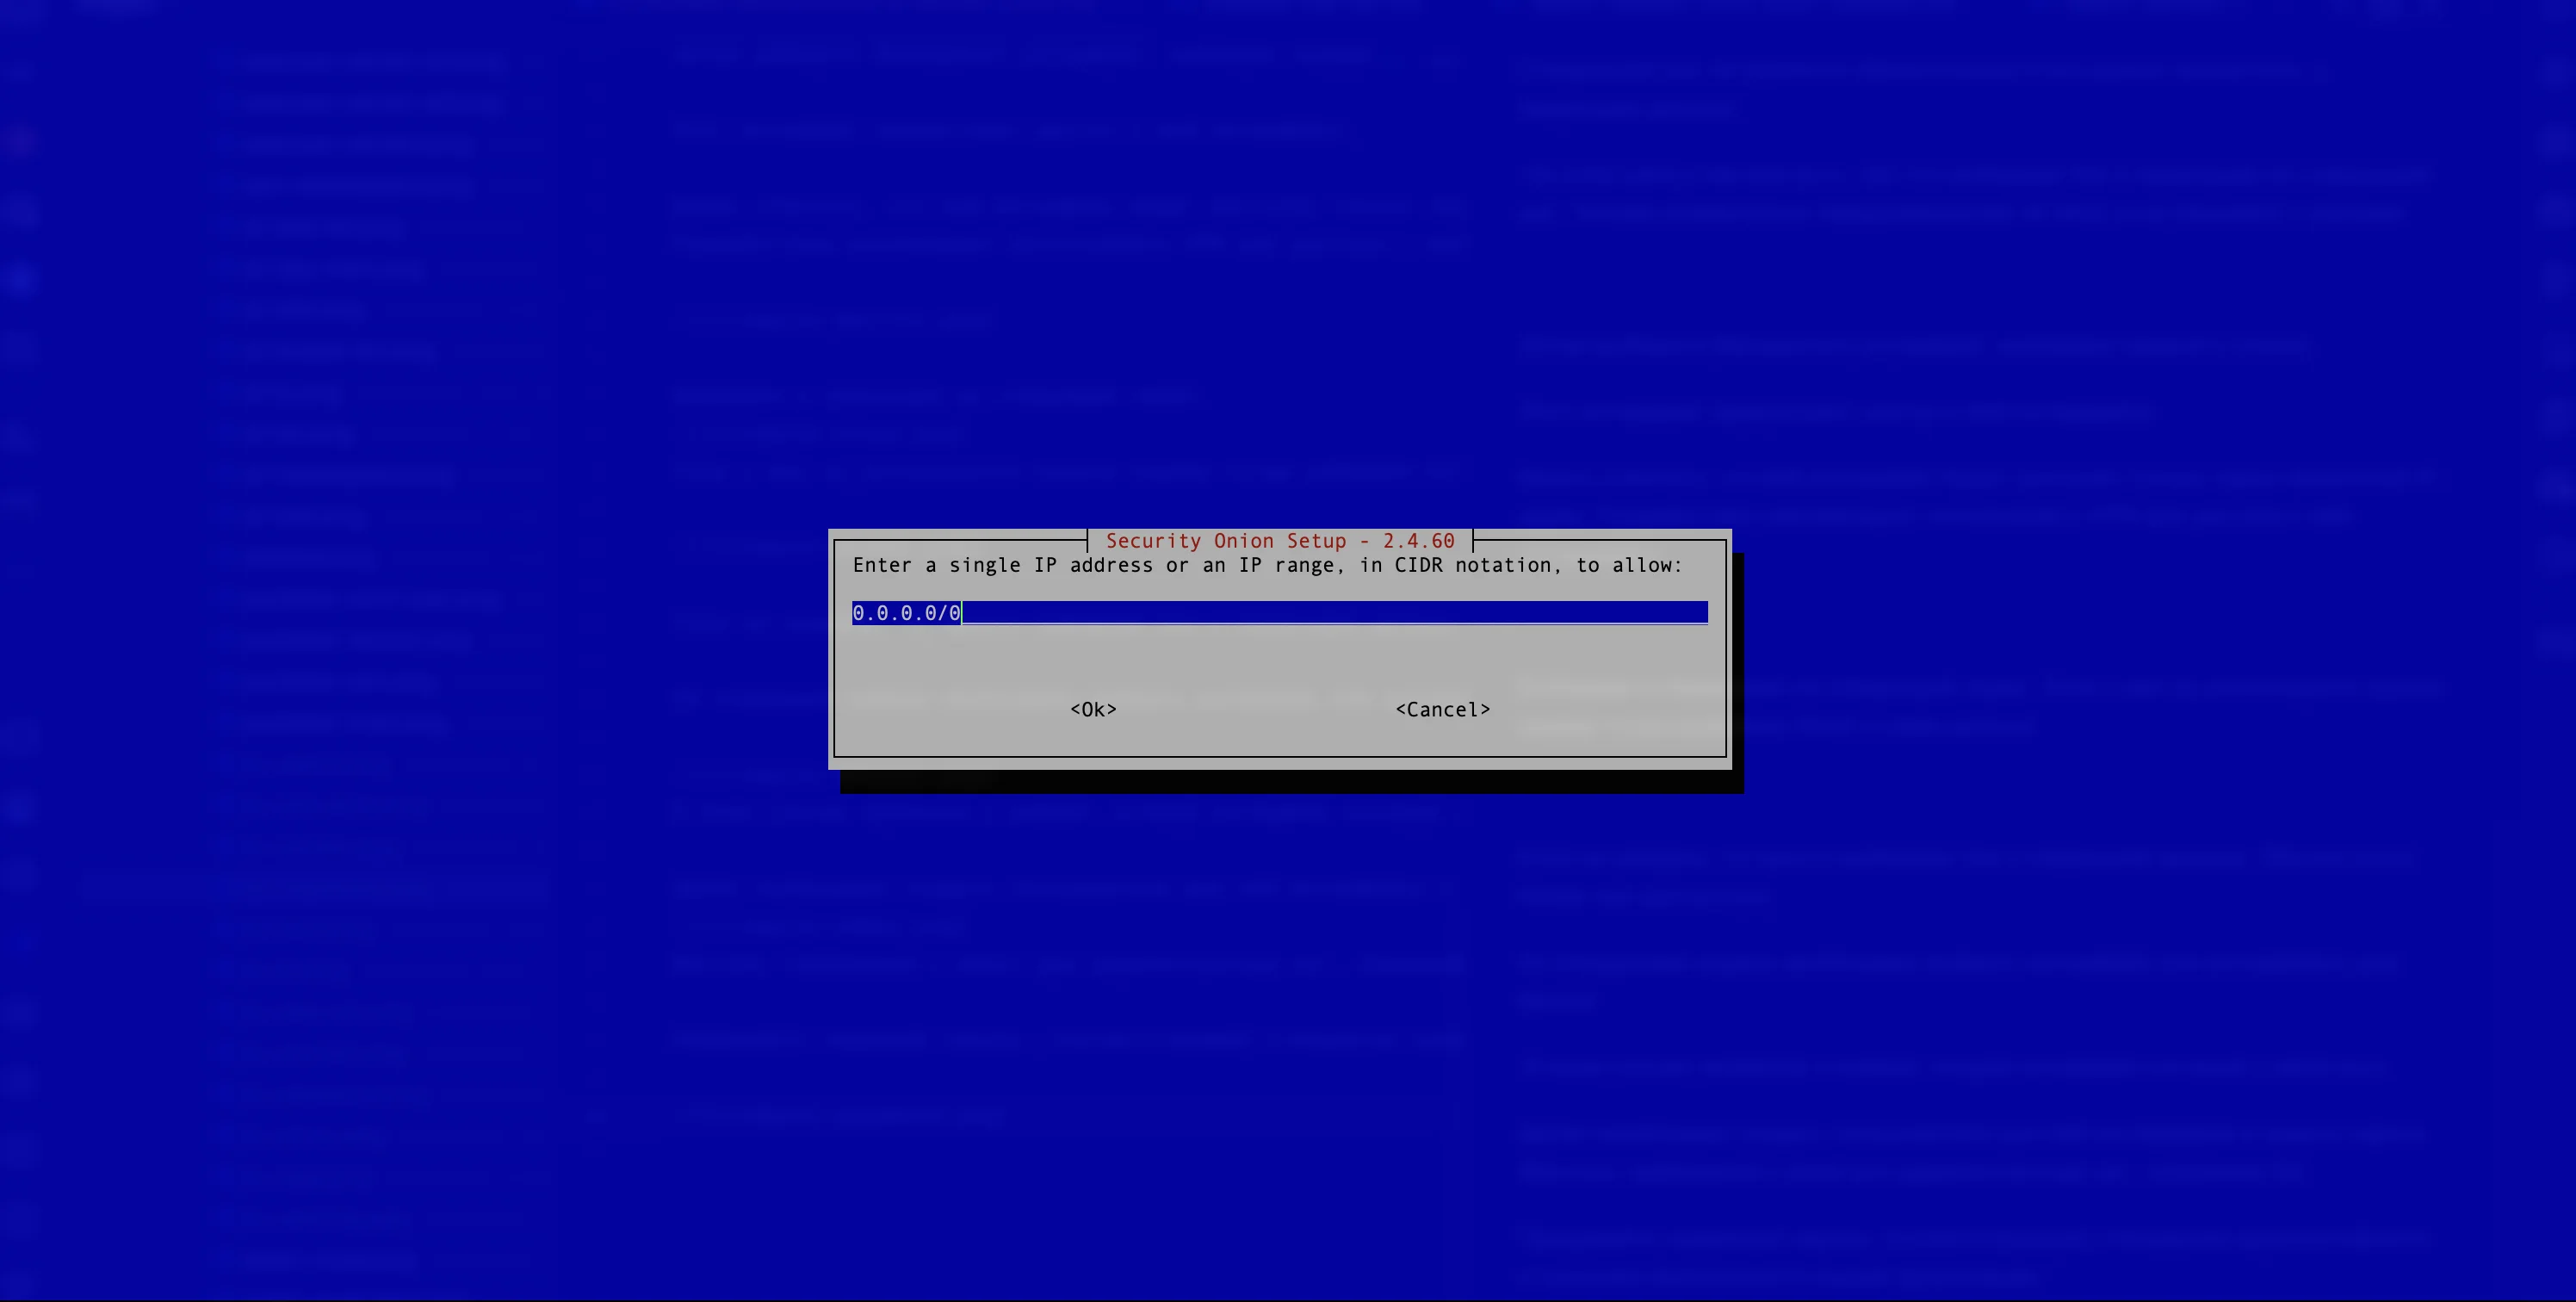Figure 16. Defining Access Restrictions to the Web Interface
The next window displays all the settings the user selected in the previous steps. It is necessary to check that everything has been entered correctly and click “Yes” (see Figure 17). 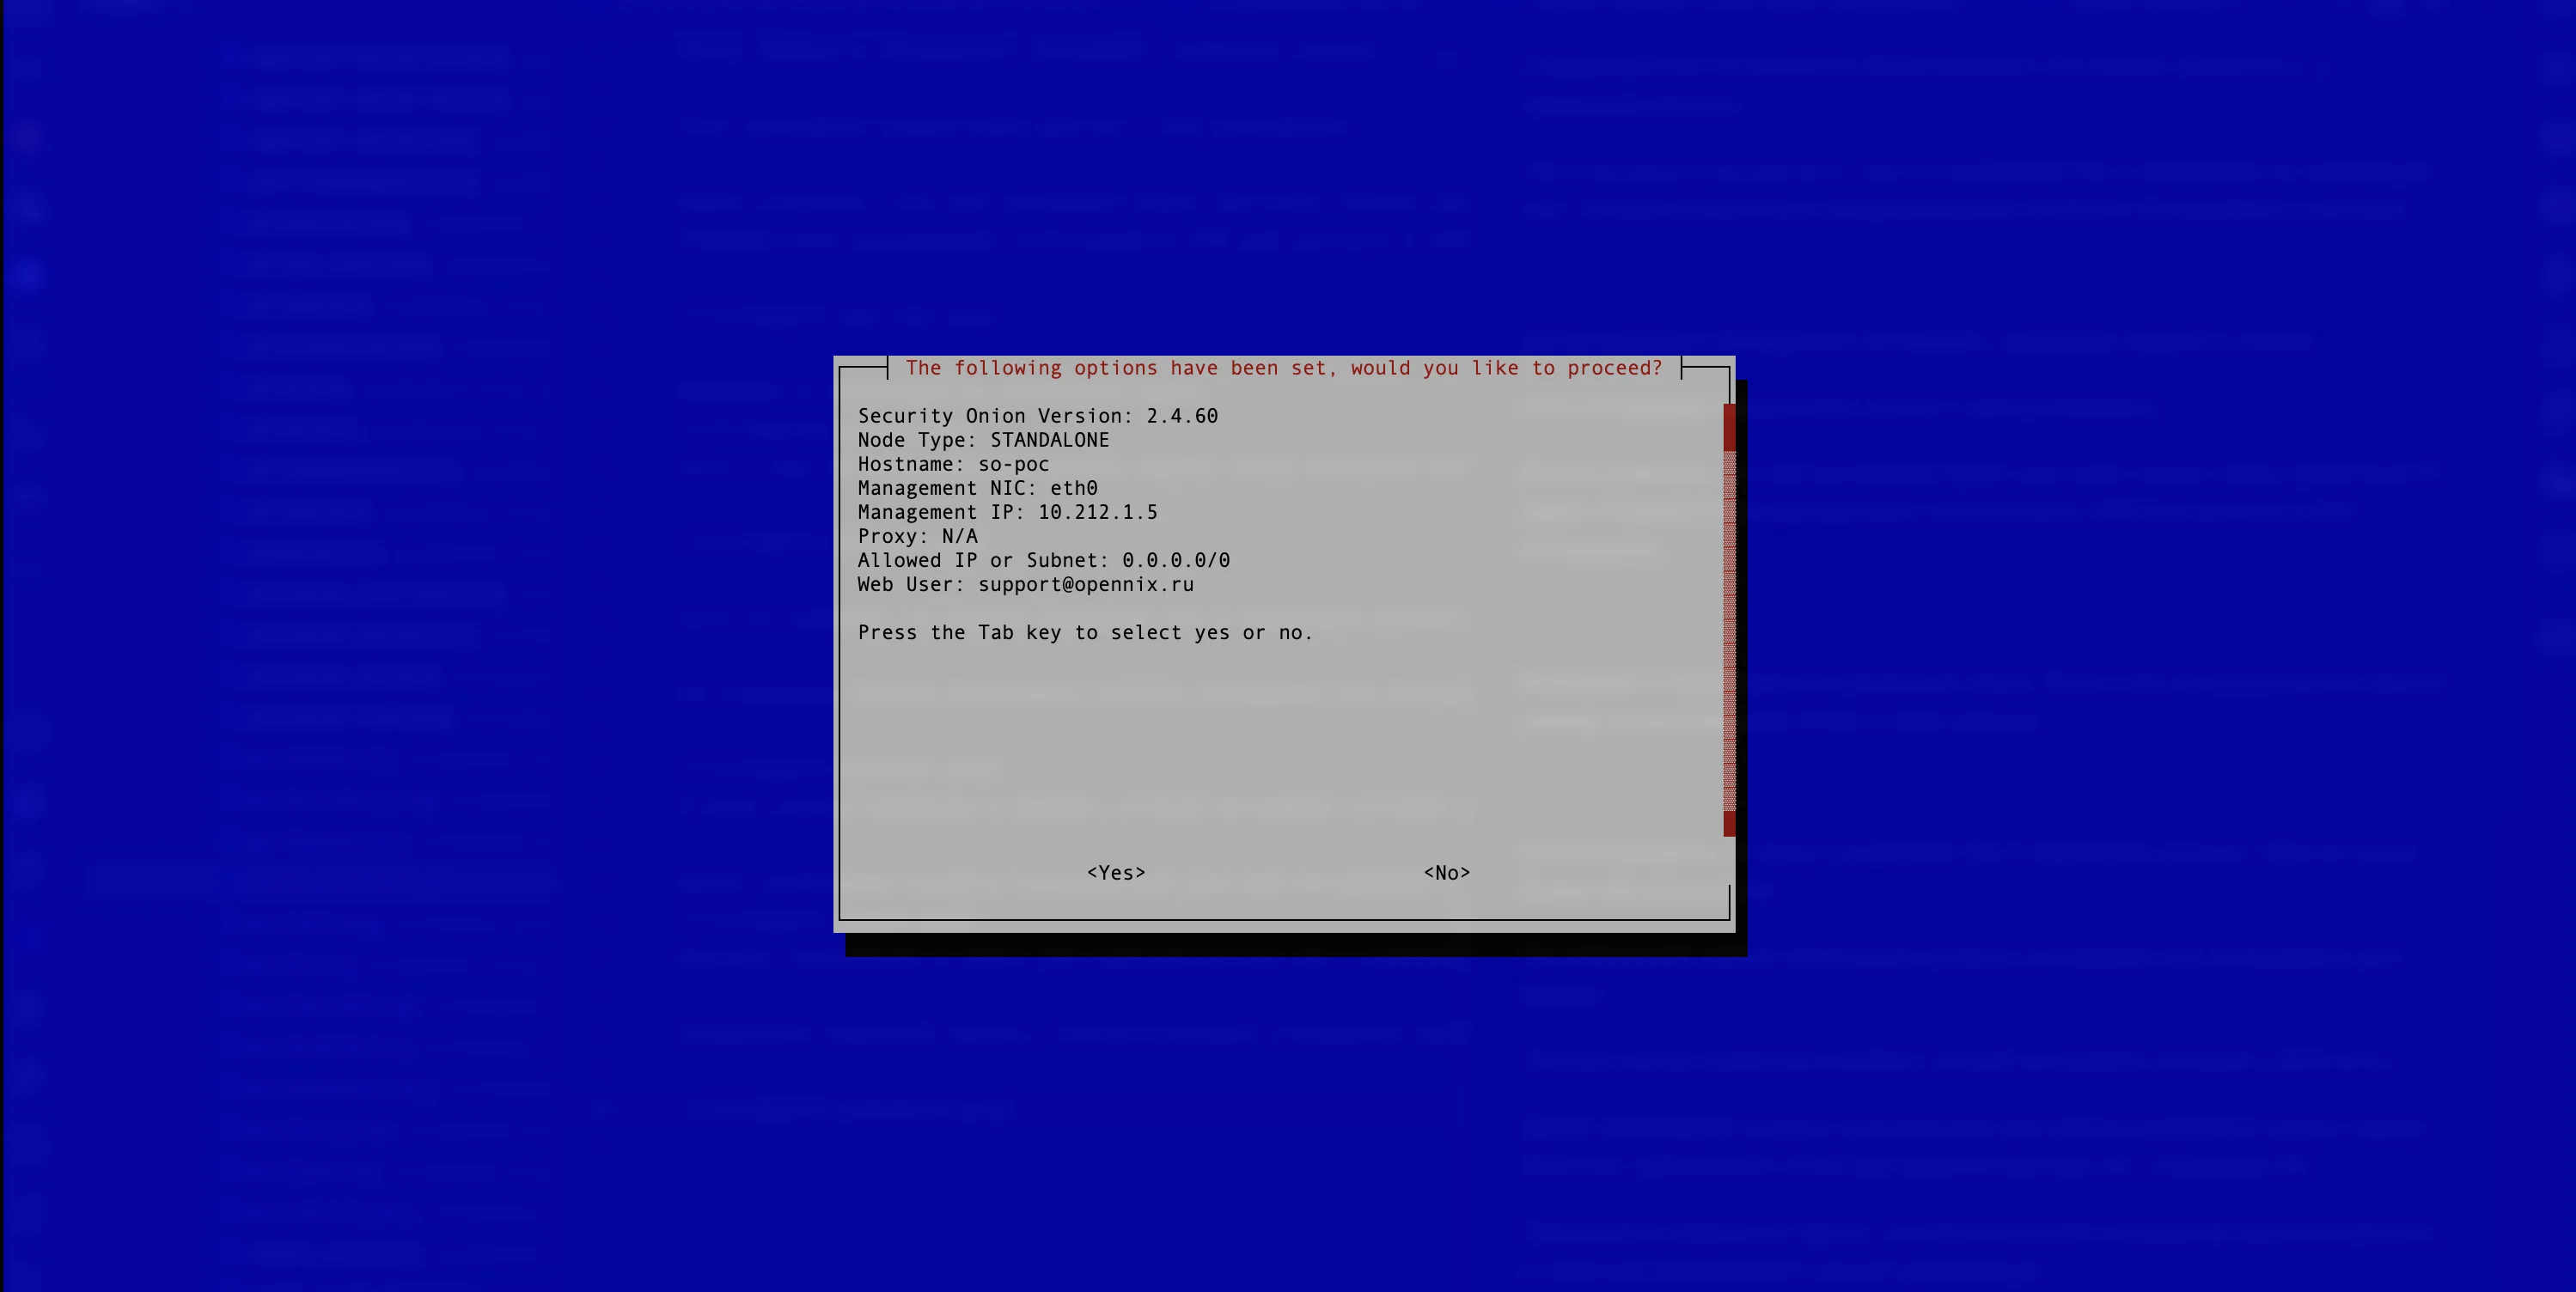Figure 17. Final SecurityOnion Settings
The SecurityOnion installation and configuration process will begin. This can take up to 2 hours, depending on the configuration of the virtual machine. For example, for a virtual machine with 10 vCPU, 20GB of RAM, and a 256 GB disk, the installation and configuration took 1 hour and 30 minutes. After successful installation, the user will see a notification (see Figure 18). 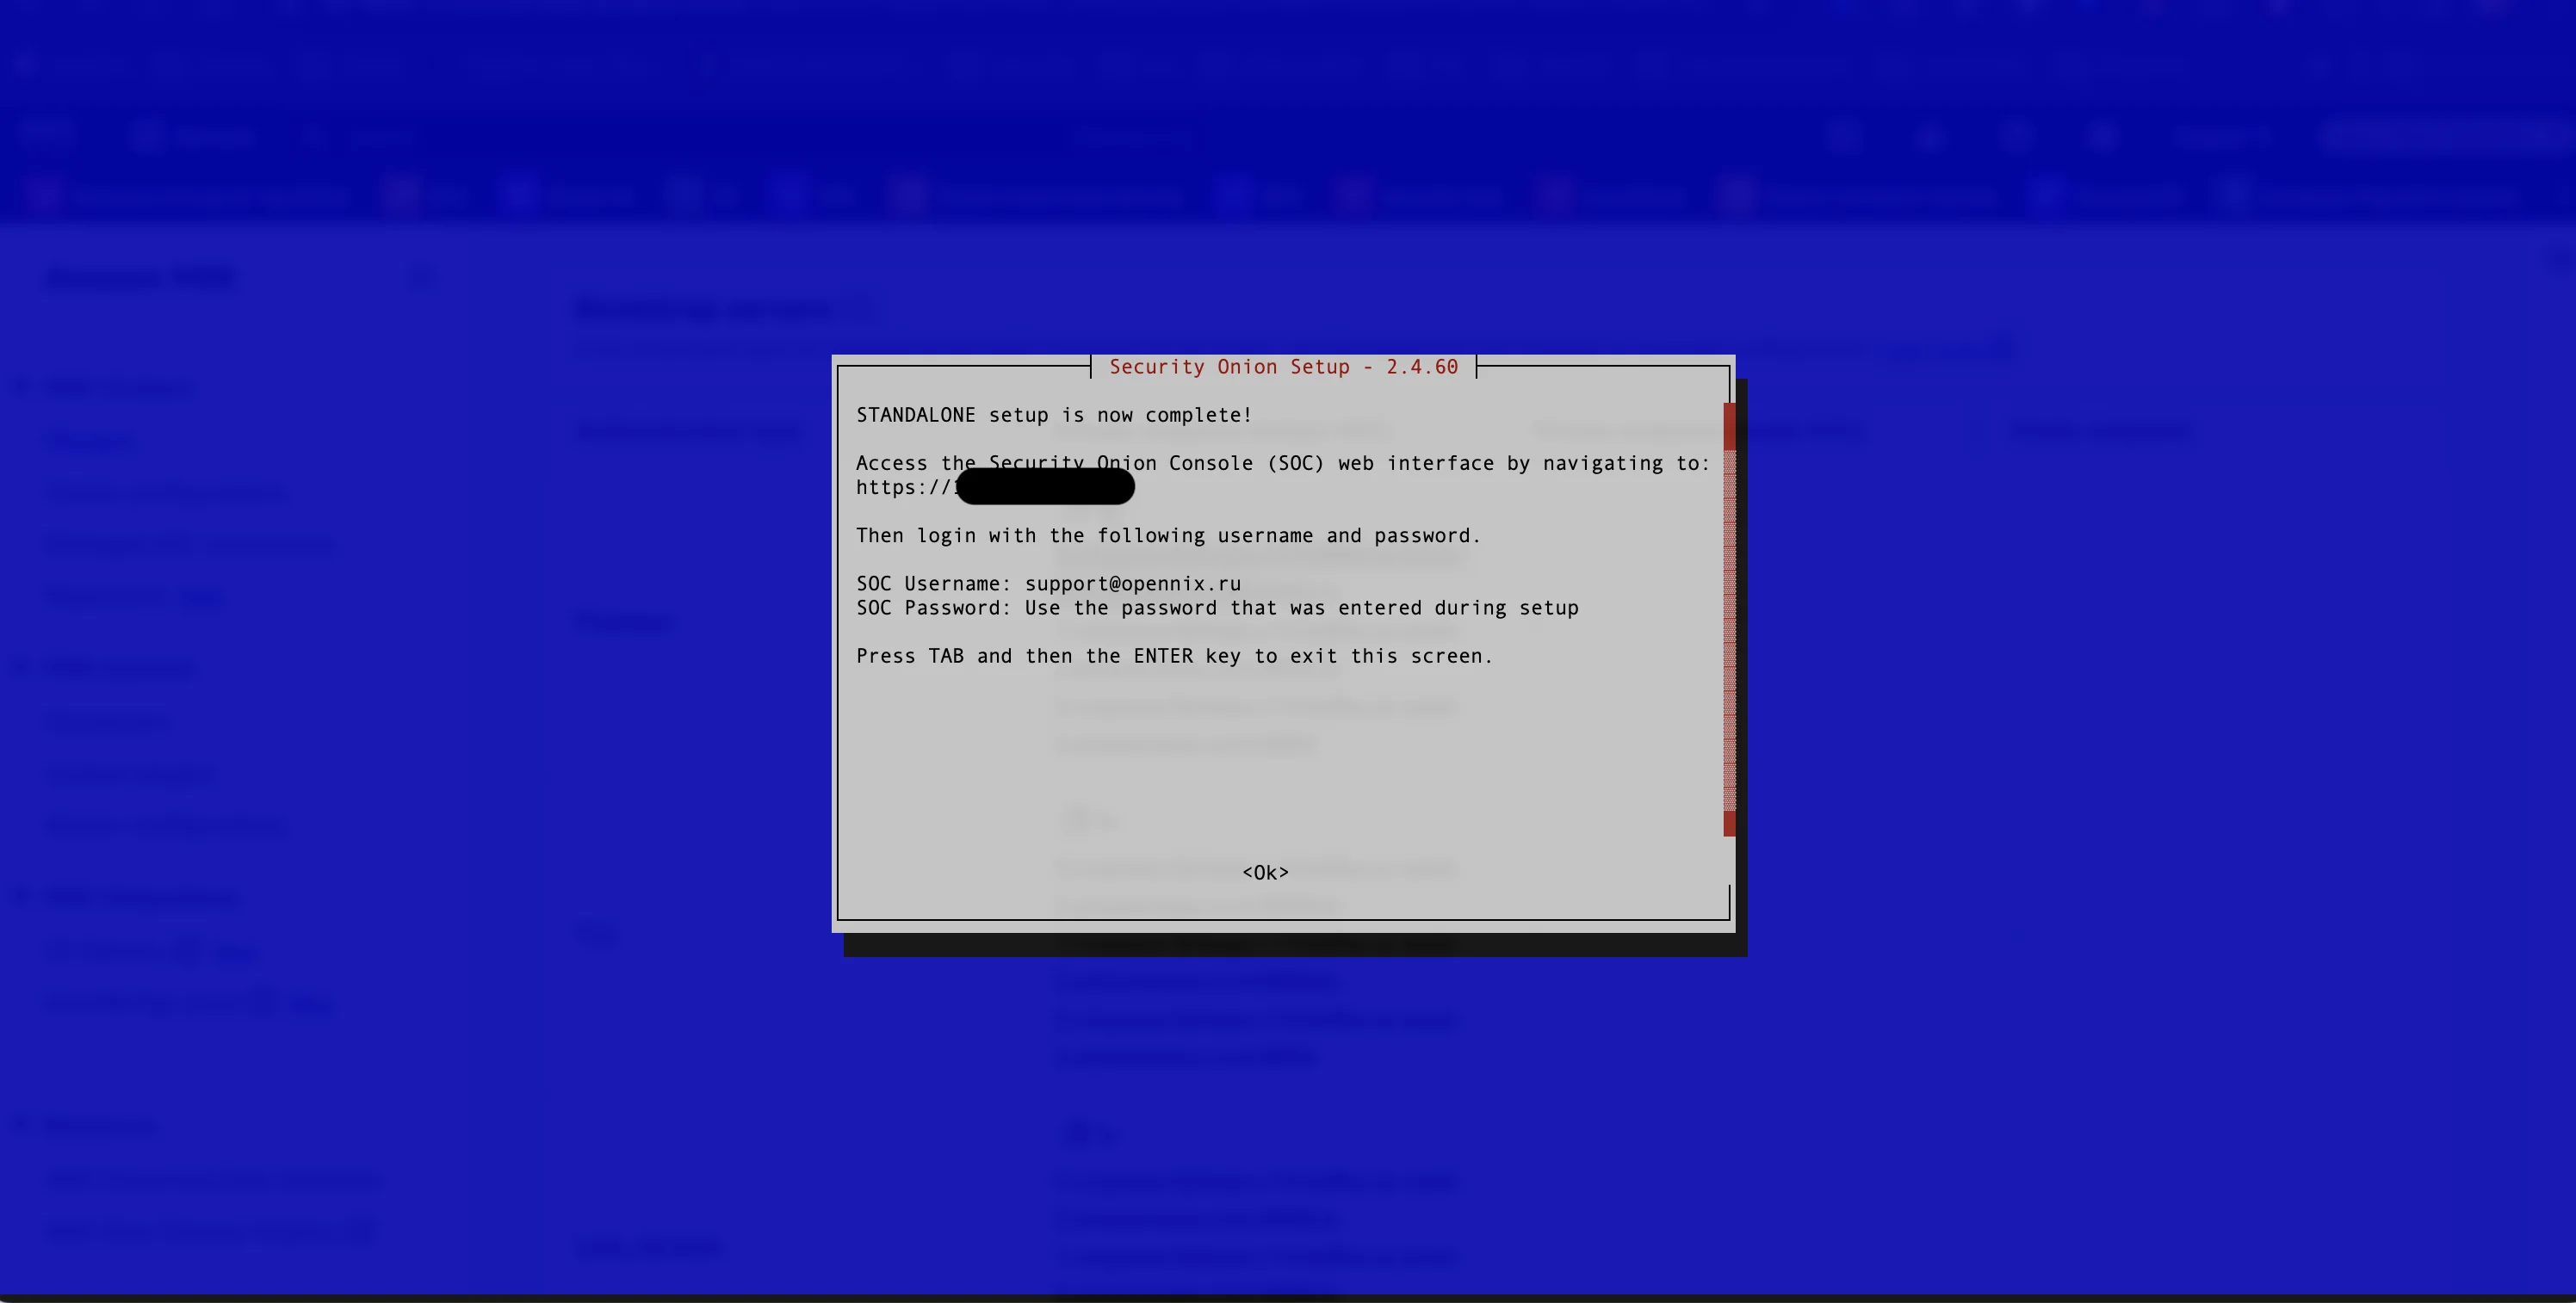Figure 18. Notification of Installation Completion
This completes the installation. The user can log in to the web interface with the name and password specified during configuration.