Configuring Portainer in CasaOS
Portainer
Portainer is a powerful, lightweight, and easy-to-use open source GUI for container management.
It helps customers adopt container technology and build, manage and maintain container-based ecosystems using Docker, Kubernetes, Docker Swarm and Azure ACI.
Portainer is easy to deploy and provides an intuitive interface for both software developers and IT operations.
The tool eliminates the need to use the command line (CLI) and simplifies container management.
The Portainer container management platform consists of two components: the Portainer server and the Portainer agent.
Both of these elements run as lightweight Docker containers on the Docker engine, providing centralized configuration, management, and security across Kubernetes and Docker production environments.
It provides a detailed overview of the environment and allows DevOps teams to manage containers, images, volumes, networks and many other aspects.
Portainer is also compatible with both the standalone Docker engine and the Docker swarm.
Configuring Portainer in CasaOS
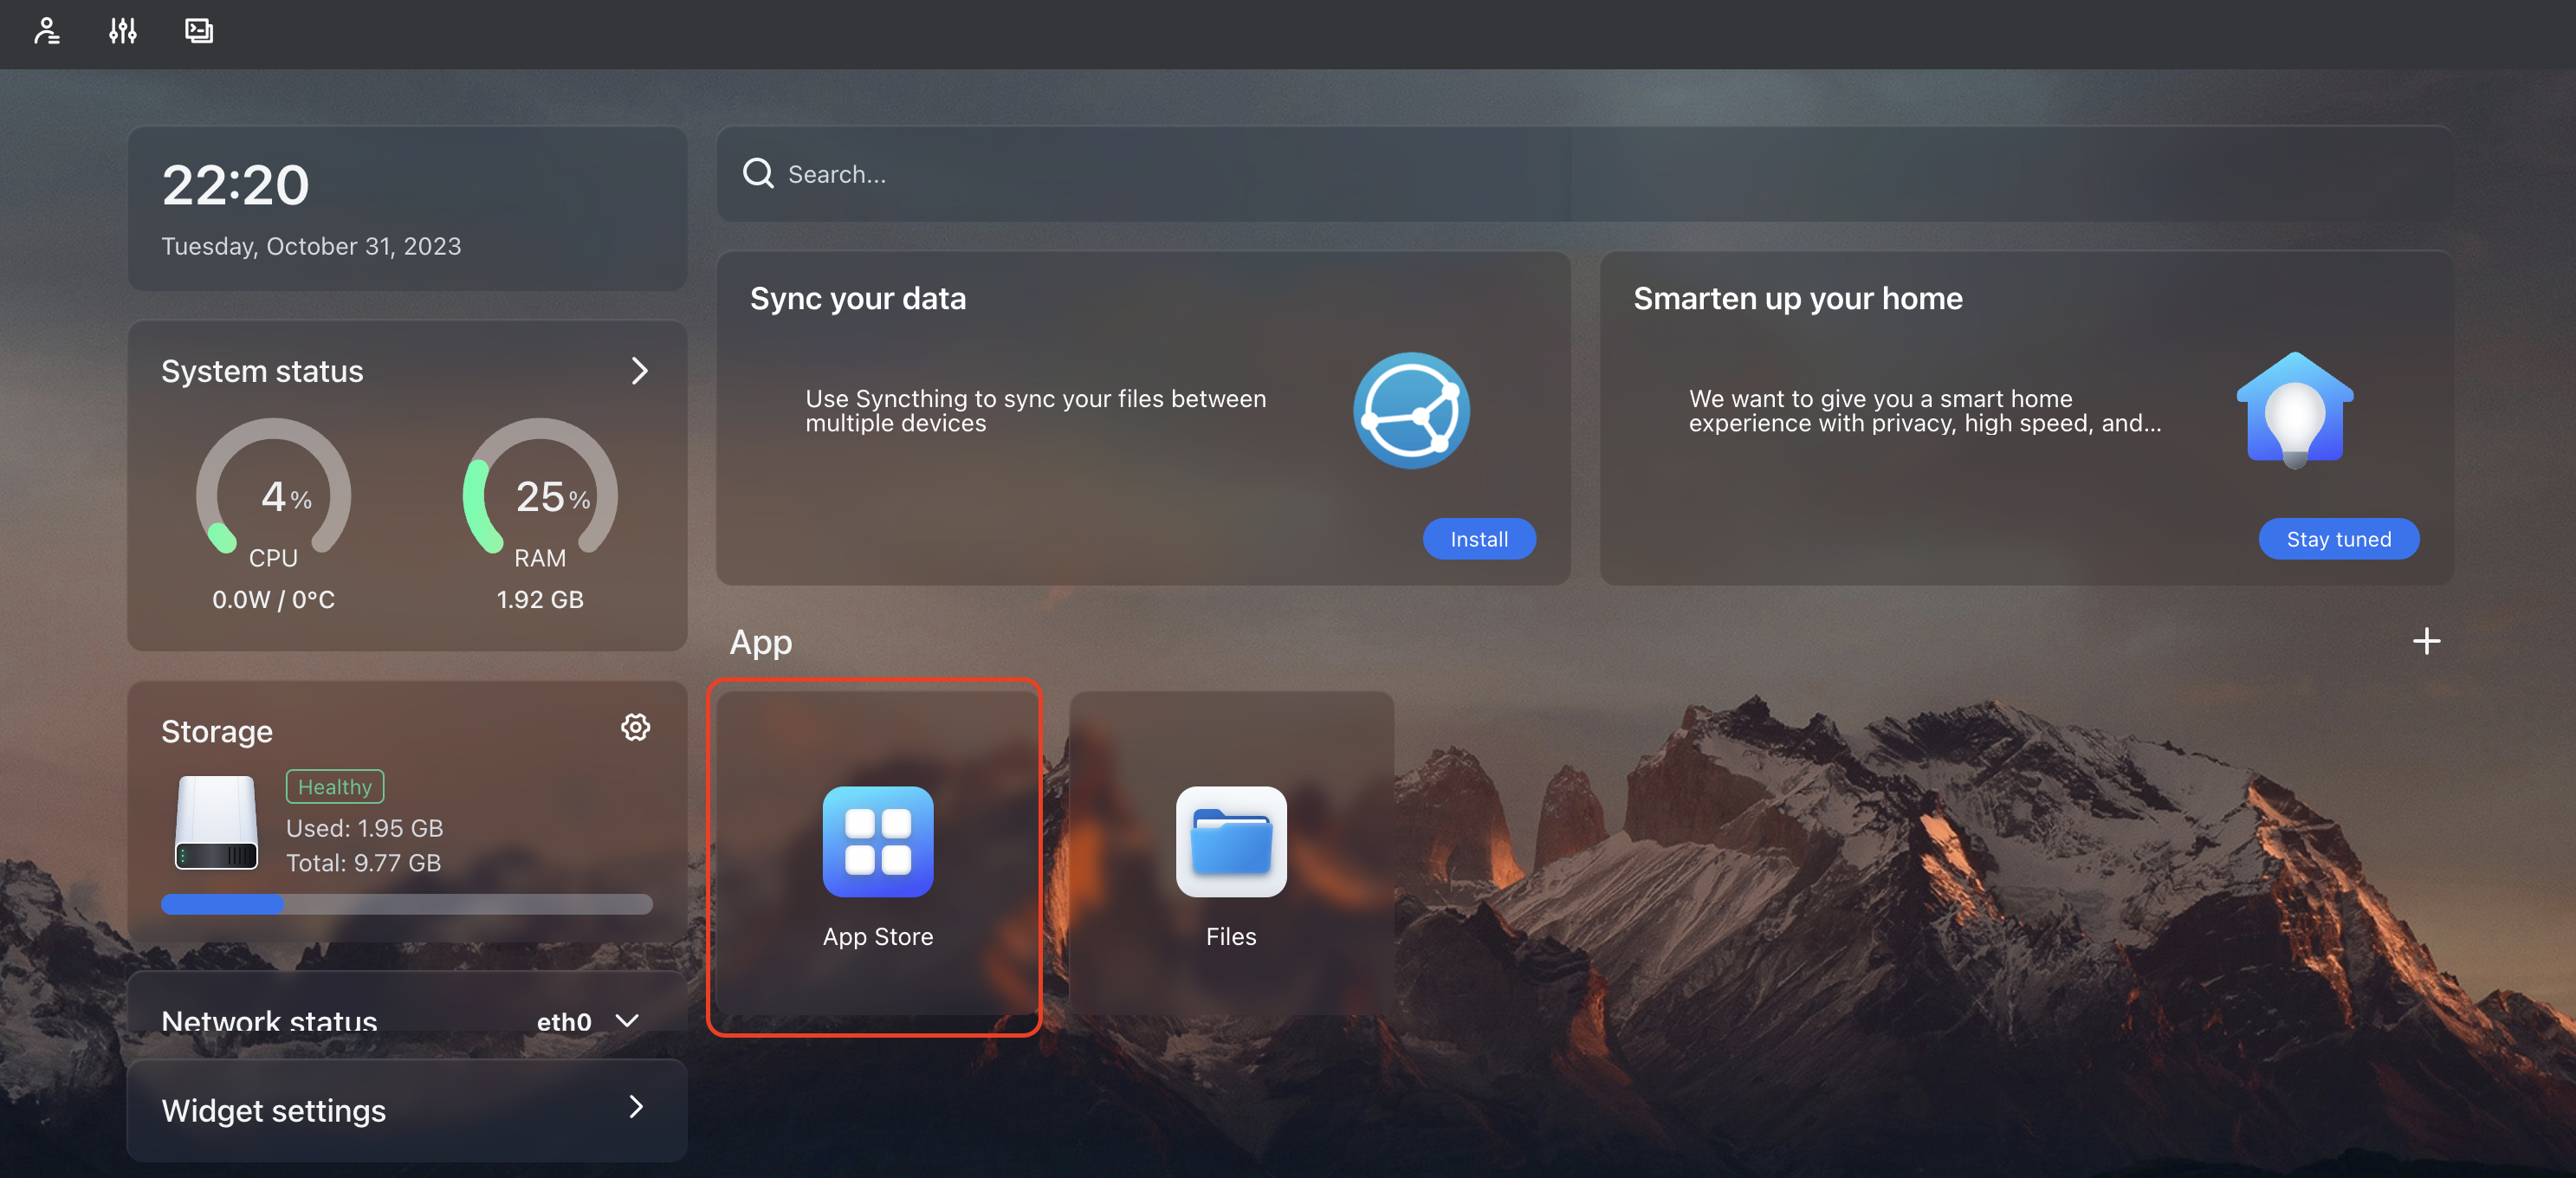
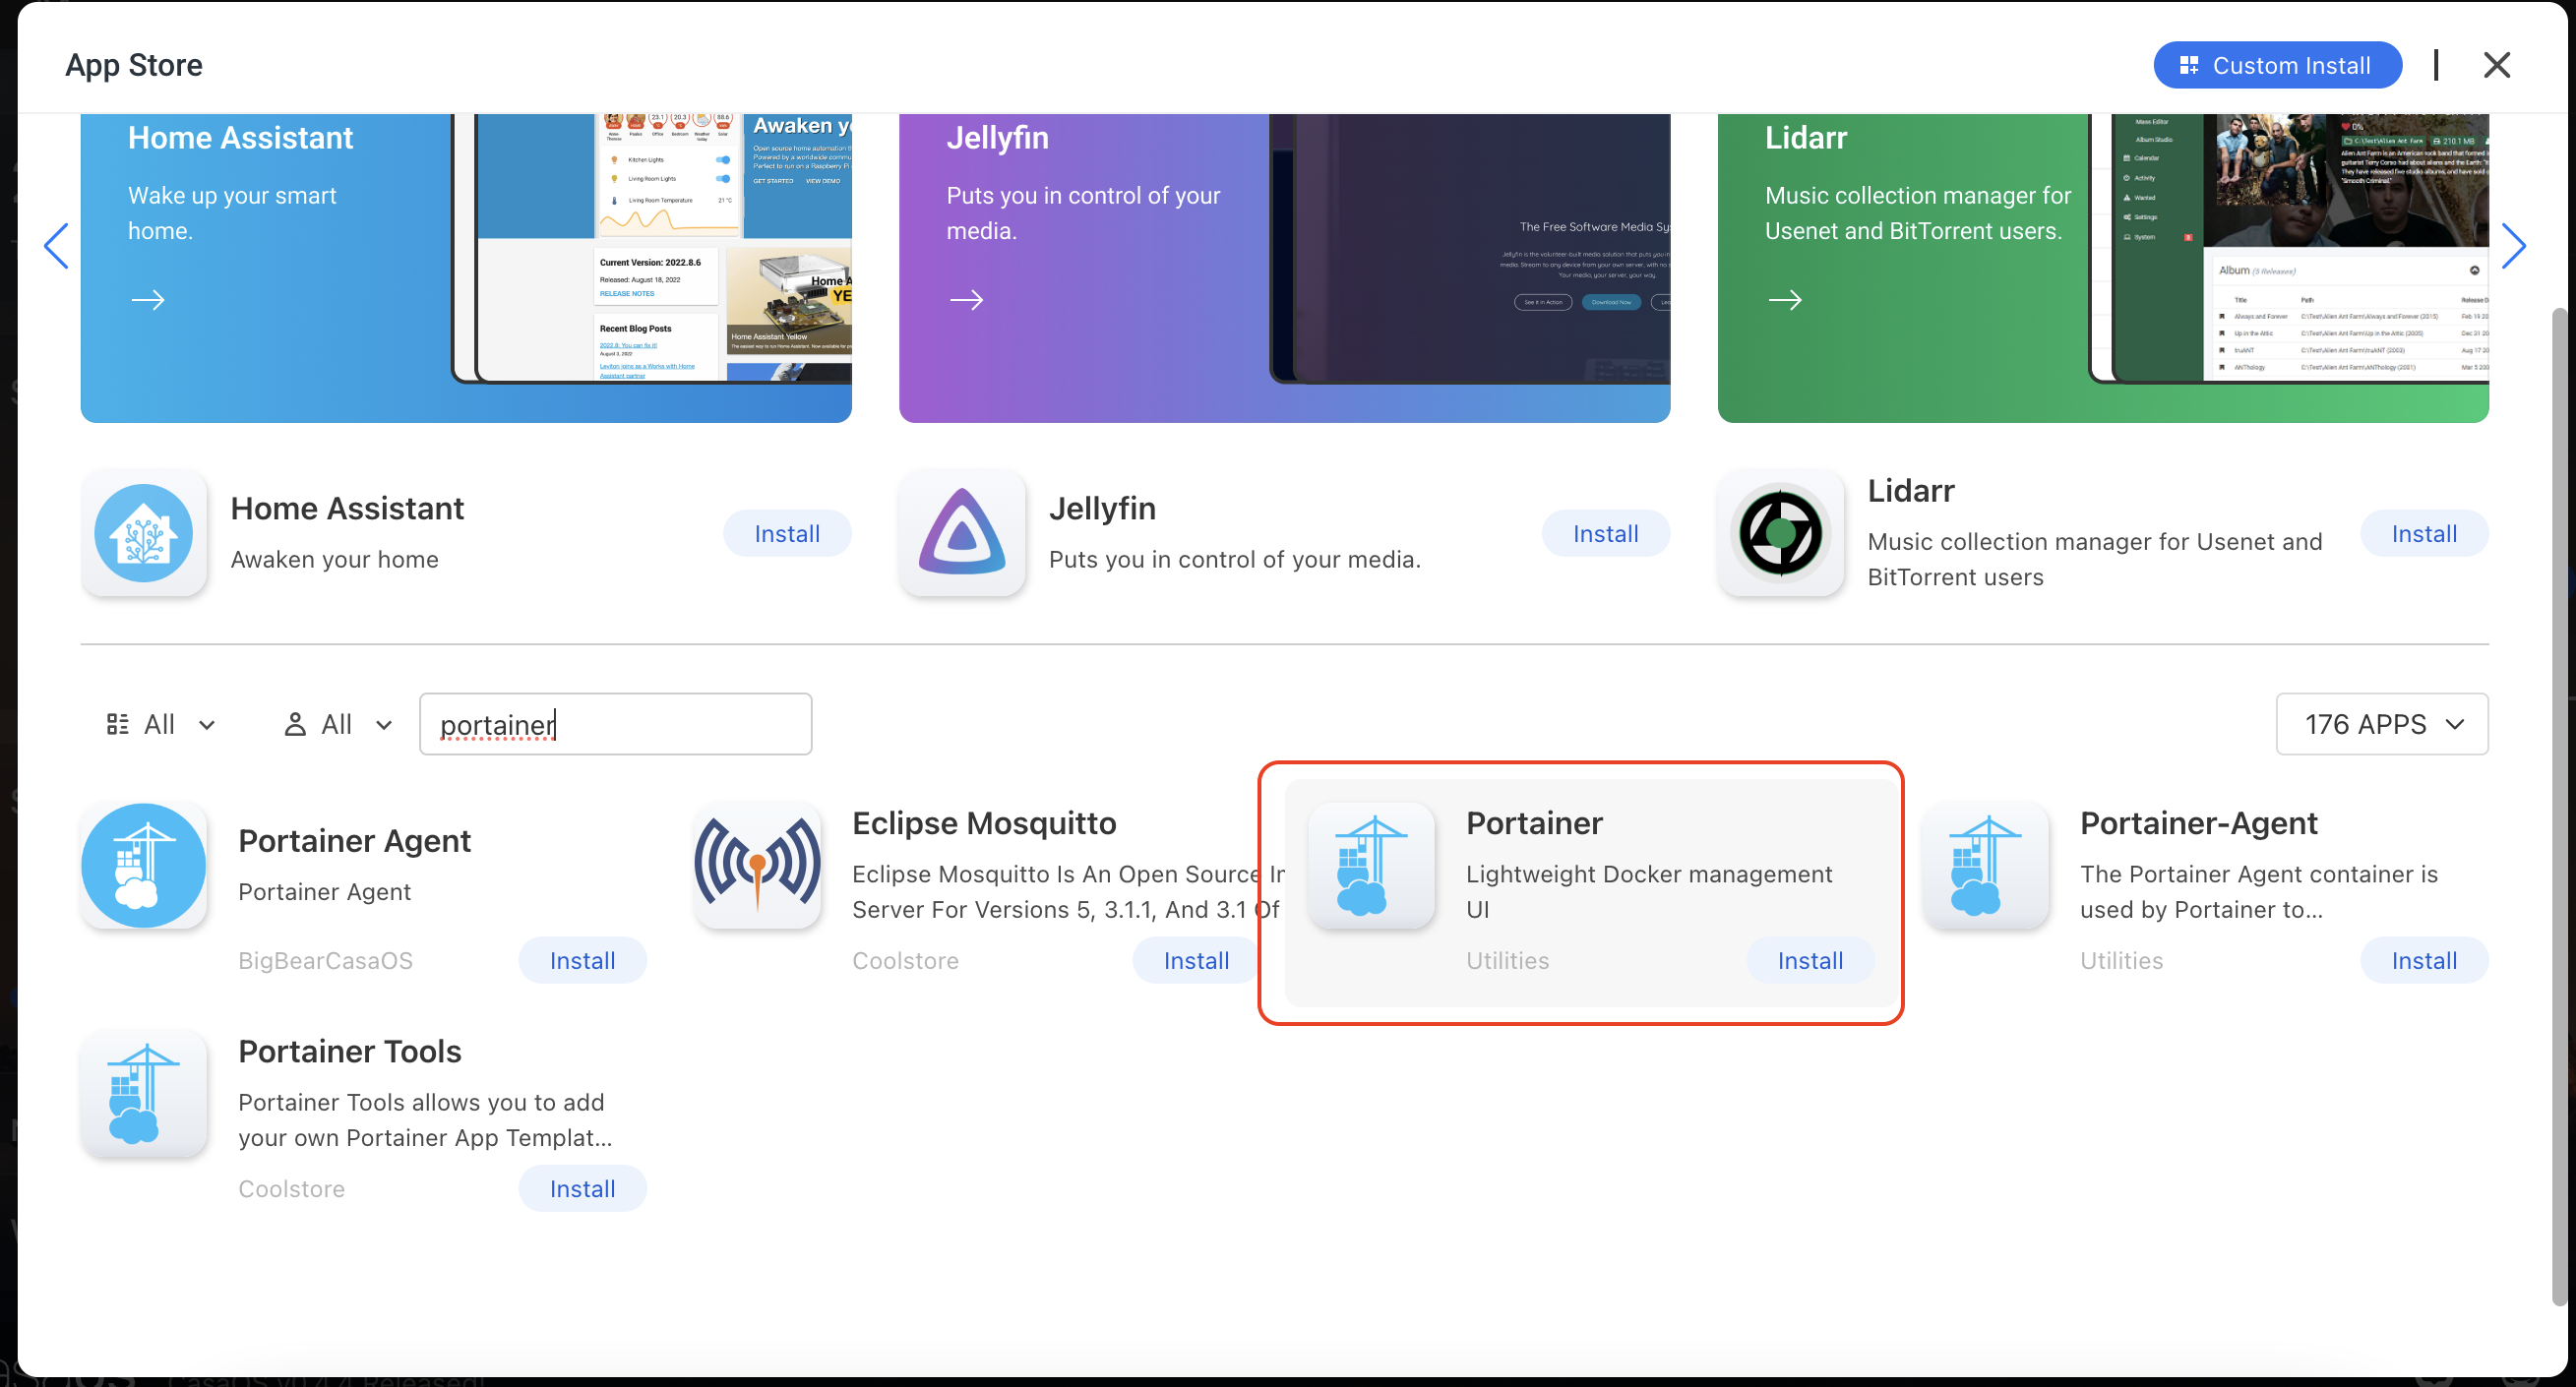
The first step is to install Portainer from the internal appstore.
In the search, type Portainer and click install
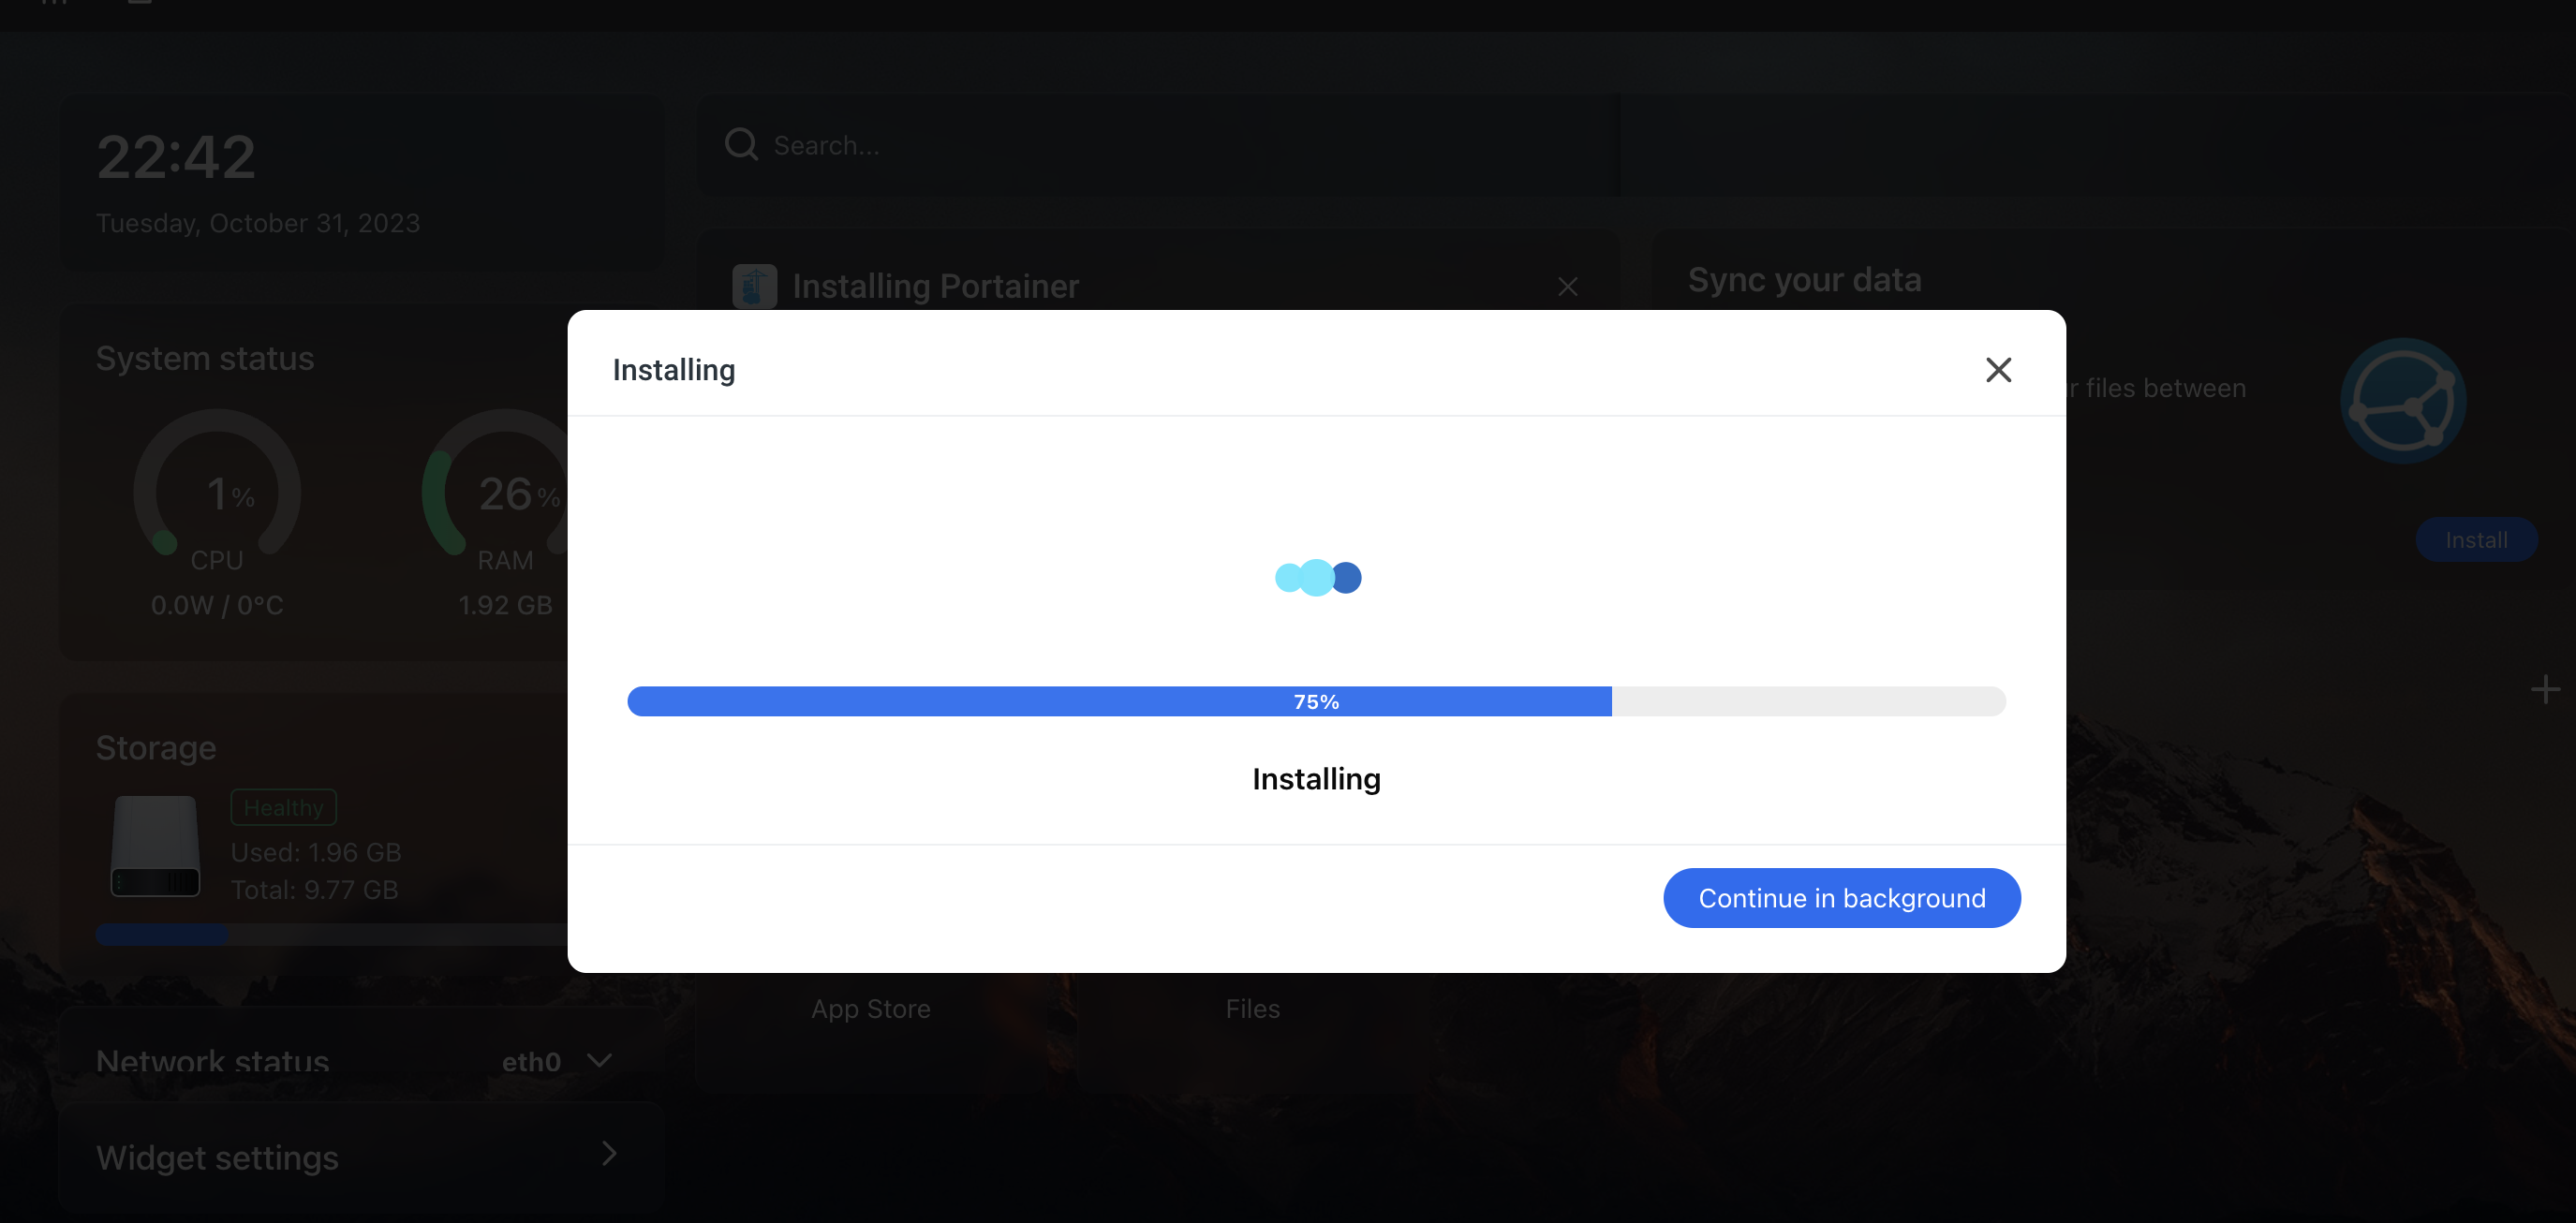
Wait for the installation to complete
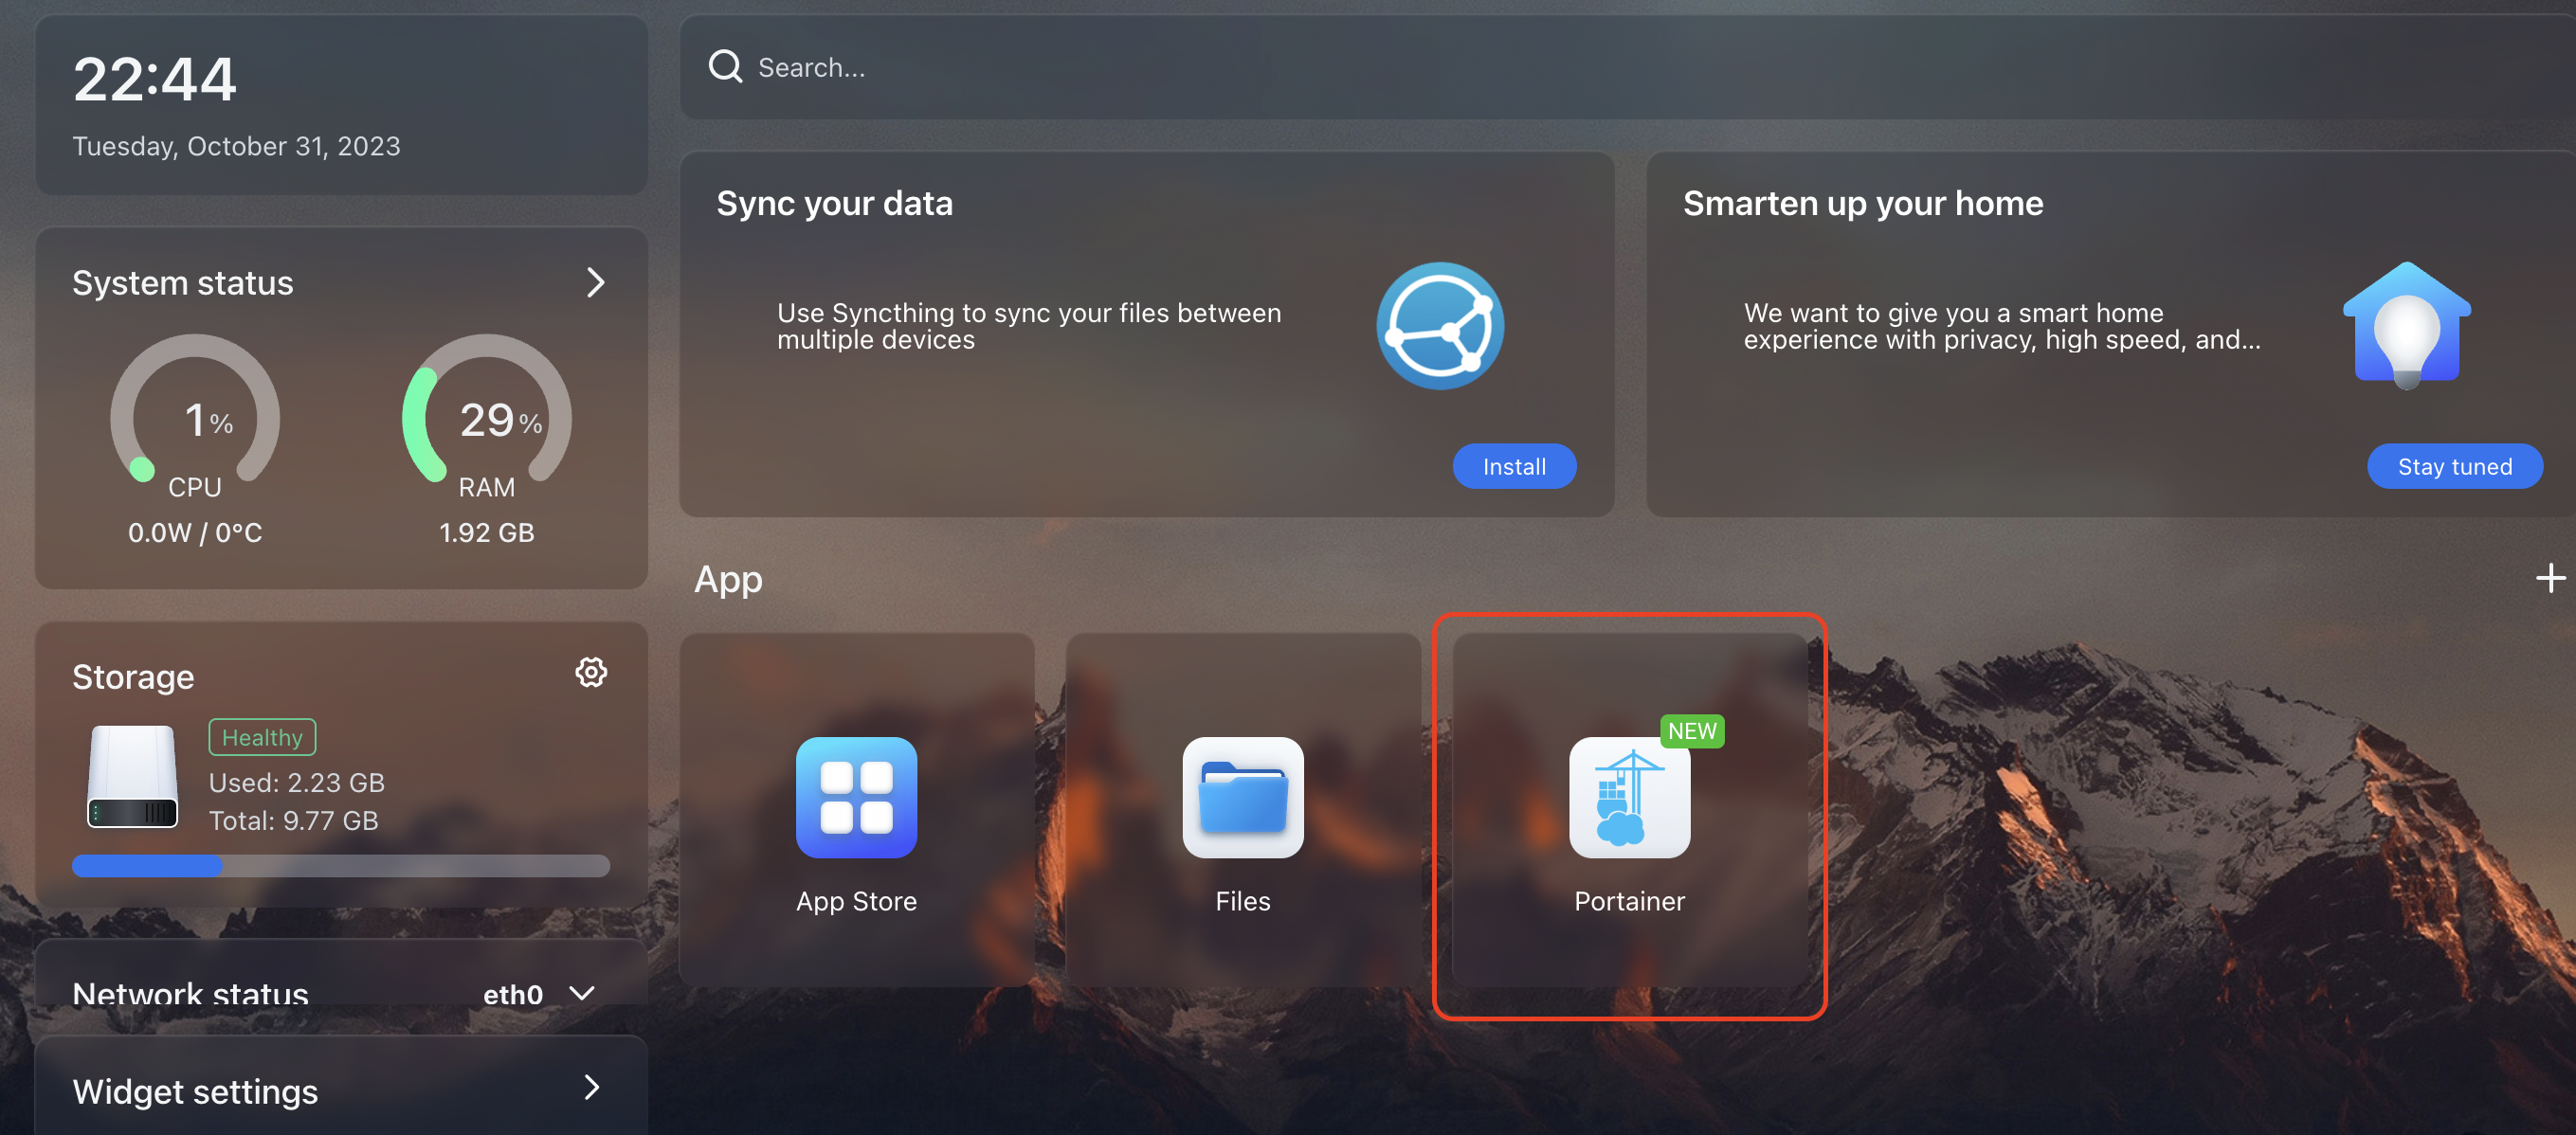
After successful installation, select the application icon
The portainer web interface will open in a new window and the first step is to create a new user
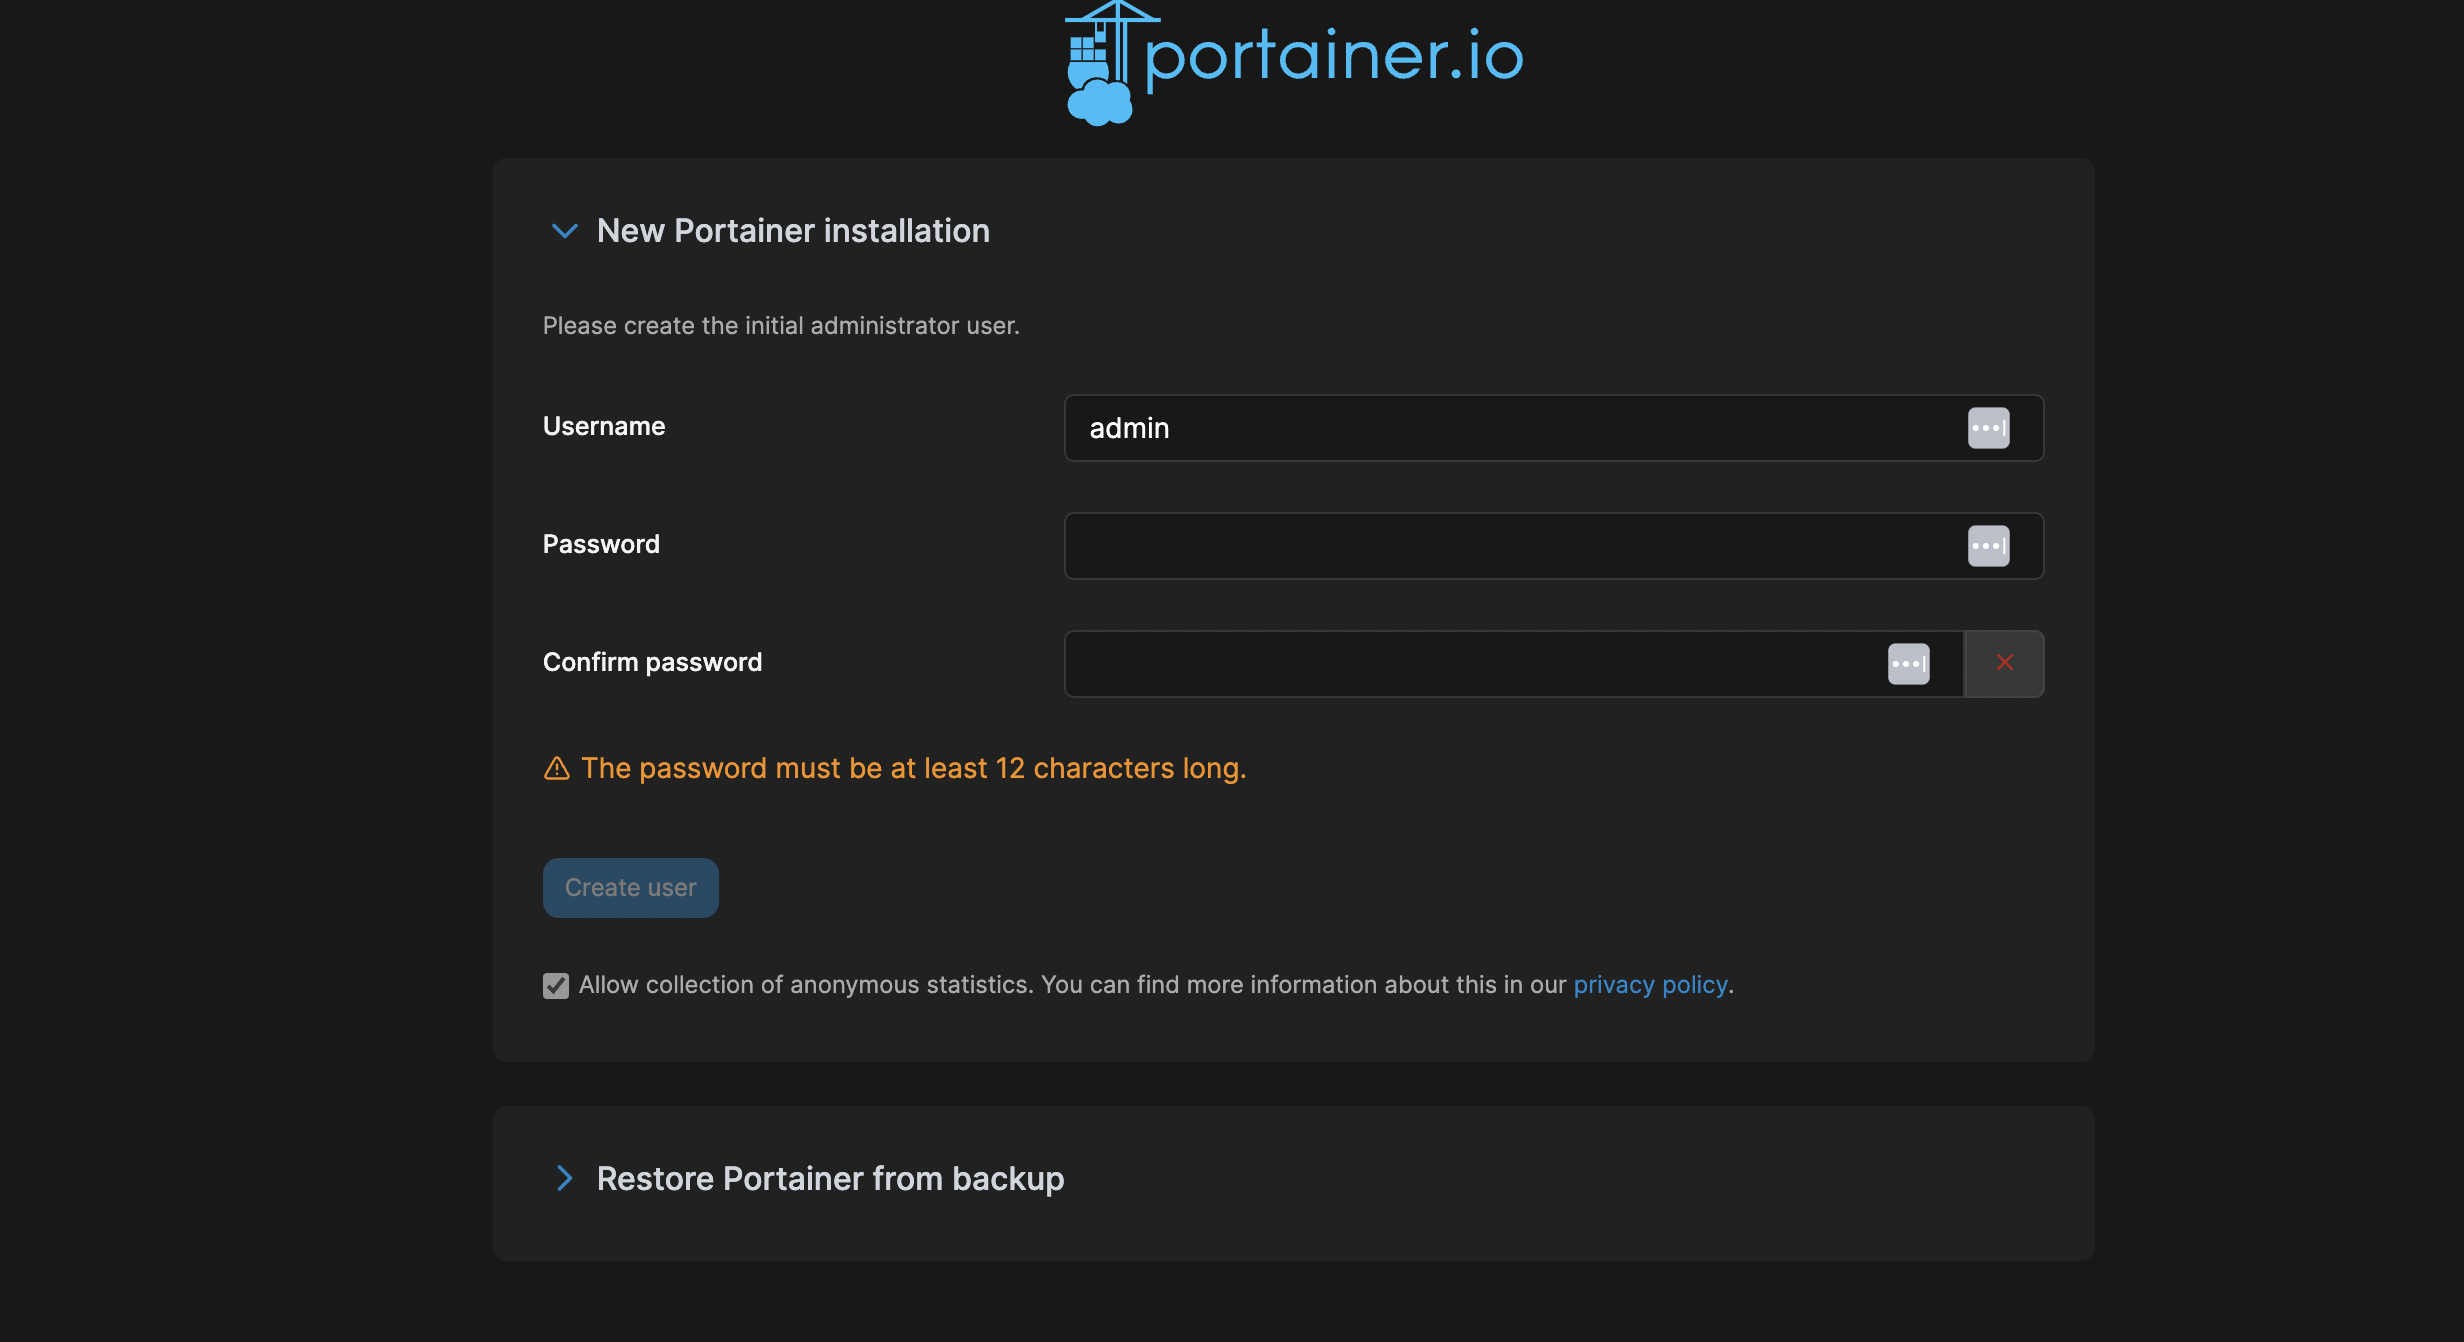
Once the password is set, you can proceed with further customizations
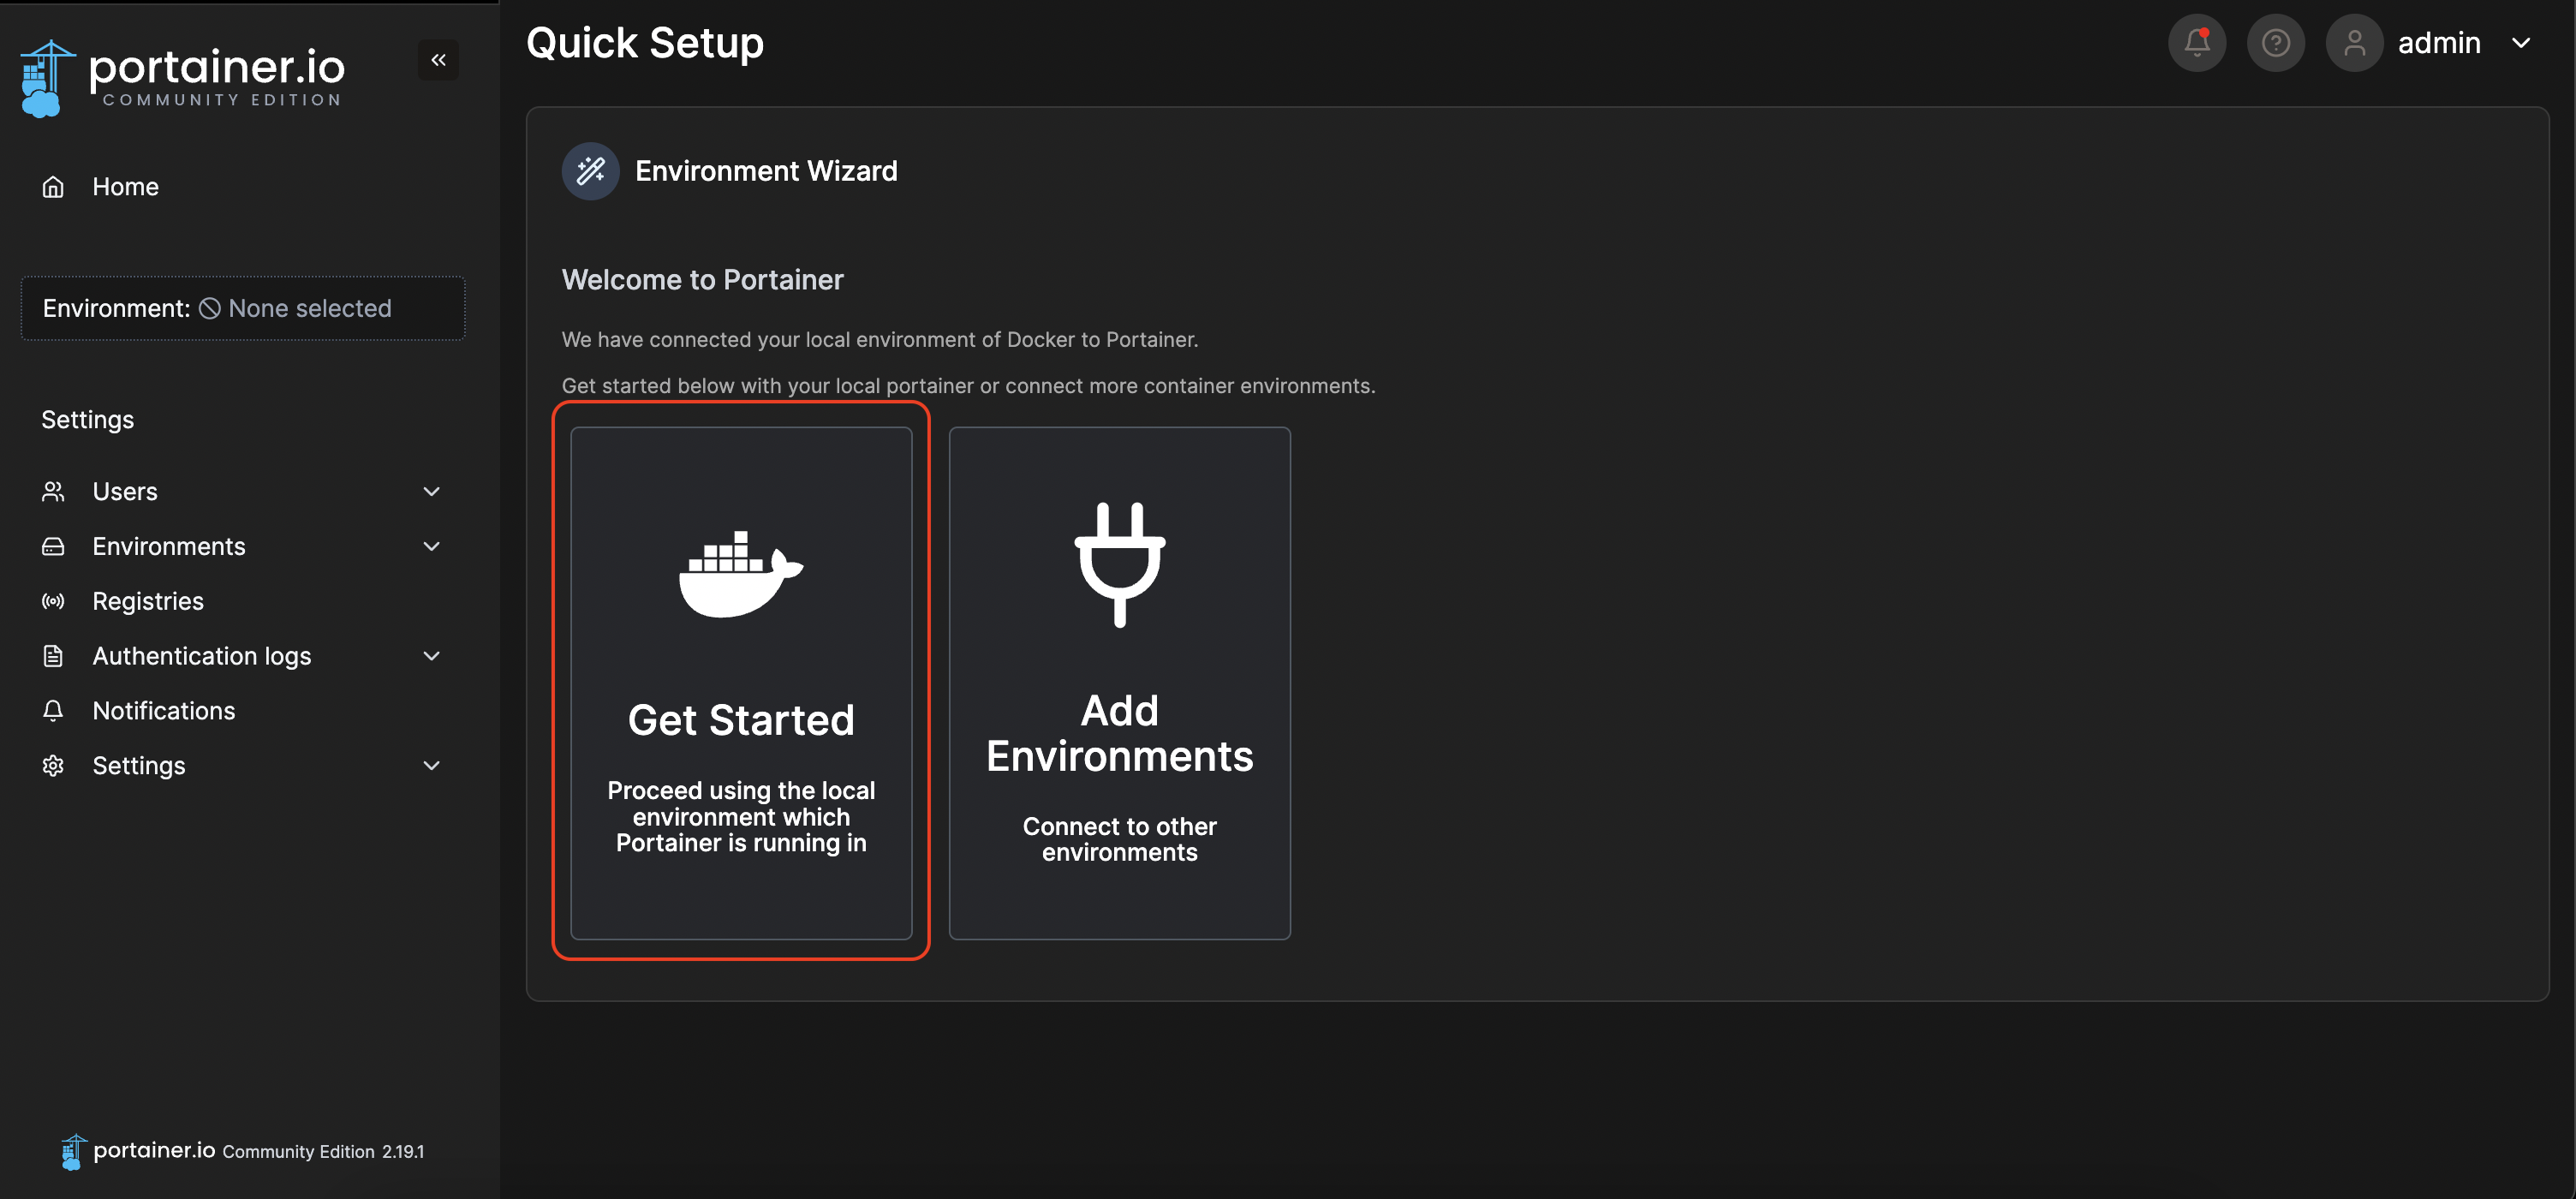
The first time you run it for the first time, you are also required to select a working environment for Portainer. I will specify the environment in which Portainer was started.
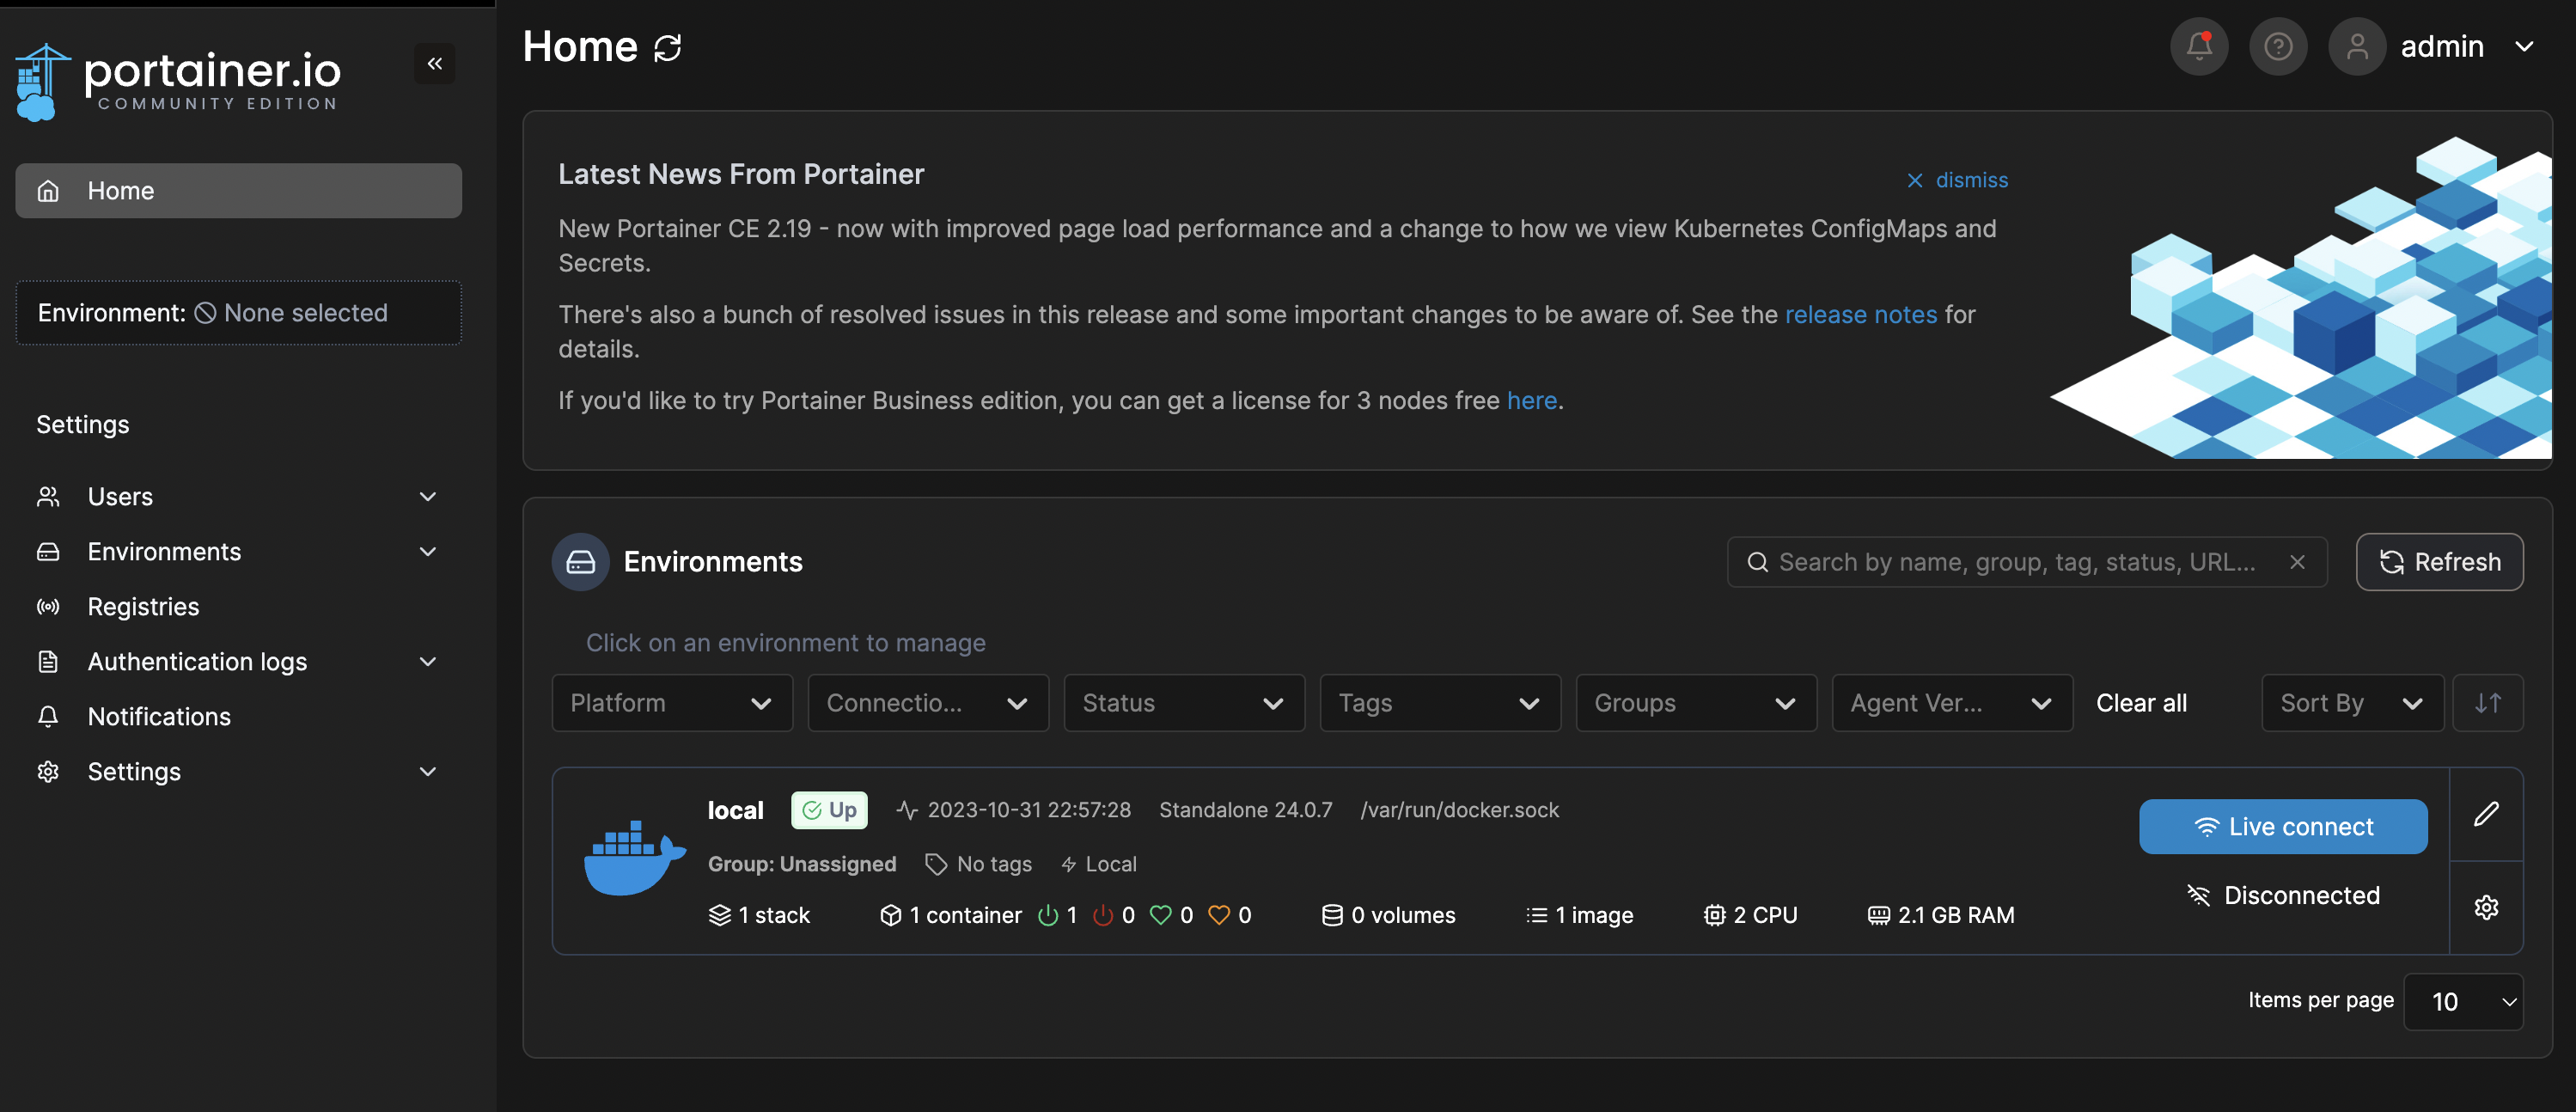
This is what the main panel looks like
Now we can manage our containers, images, network, volumes and all Docker subsystems through the admin GUI:
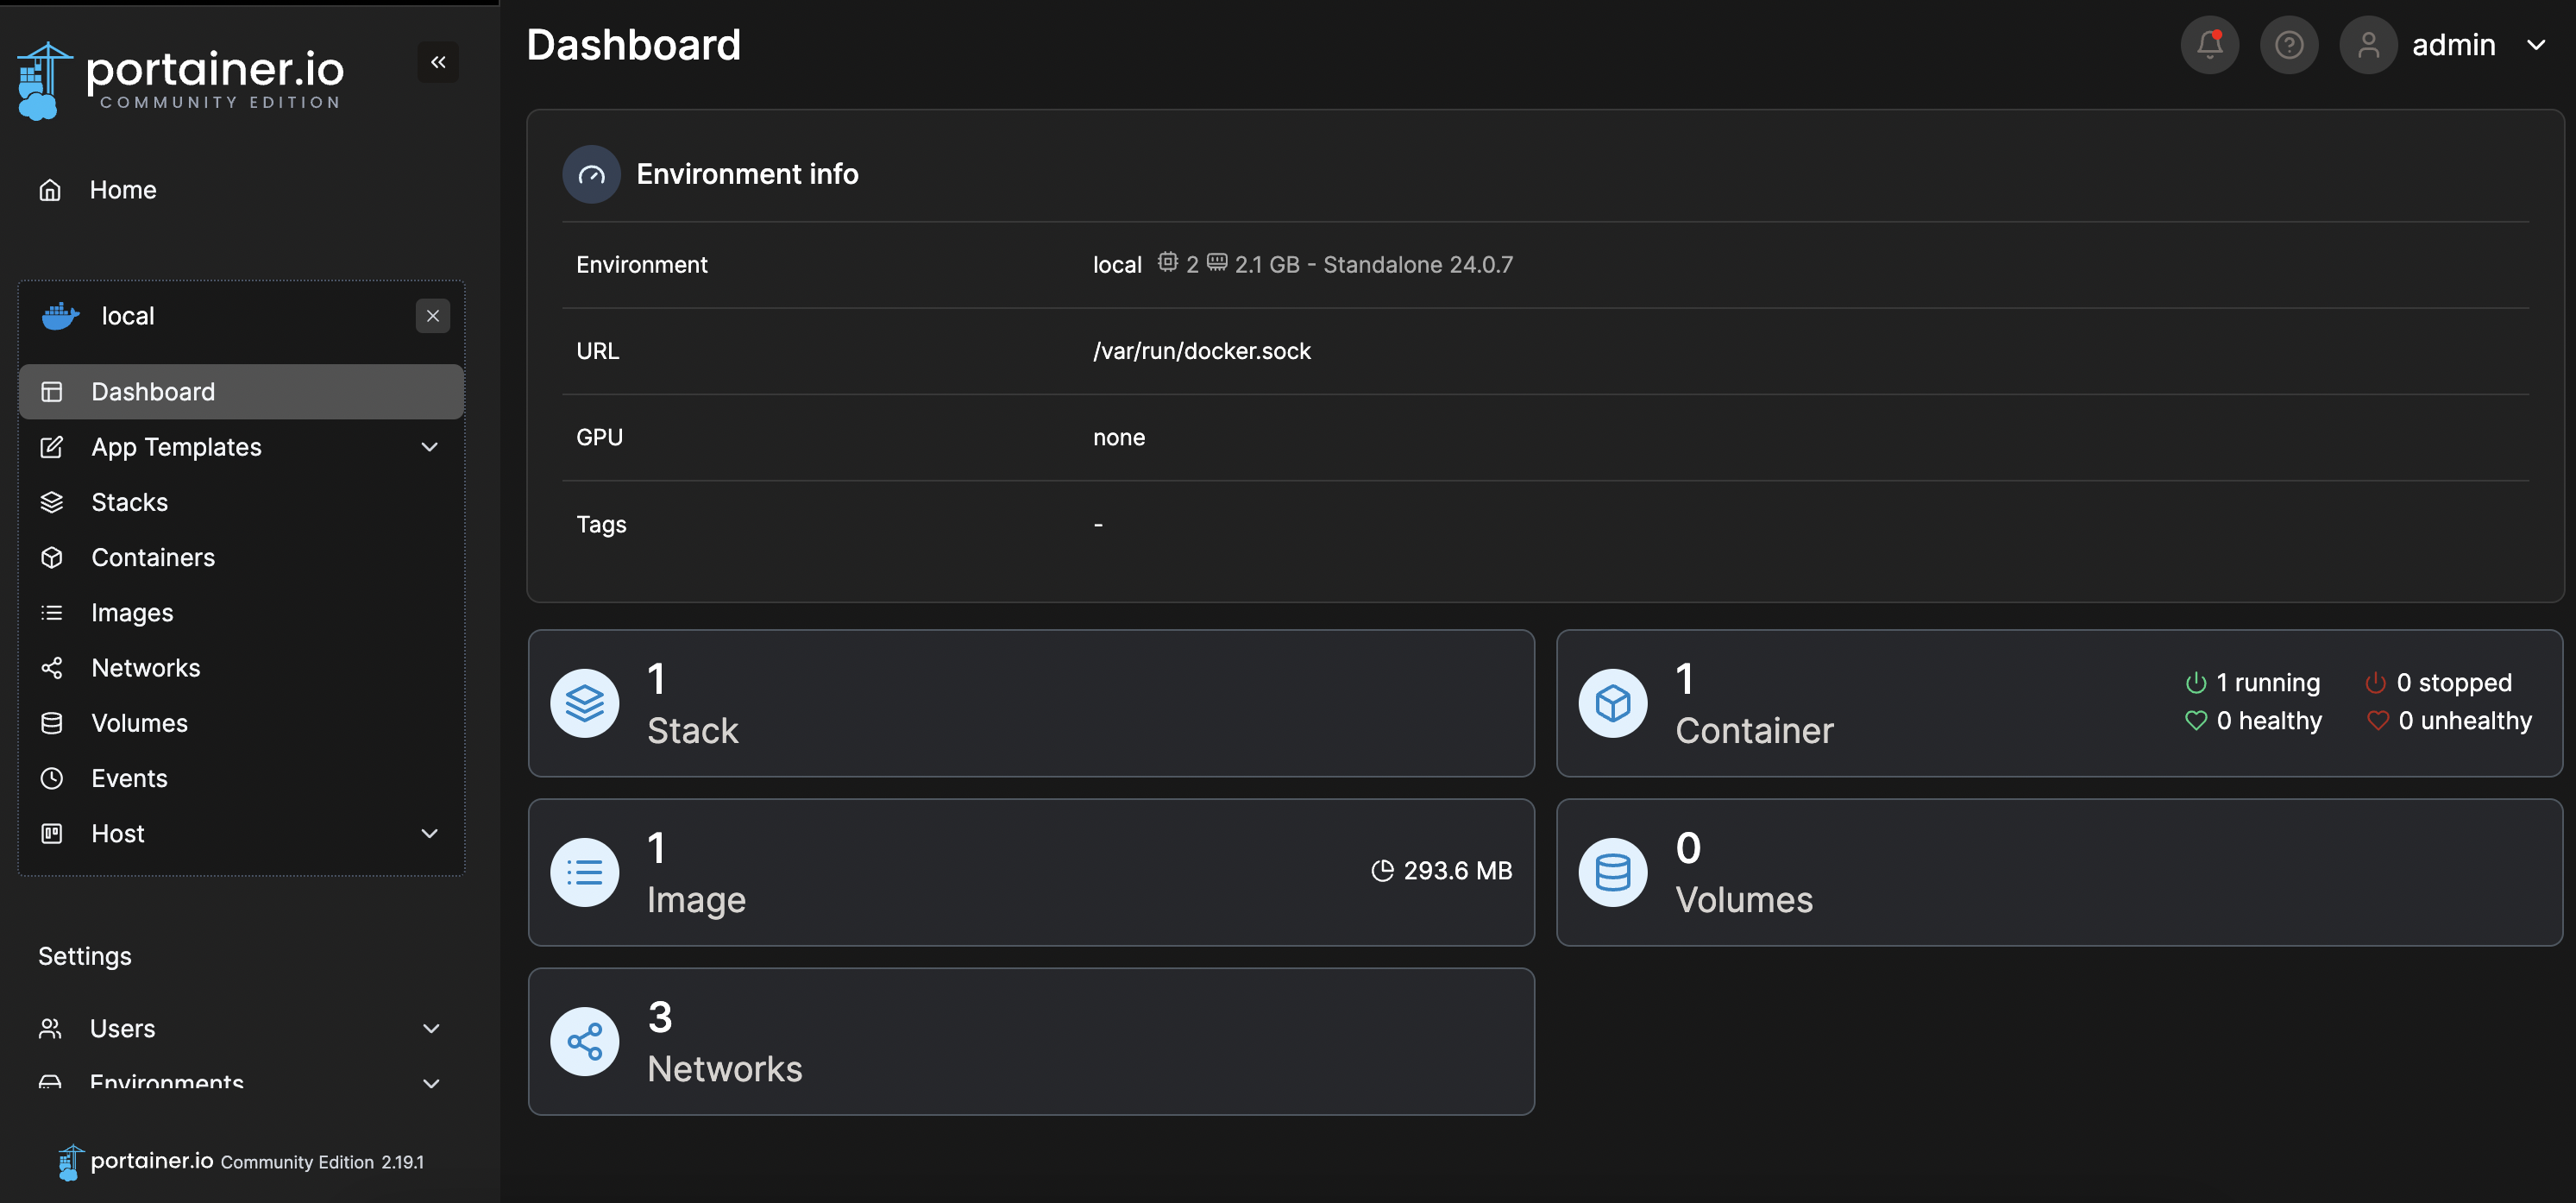
Next, let’s connect the remote server