Configuring OpenVPN in pfSense
Configuring OpenVPN to access the private part of the network.
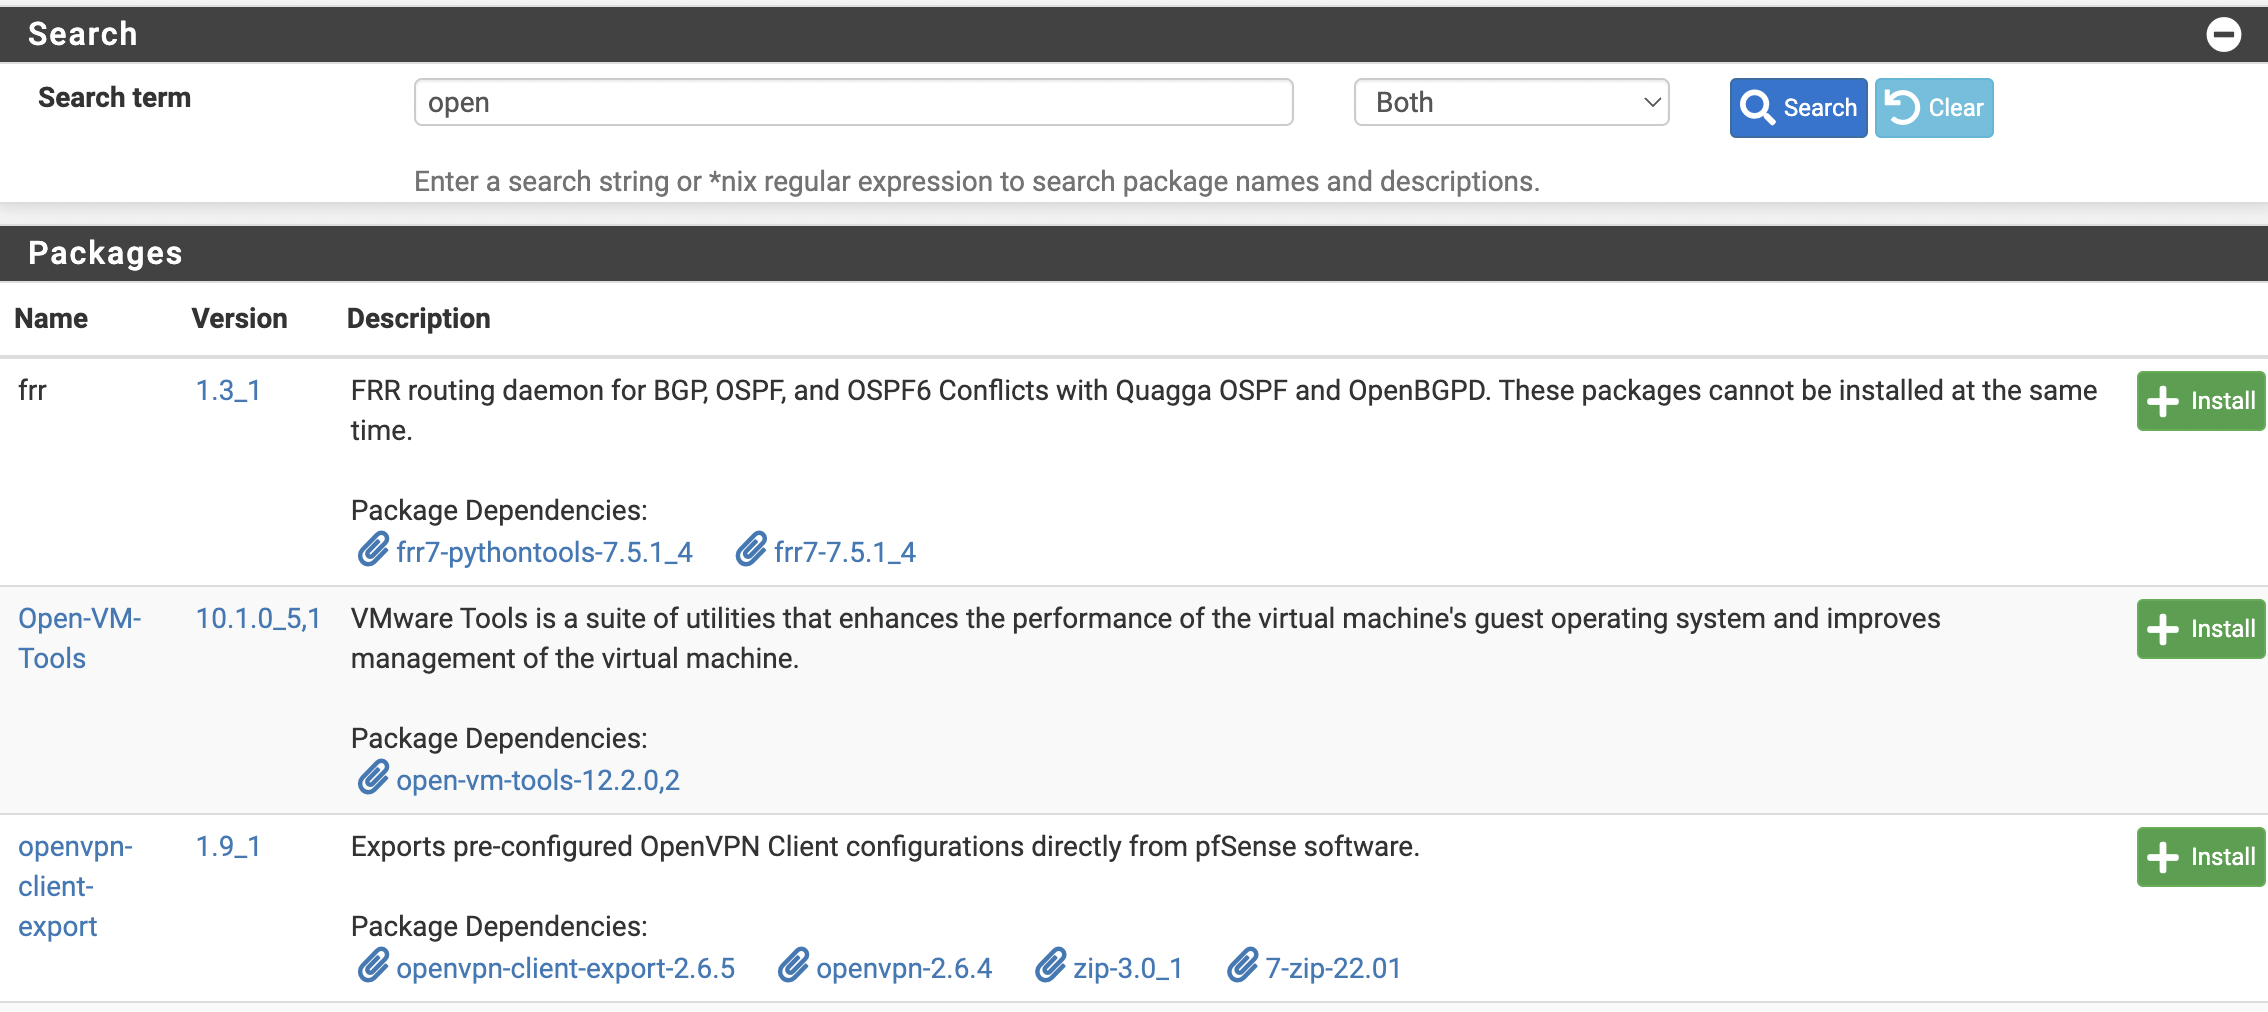
First of all, it is necessary to install the openvpn-client-export package, for this purpose go to the web interface System --> Package Manager --> Available Packages in the search bar type openvpn-client-export and click install.
You need to wait for the installation to complete
After the installation we proceed to the settings.
Go to VPN --> OpenVPN and select Wizards.
In my example I will use local users
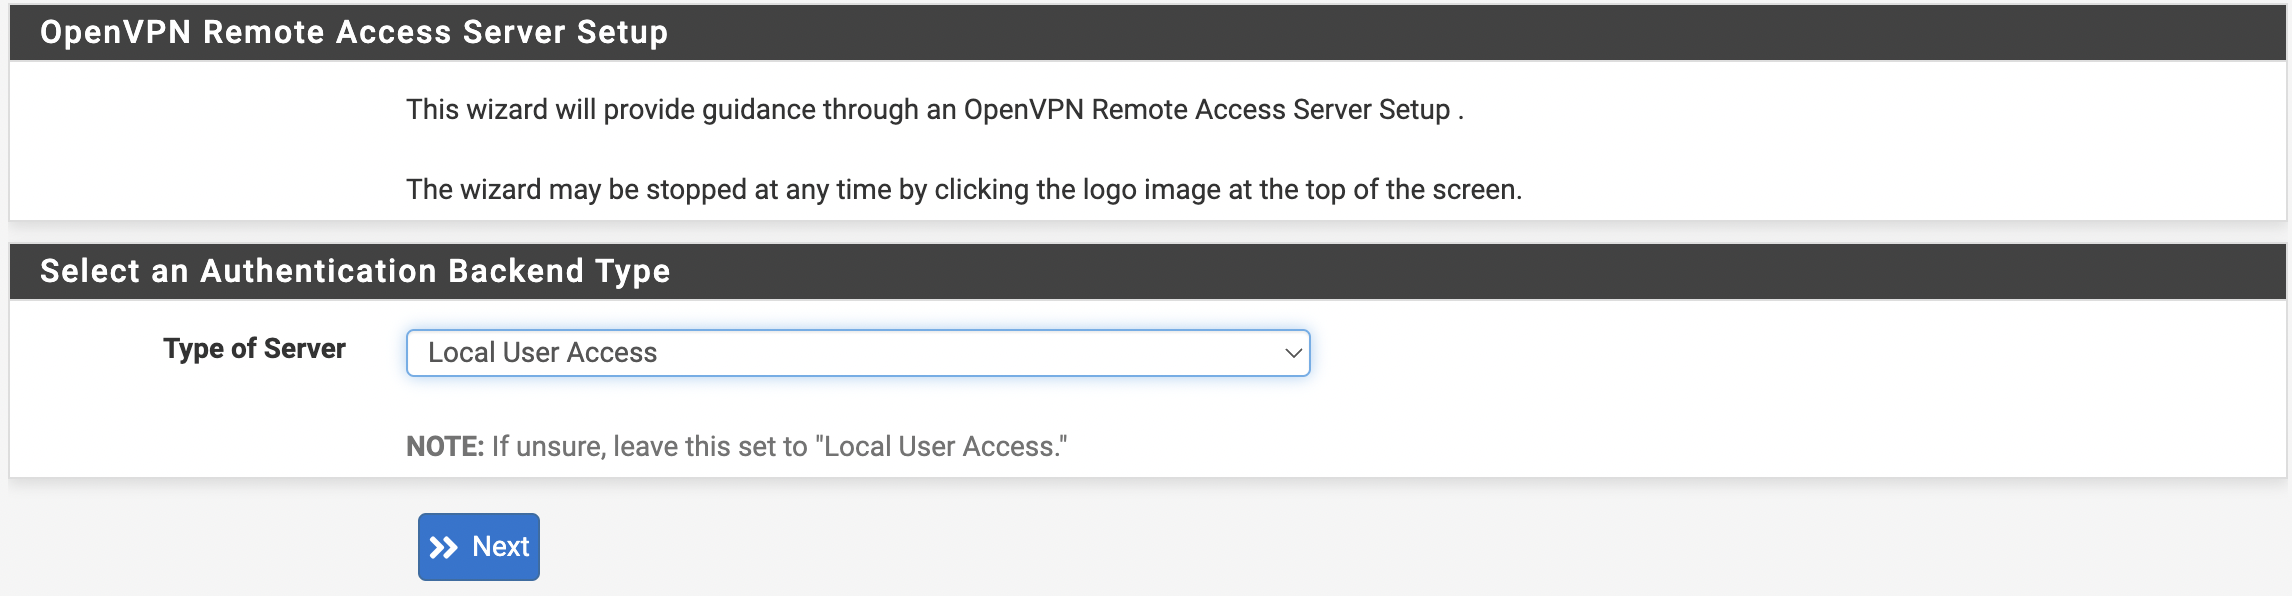
Click Next
On the next screen, create a CA
| Descriptive name | Common name |
| Common Name | Internal name, if empty, Descriptive name will be used |
| Country Code | Two-letter country code |
| State or Province | Full name of the state/province |
| City | City Name |
| Organization | Name of organization |
| Organizational Unit | Division/Department Name |
Once filled in, click Add new CA and repeat the steps for Server Certificate
After creating the certificates, proceed to configuring the OpenVPN server.
Fill in the description

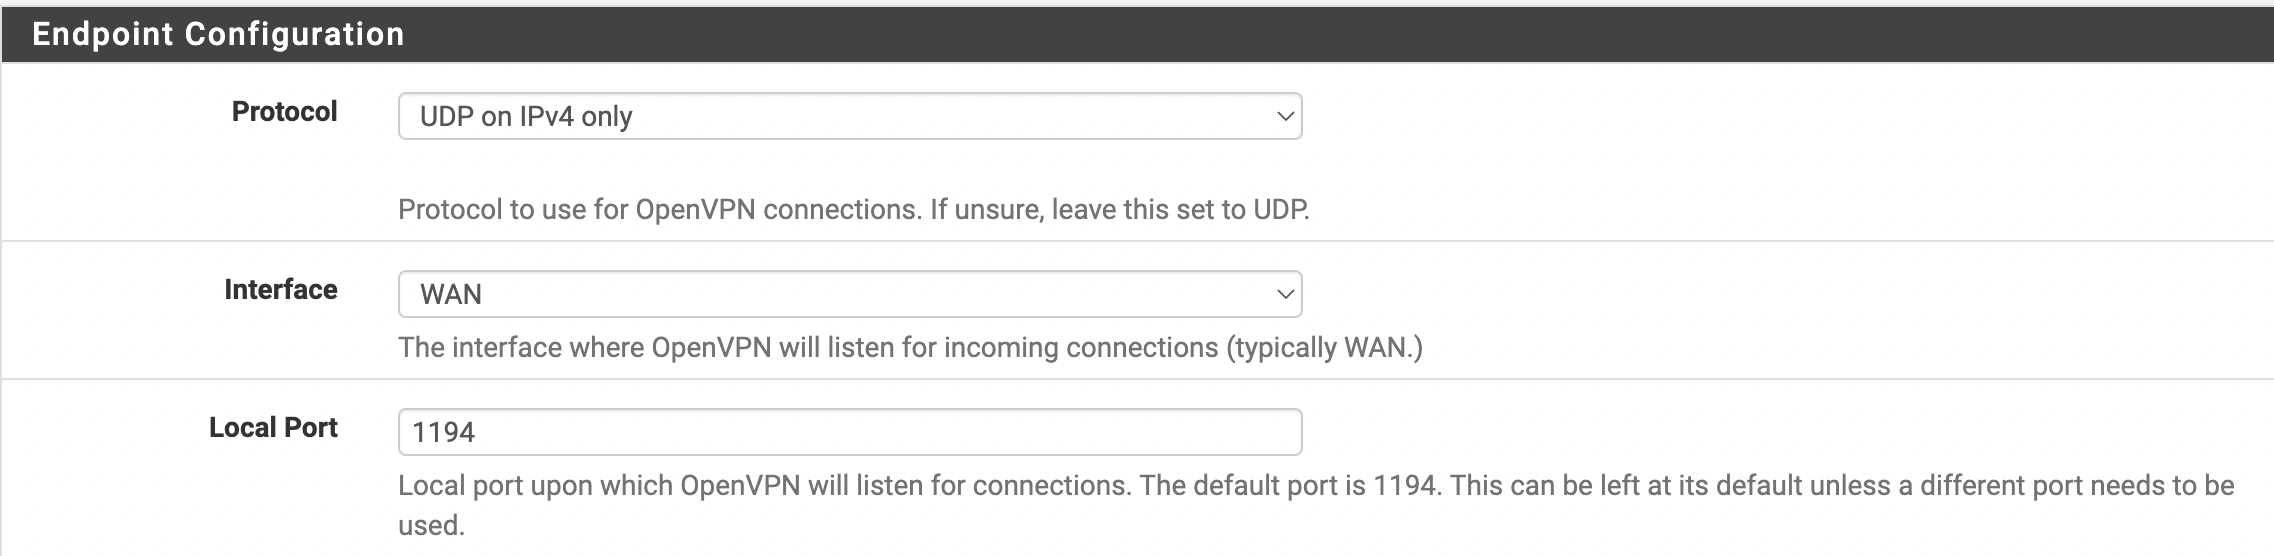
Choose the interface, port and protocol for the future server.
Cryptographic Settings according to your wishes and needs.
Let’s proceed to Tunnel configuration
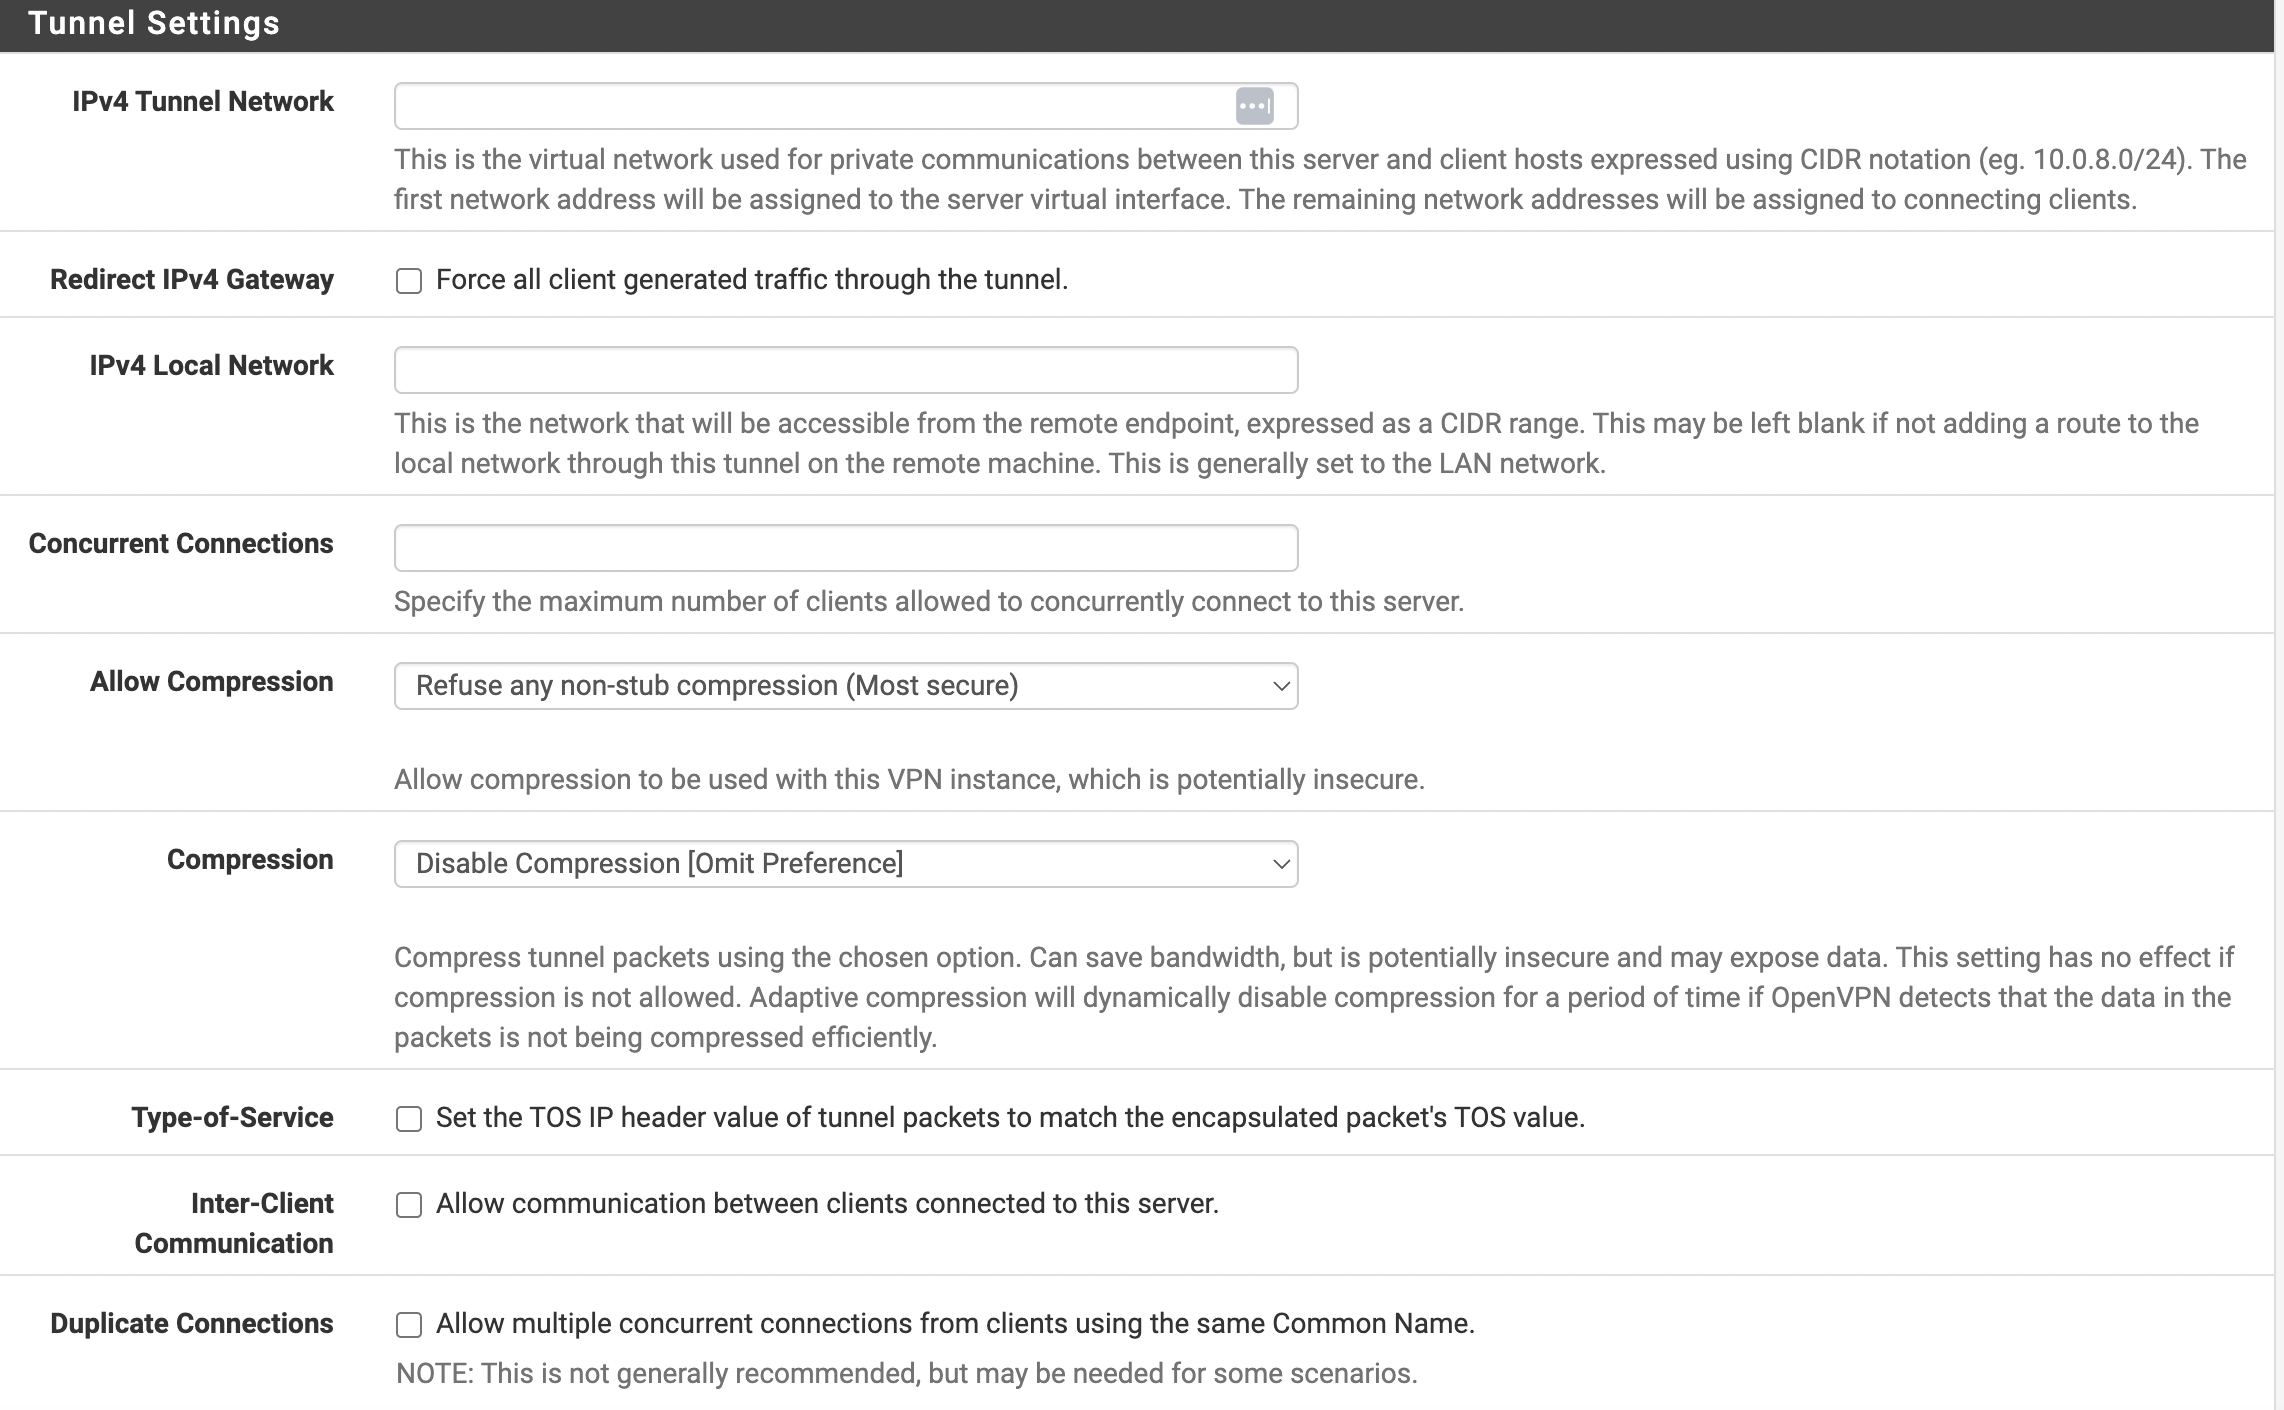
You need to fill in
- IPv4 Tunnel Network - the network that will be allocated for clients must not overlap with your networks.
- IPv4 Local Network - The network or networks that will be accessed from the VPN network.
Customize the settings as you wish and need, and click Next when complete.
Select Firewall Rule and OpenVPN rule
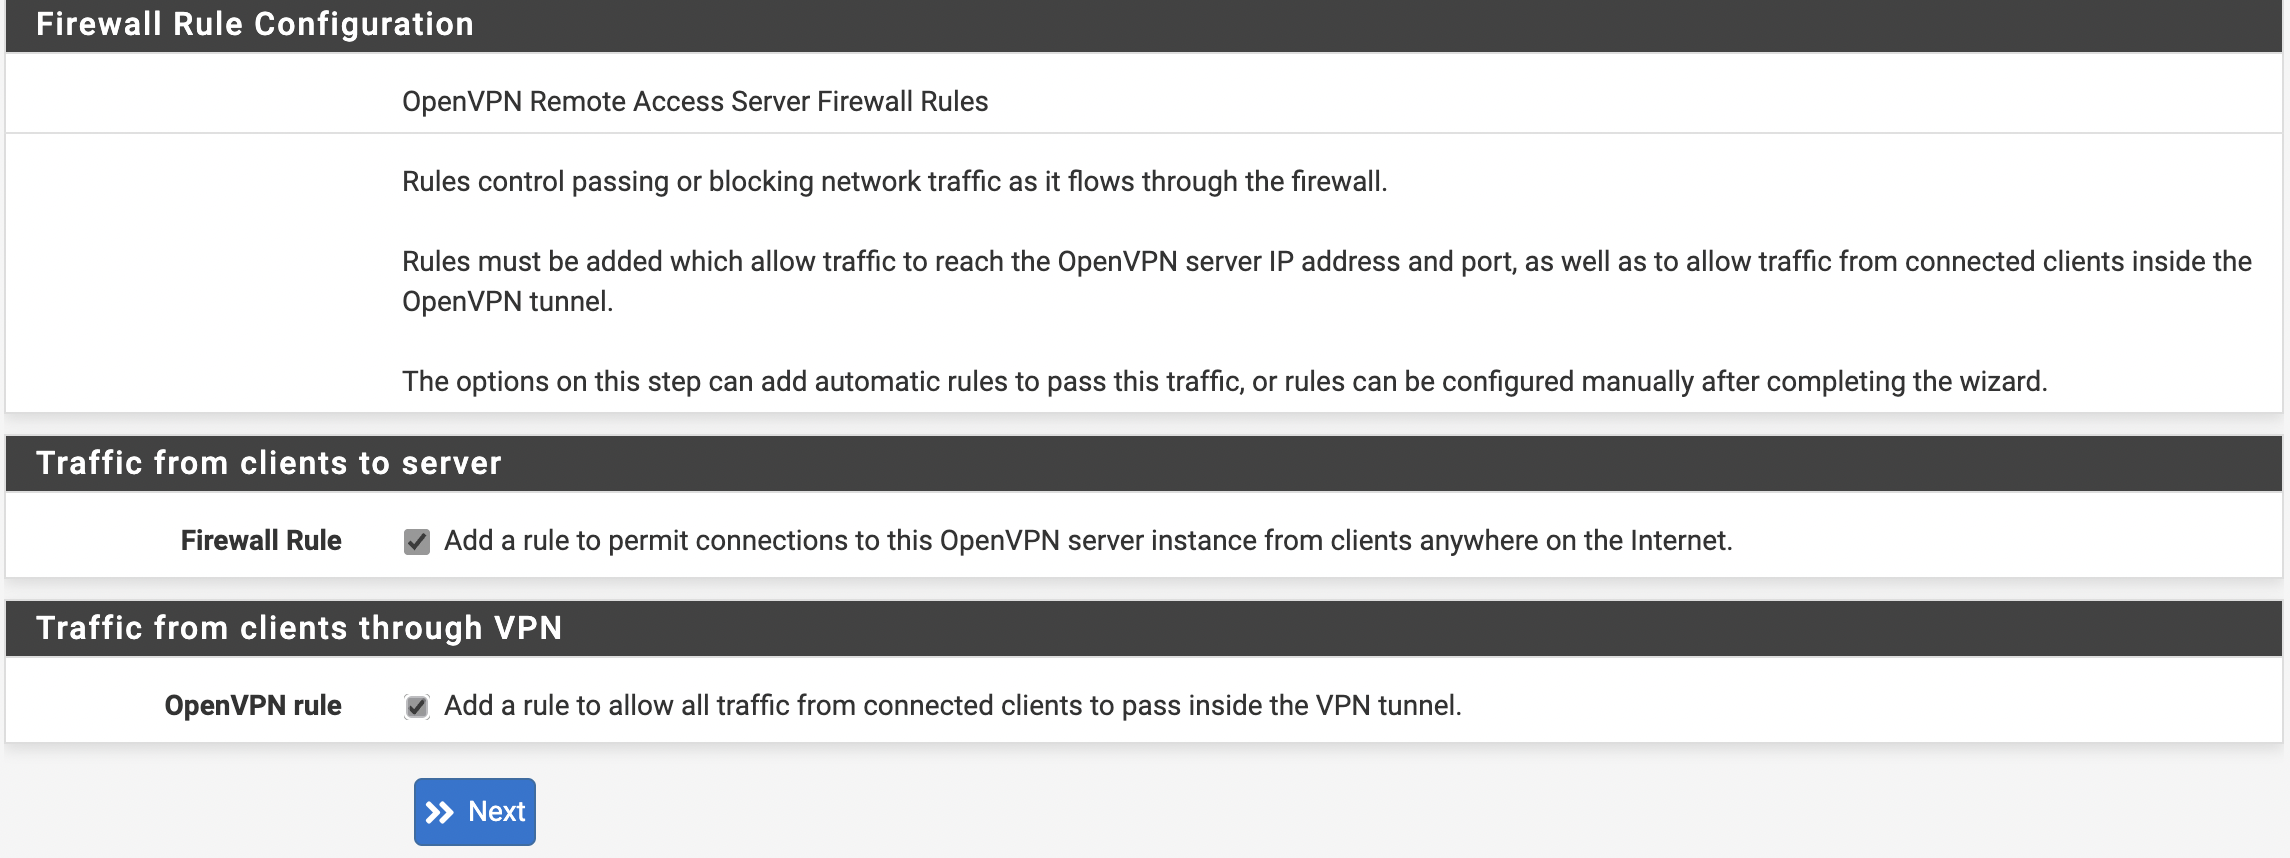
Click Next and Finish to finish
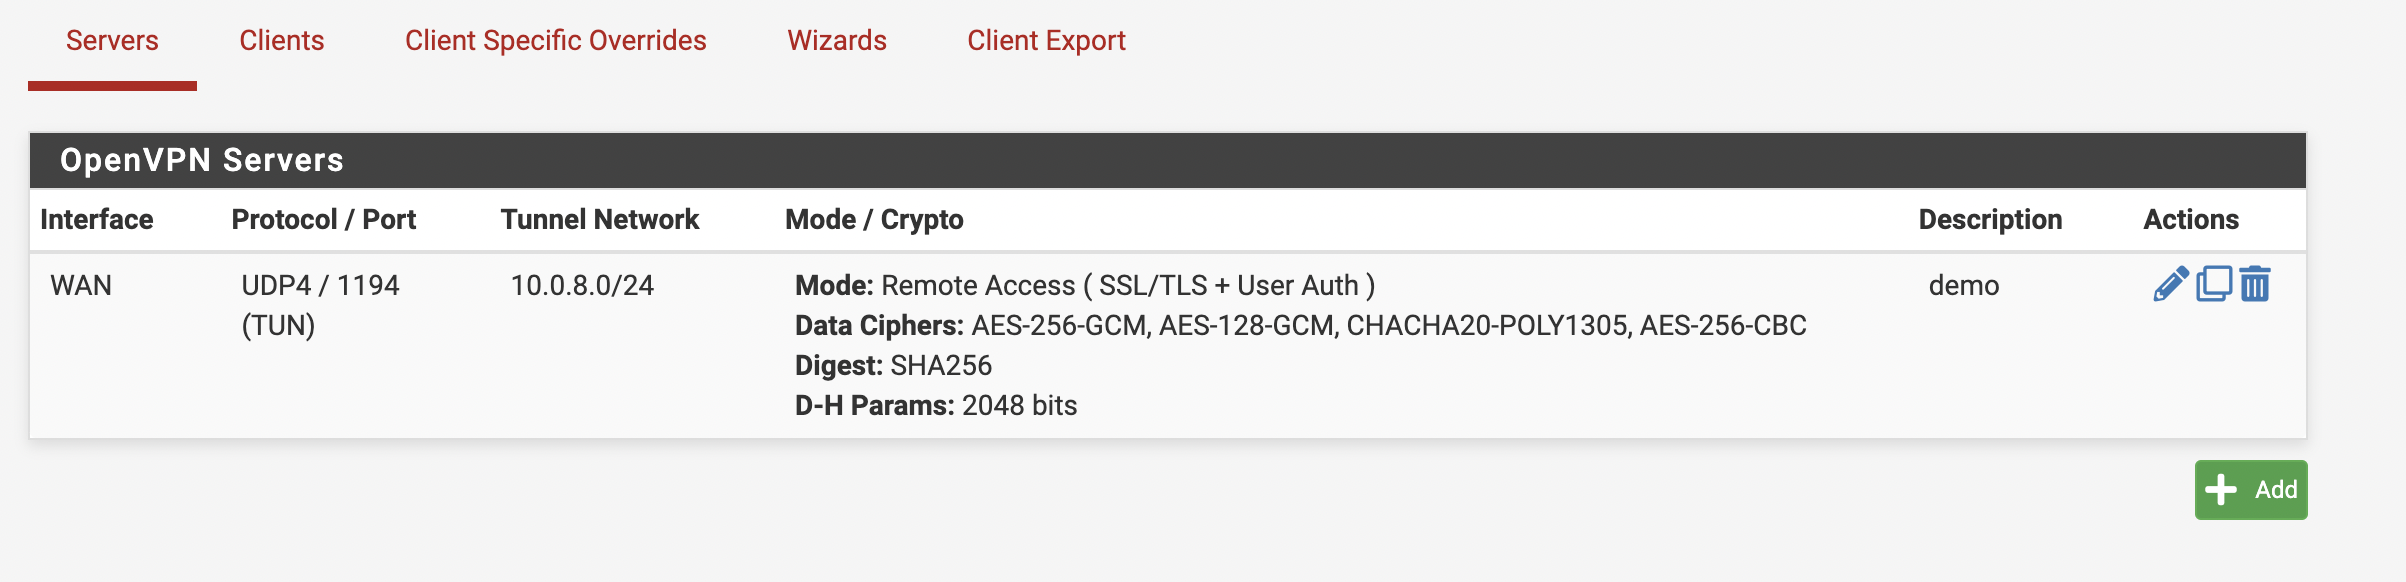
When finished, the new server should appear in the list.
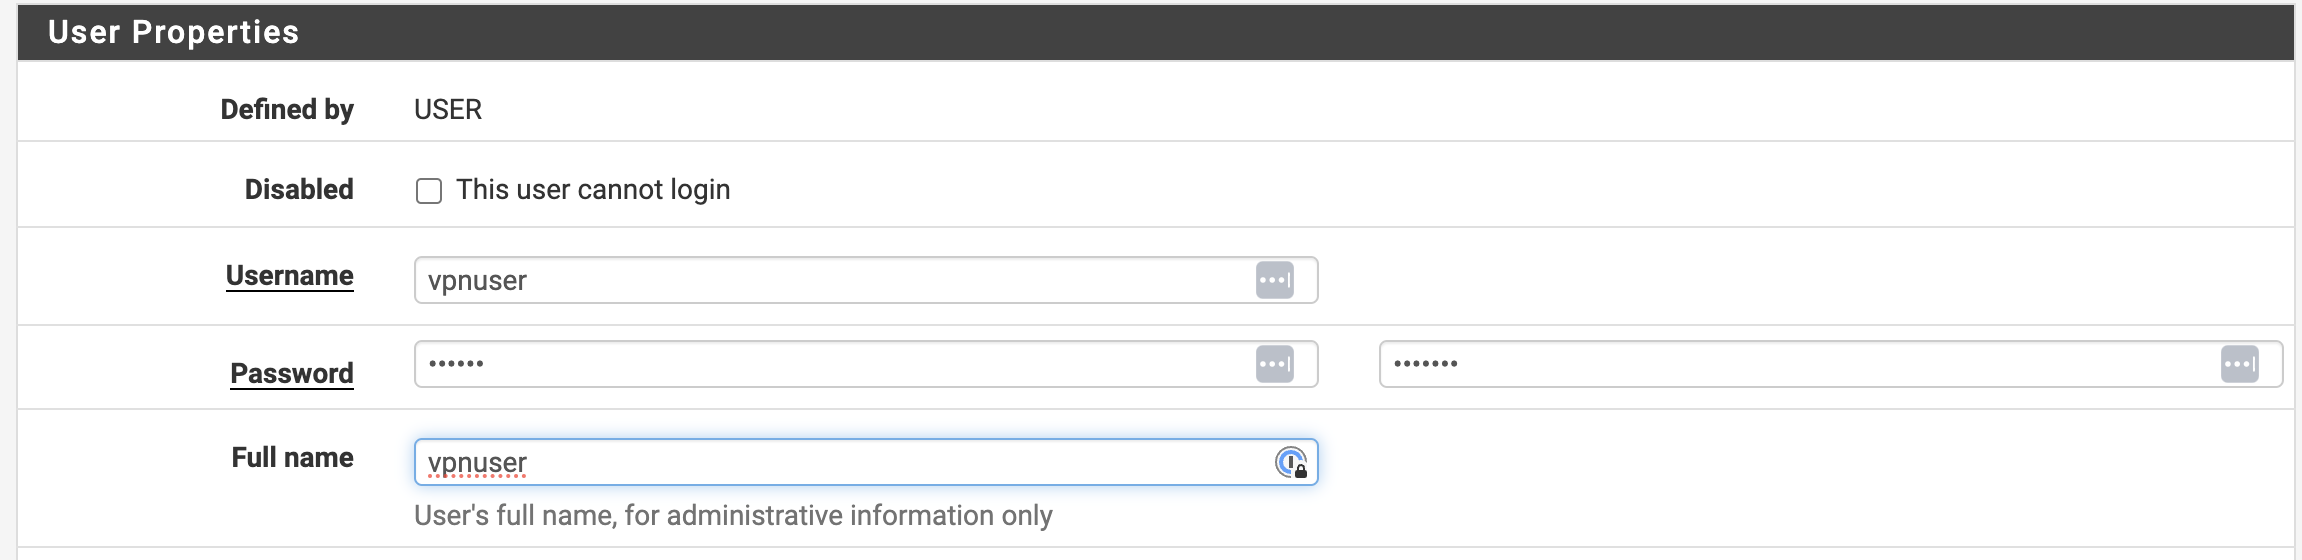
The next step is to create a user, go to System --> User Manager --> Users and click Add.
Fill in the username, password
Next, select Certificate, fill in the fields and select the certificate that we created when configuring the OpenVPN server.
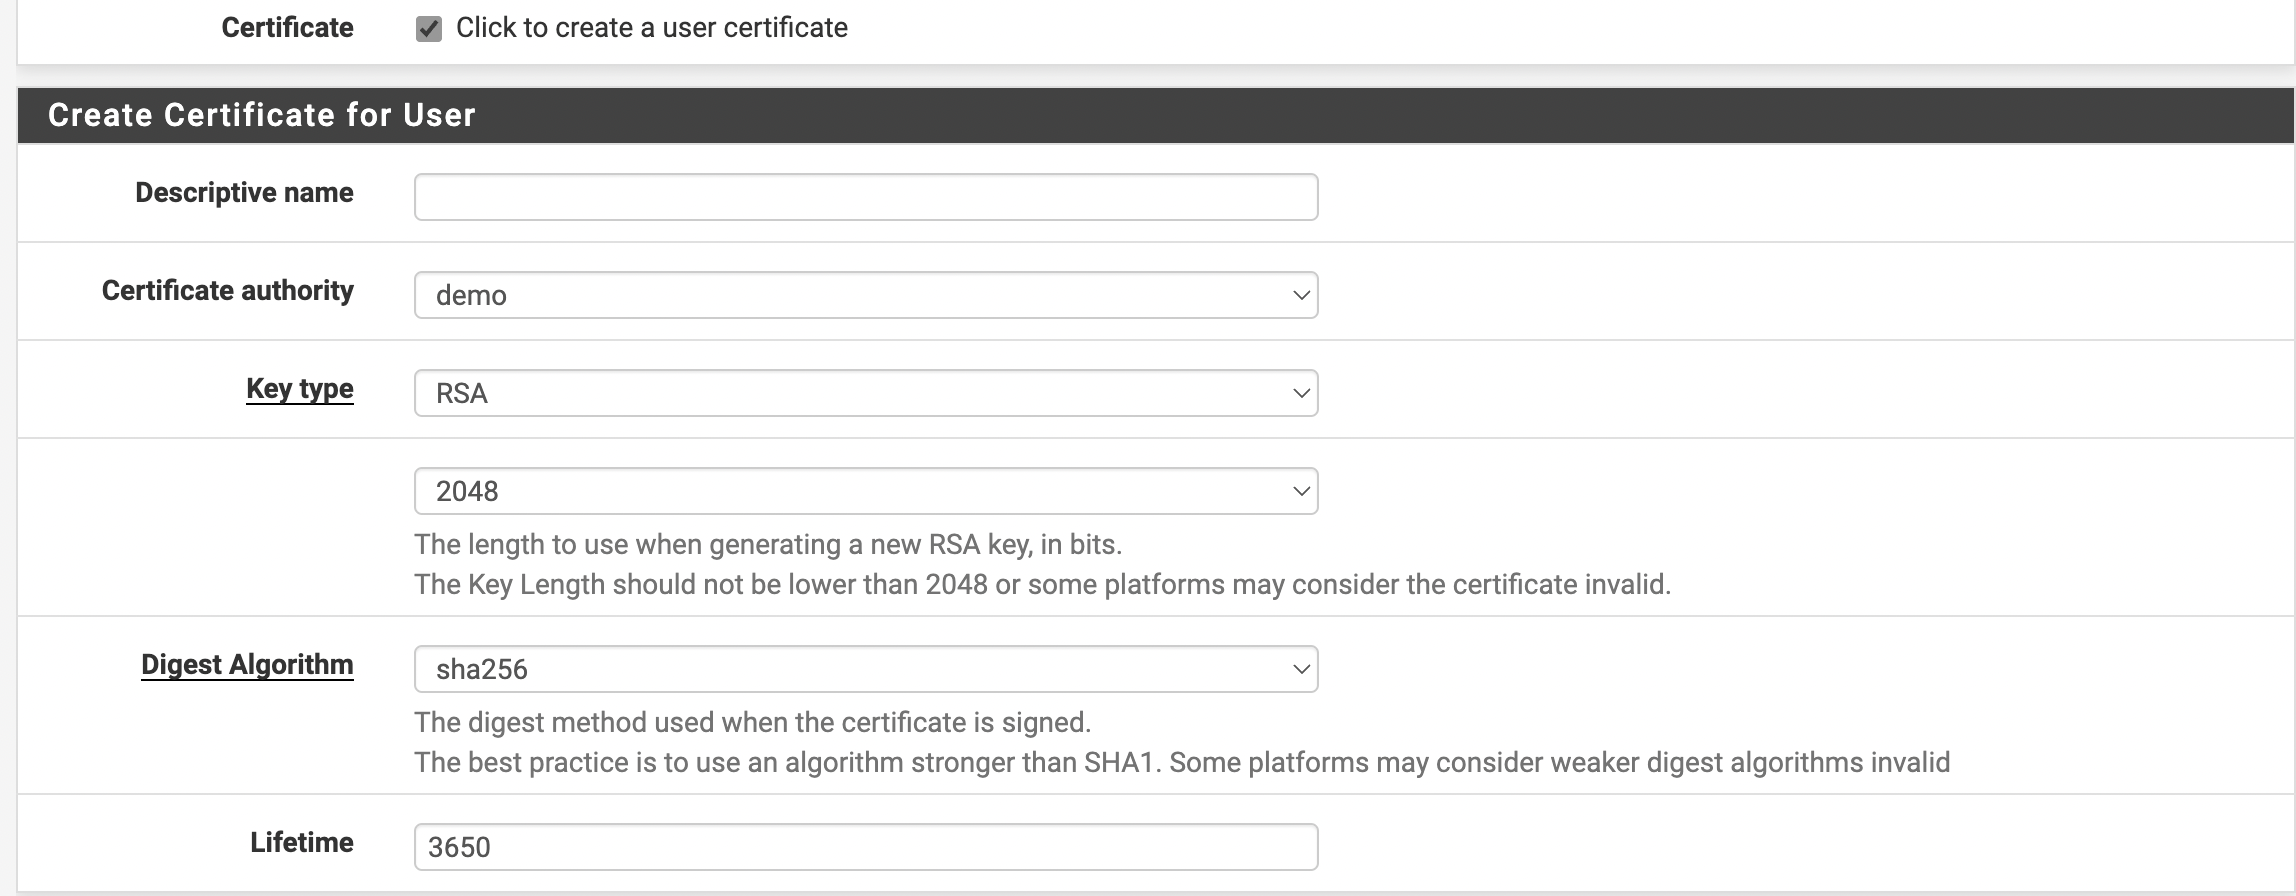
Click Save
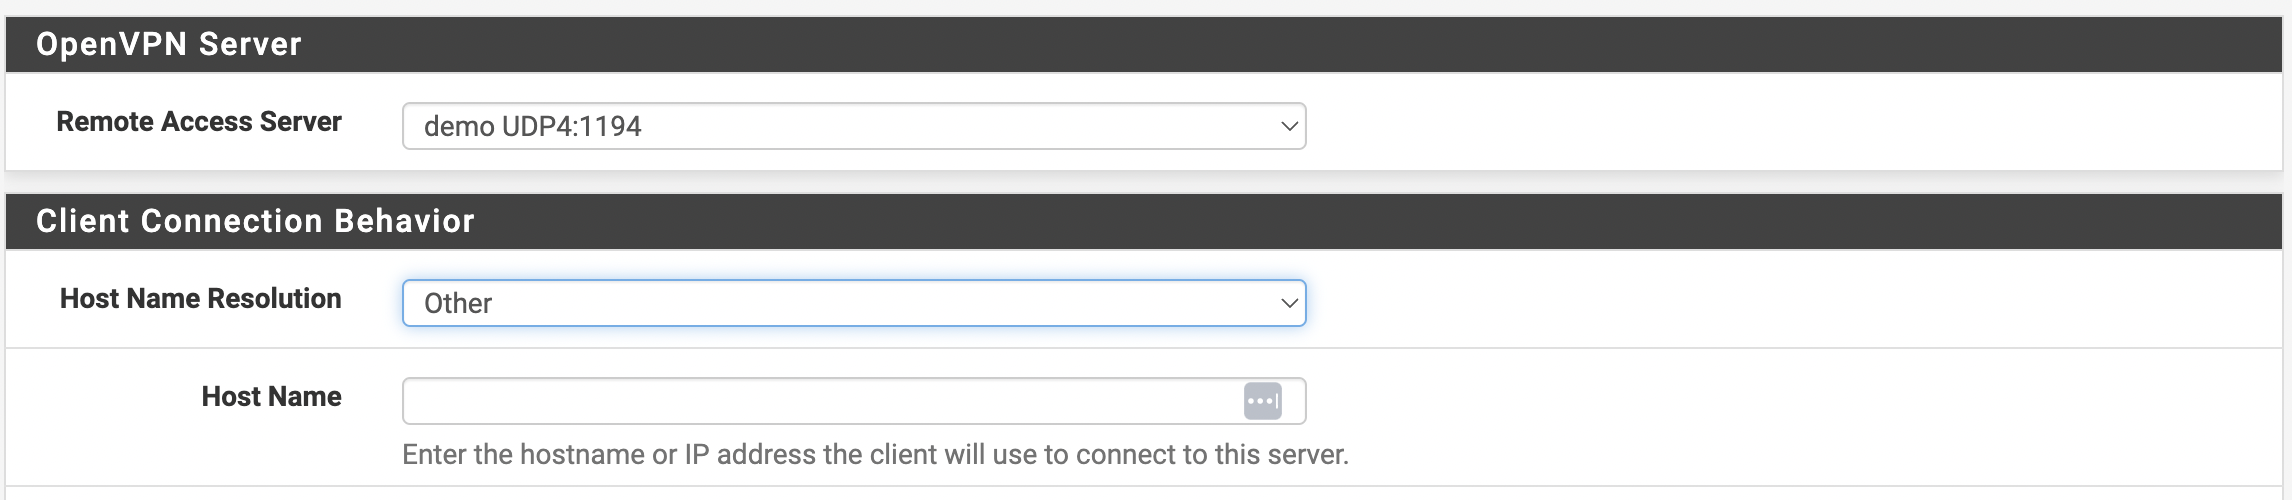
Now go to VPN --> OpenVPN and click on the Client Export tab.
For Client Connection Behavior, select Other and enter the Public IP or domain name if available.
Next, select our user and export the configuration.
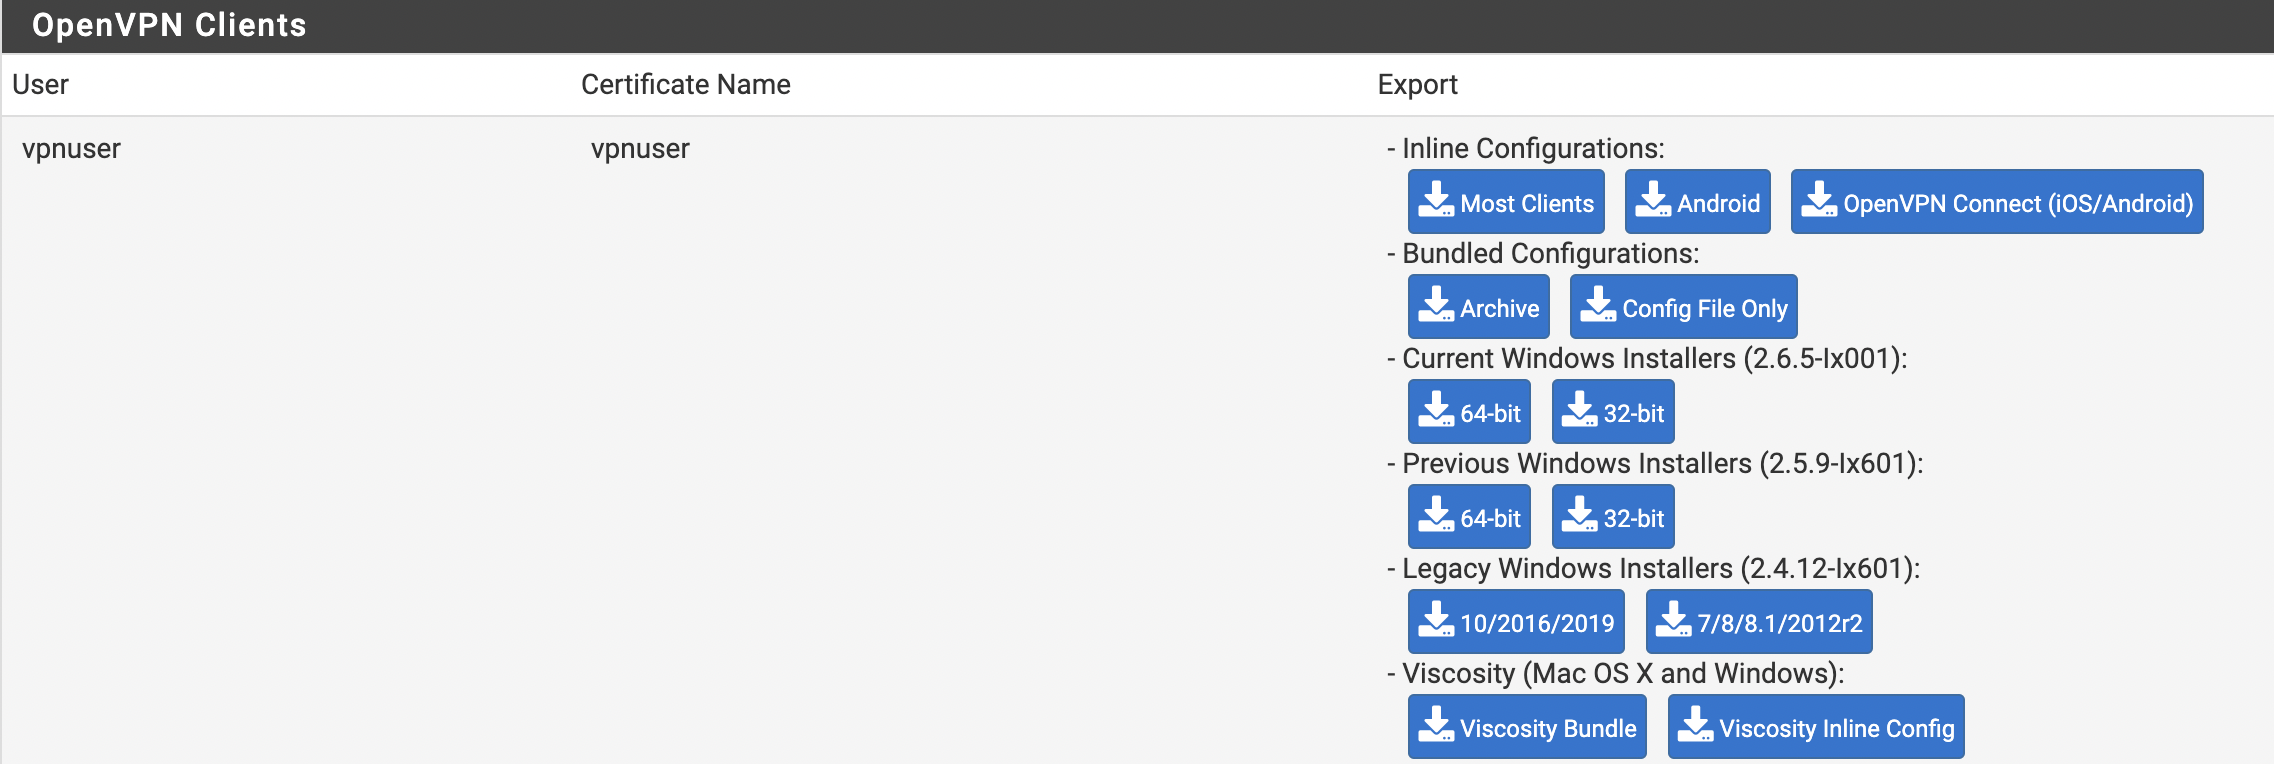
Customize the client according to your OS