Creating a pfSense virtual machine
Here is an illustrative example of how to set up a virtual machine with pfSense in the Yandex Cloud infrastructure.
First of all, let’s create a virtual machine. For simplicity, let’s consider the deployment process via the Yandex Cloud web interface.
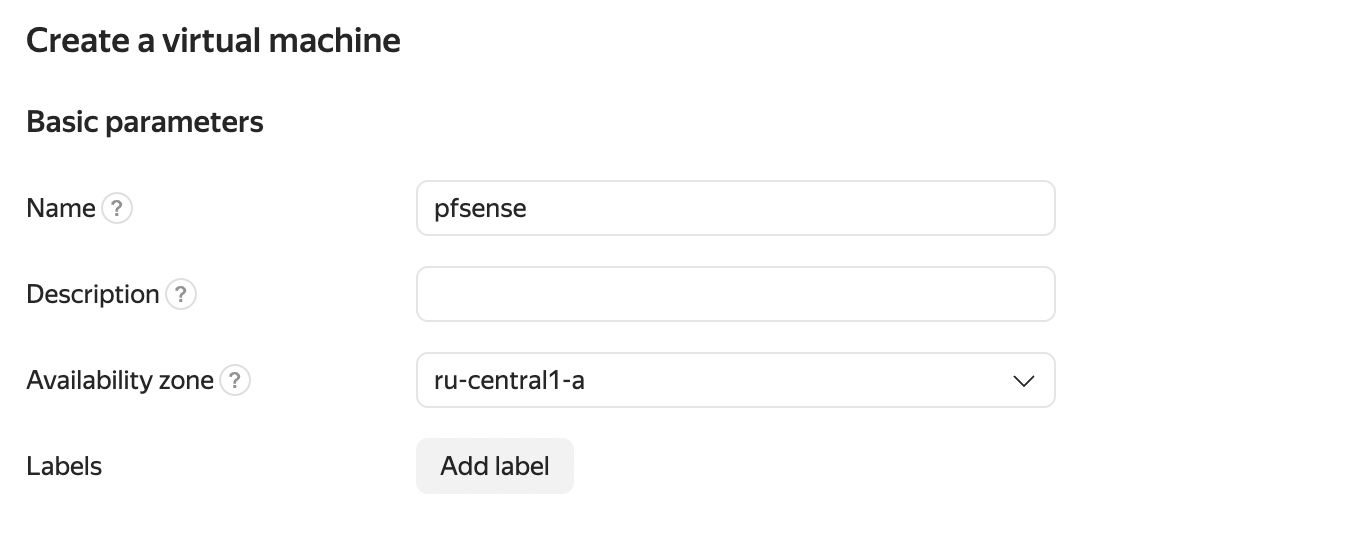
You can select the name of the virtual machine and define the available zone, there is also the option to add labels if required.
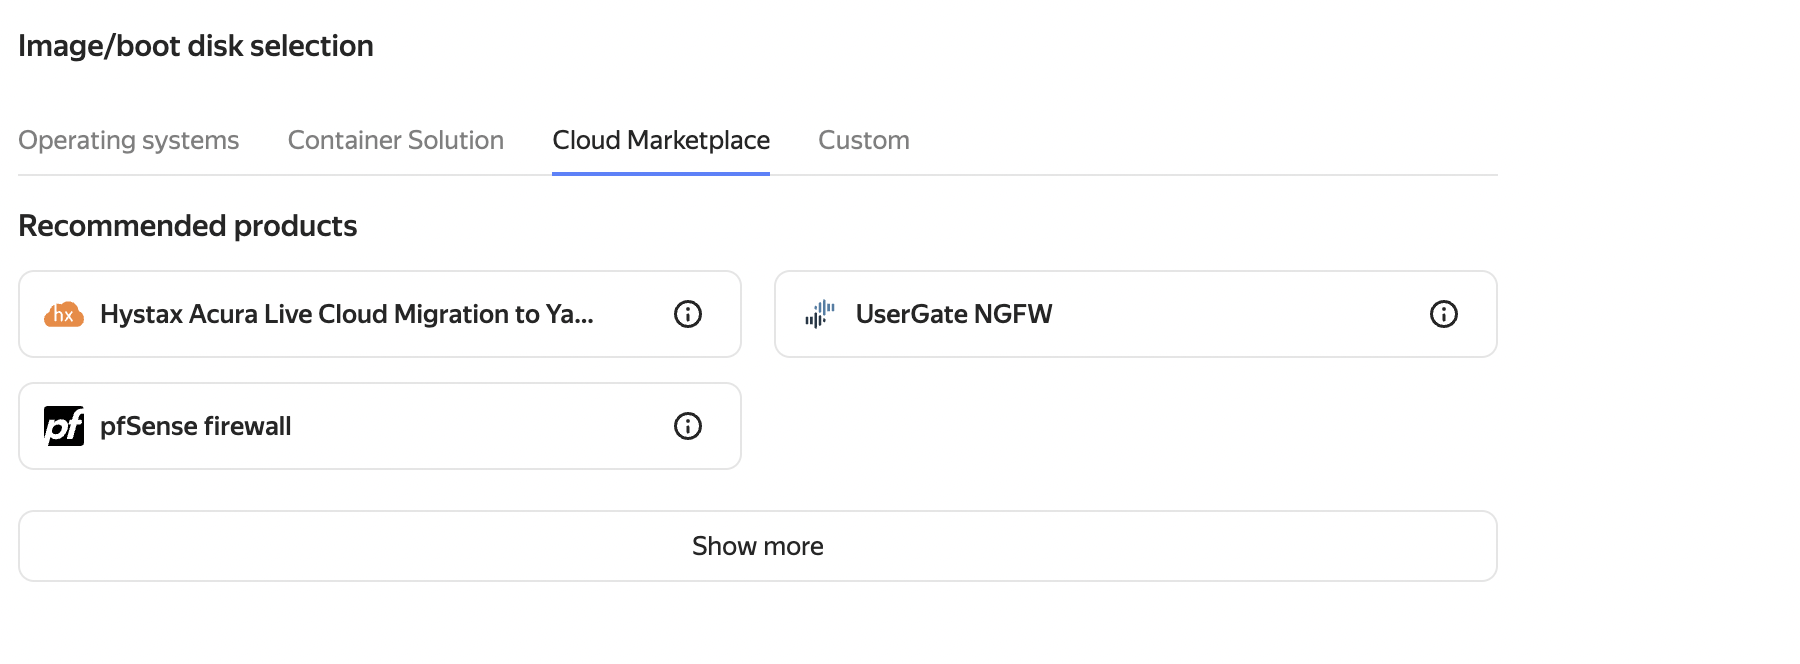
Next, select the pfSense image from the Marketplace
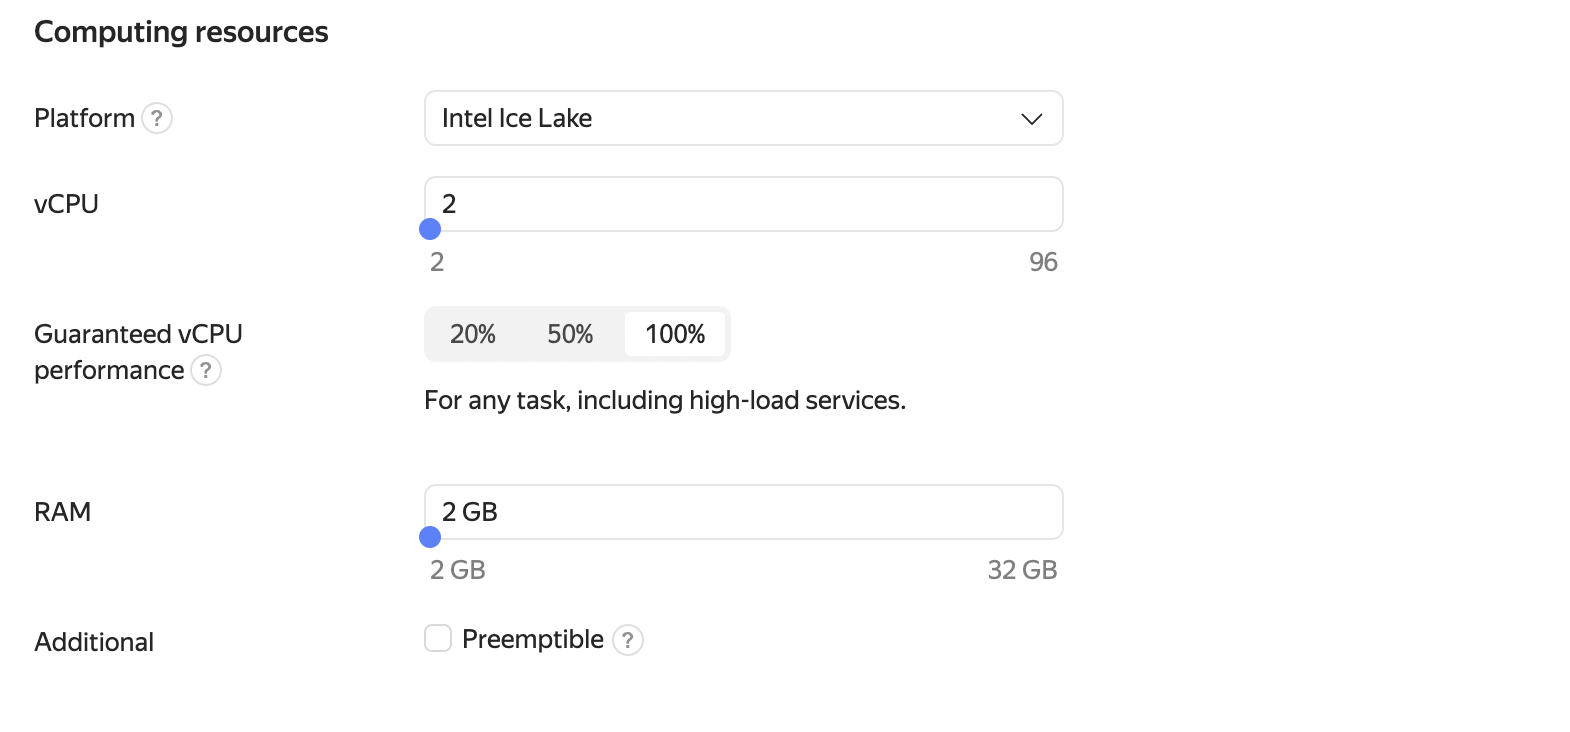
You then define your own disk size according to your preferences or leave the default value.

The amount of RAM and processor cores also depends on your preferences and fits your specific tasks; I left the default values.
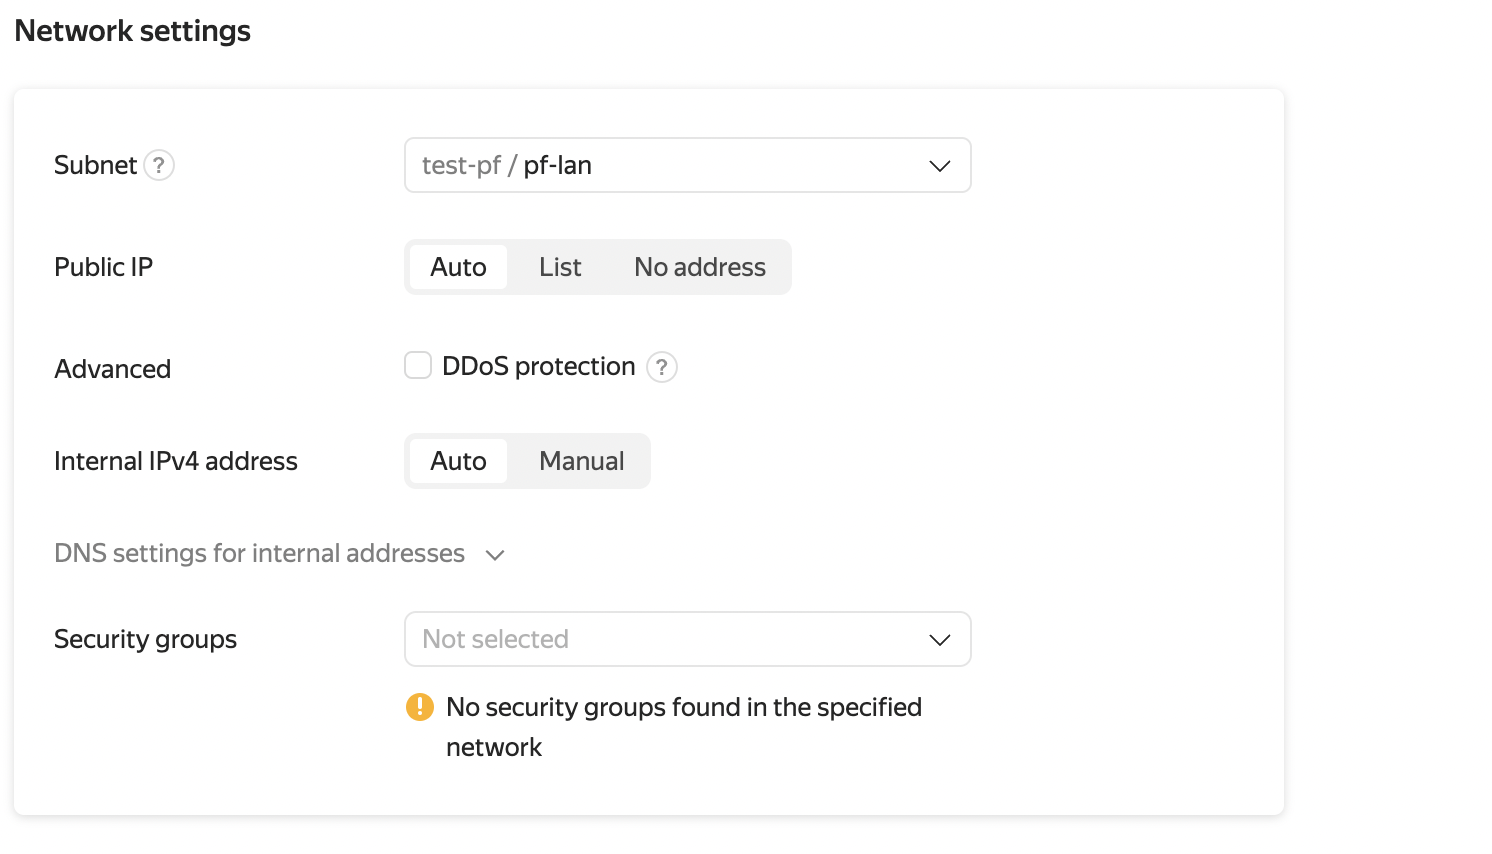
Go to network settings
The number of network interfaces can only be set during the virtual machine creation process.
Once the virtual machine has been created, it is not possible to add new network interfaces or delete existing ones.
If you need to change the number of network interfaces on an already created virtual machine, use the snapshots or disk images functionality to create a copy of the VM and specify the required number of network interfaces during the VM creation process.
For the WAN interface, we select the appropriate network. The settings can be left unchanged, but it is important to note that the subnets must not overlap.
Then you add an additional interface that will act as a LAN and serve as a gateway for private networks.

The LAN interface does not require a public IP address and it is recommended to use static IPv4.
Now you can set a username for SSH and provide a public key. In this case, it is sufficient to specify the user freebsd.
Then click on the Create Virtual Machine button. The VM creation process will take some time. Once the VM creation is successfully completed, you will be able to connect to it via SSH.