Adding Servers to the Mesh Network
To get started, you need to register your Lighthouse node.
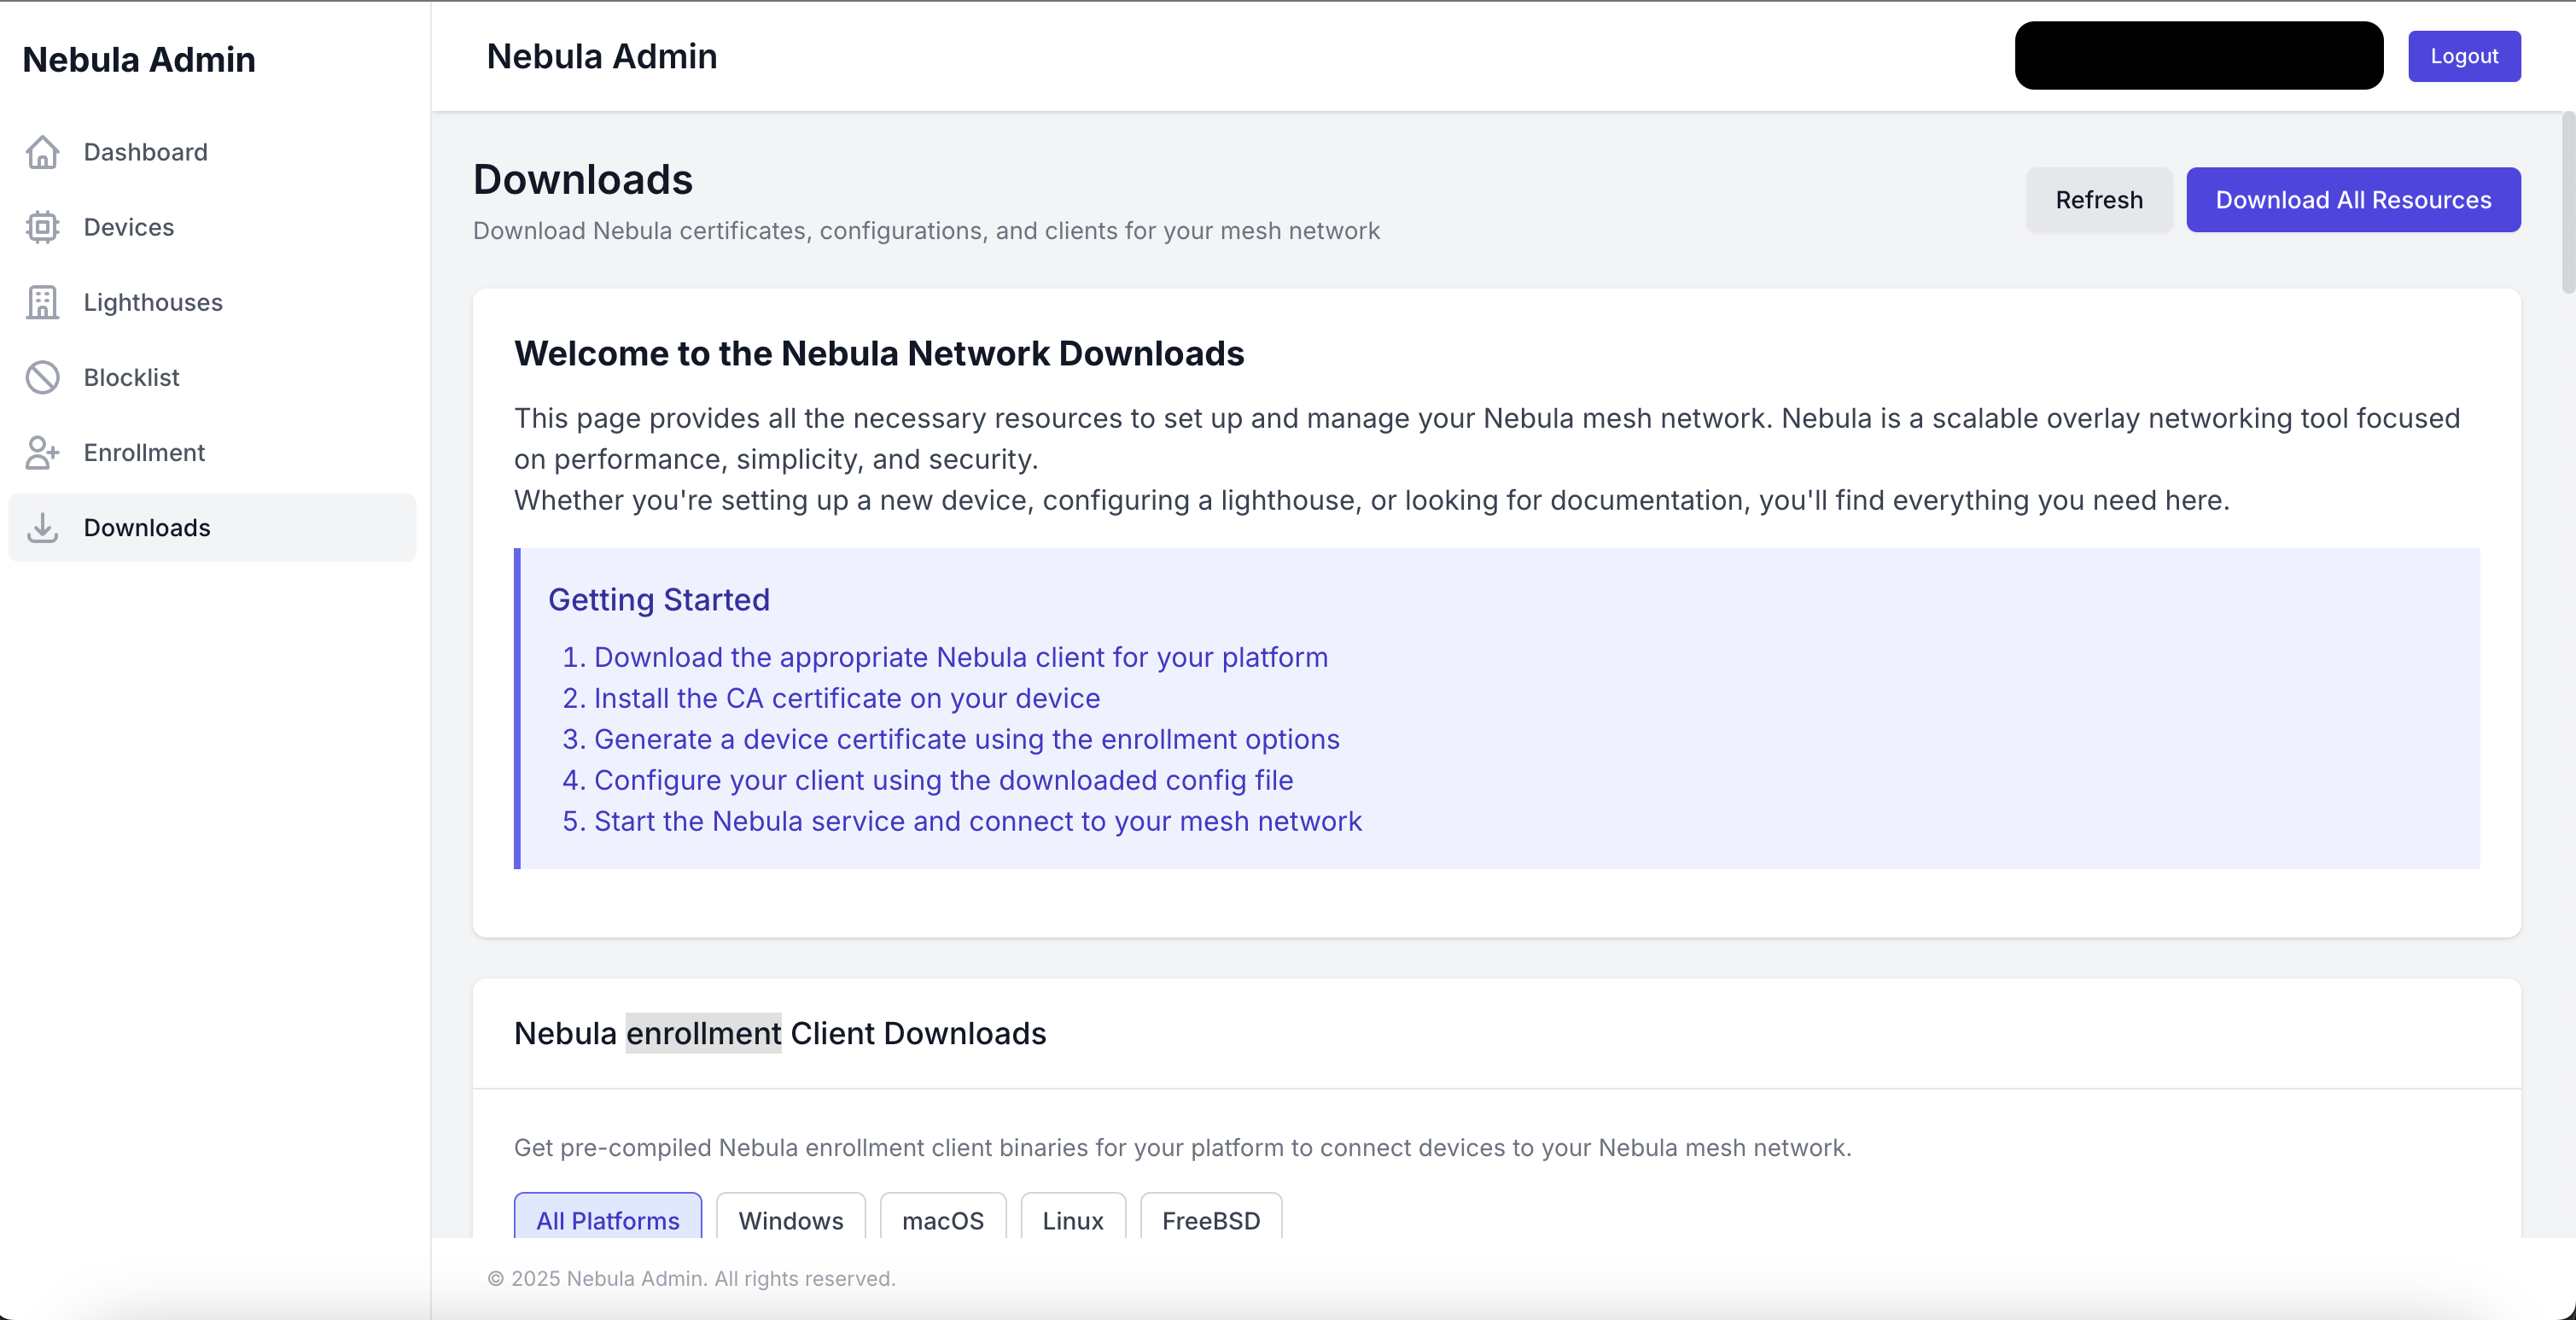
Open the web interface and go to the Downloads section. From there, you can download the client utility, which simplifies the registration process.
Download the client for your operating system.
You can add nodes in two ways:
- Using temporary codes
- Using a login and password
Adding a Node Using Login and Password
Download and extract the nebula-client. This tool simplifies the configuration of your network nodes.
Start by registering the Lighthouse node:
./nebula-client -user "your_username" -pass "your_password" -ip "ip_address_with_cidr" -name "node_name" -lighthouse -server "your_panel_ip_or_domain" -duration "certificate_lifetime" -service -installThe duration value cannot exceed the lifetime of your CA certificate. If it does, the client certificate will be limited to the CA’s expiration date.
Example:
./nebula-client -user "admin" -pass "admin" -ip "192.168.11.1/24" -name "yandex-ru" -lighthouse -server "http://123.123.123.123" -duration "5y" -service -installOnce the Lighthouse node is registered, you can start adding client nodes to the network. The process is very similar.
On the client node, run:
./nebula-client -user "admin" -pass "your_password" -ip "ip_address_with_cidr" -name "node_name" -server "your_panel_ip_or_domain" -duration "certificate_lifetime" -service -installExample:
./nebula-client -user "admin" -pass "admin" -ip "192.168.11.2/24" -name "yandex-kz" -server "http://123.123.123.123" -duration "5y" -service -installBy default, all traffic between nodes is blocked except for ICMP packets. You’ll need to configure firewall rules manually.
In future releases, firewall management will be available directly through the web interface.